"For most of us, the notion of food as nature seems alien. No wonder, given that our experience collecting food has been reduced to purchasing packaged items at a grocery store. Gardens are almost magical in their ability to lift the curtain on our alienation from nature."
- Dr. Scott Sampson
Now is a good time for us to get our vegetable garden going and we thought we'd take you along for some fun in nature. Exploring layers of soil for kids is an easy kids' gardening activity to do at home while you're in the beginning stages of starting your garden or anytime.
Disclosure of Material Connection: Some of the links in the post are “affiliate links.” This means if you click on the link and purchase the item, I will receive an affiliate commission. Amazon links are not affiliate links. You can read my full affiliate disclosure.
Is This an Easy Kids' Gardening Activity?
Absolutely. All ages can participate and it doesn't require a lot of tools or equipment to get started. If you've got a trowel or small shovel to dig up some soil and a jar with a lid, you're good to go. Instant fun.
Start a Gardening Program
Free Gardening Lessons for Kids & Adults.
Start a Garden with Kids
Keep it Simple. Using household materials and simple tools, empower kids to grow food and eat healthy with this easy series of lessons that will help you start a garden with your learners.
Gardening Lessons in this Series
This is part of a 4-part series where we're exploring the following gardening and nature topics:
- Soil Composition Testing With Sediment Jars
- Homemade Soil pH Testing
- Soil Temperature Testing
- Designing/Digging/Tilling Garden Bed/Soil
- Sowing/Planting Seeds
- Starting a Compost Pile
- Feeding the Garden
- Keeping a Garden Journal
Keep it simple. Using household items and simple tools, empower kids to grow food and eat healthy with this easy series of lessons that will help you start a kids' garden.
Food from Around the World: Free Cooking Lessons
Learn from some of the most talented chefs around the world!
Free Cooking Course for Families
Discover recipes for every continent! Sign up to receive free cooking lessons for the whole family. Learn from some of the most talented chefs around the world and participate in the quality practical life experiences Montessori education is known for.
Find out more about the cooking course.
Nature Mentoring Books and Resources
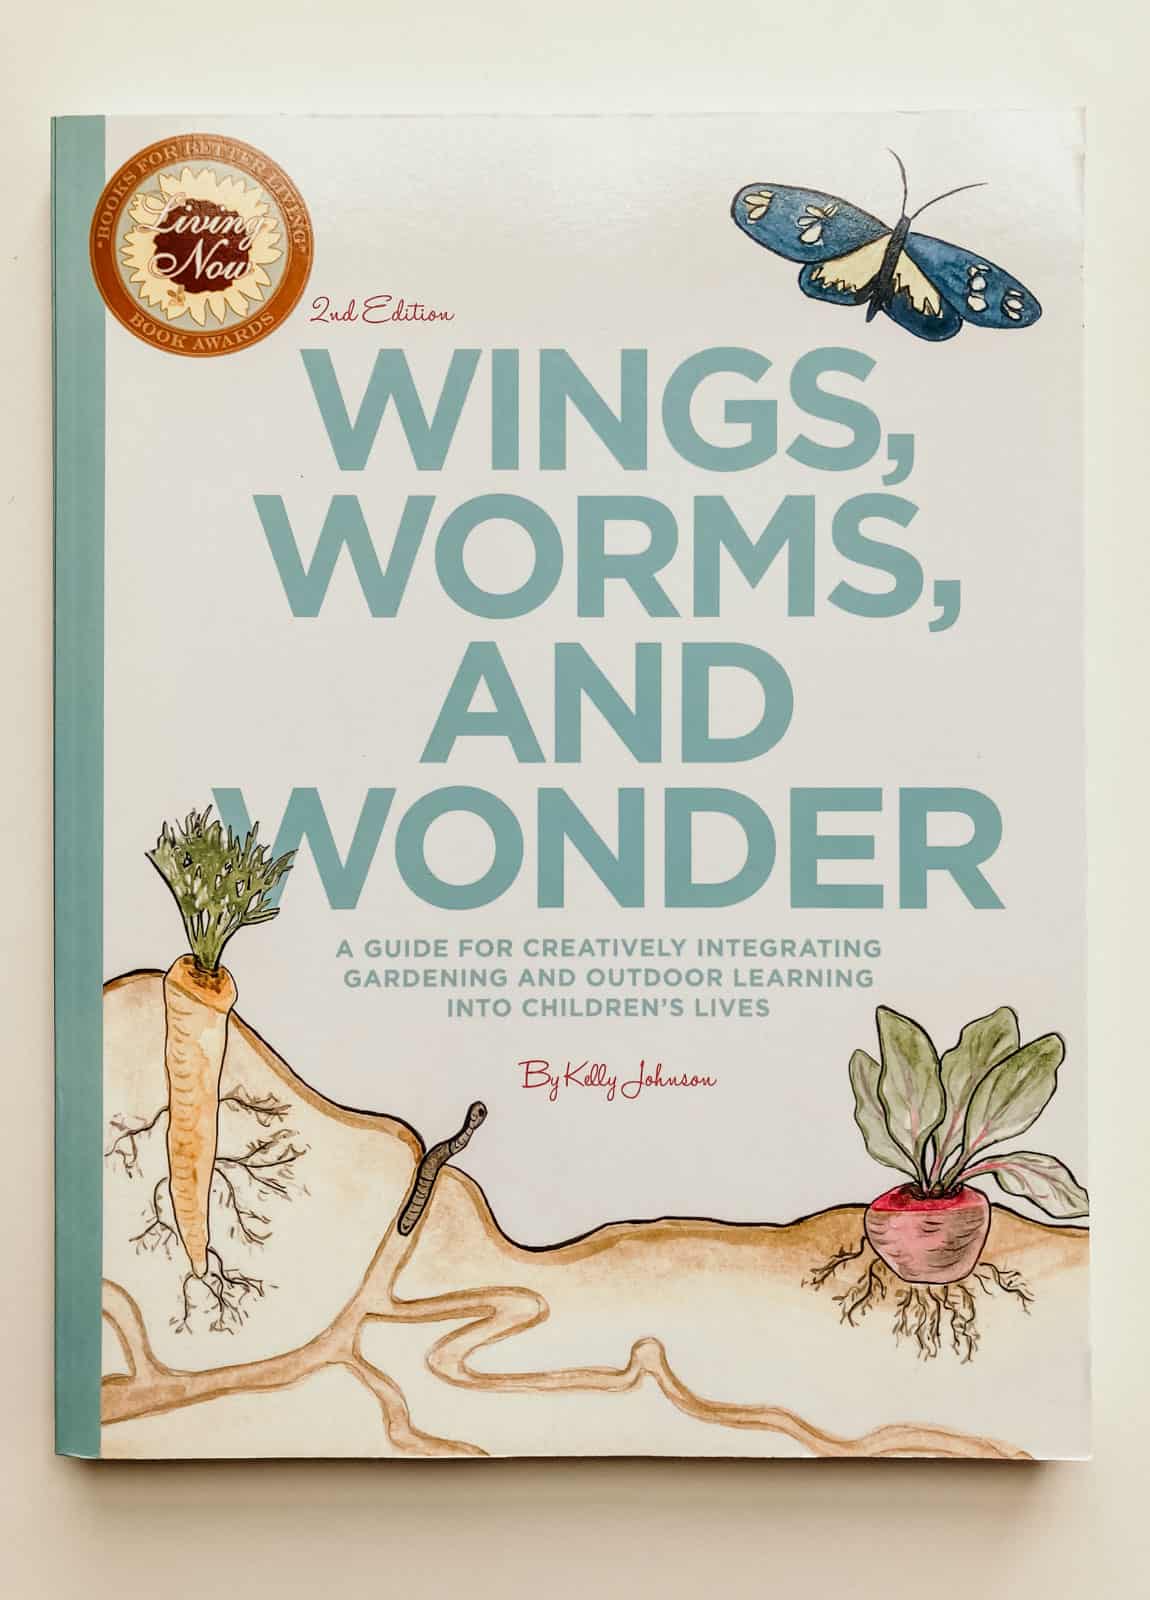
- Wings, Worms, and Wonder - an excellent comprehensive resource for implementing a child-led gardening program with kids. This book is filled with lessons and extensions that will add to your little one's enjoyment. It also offers a thorough list of resources in the back for doing a deep dive into a variety of topics.
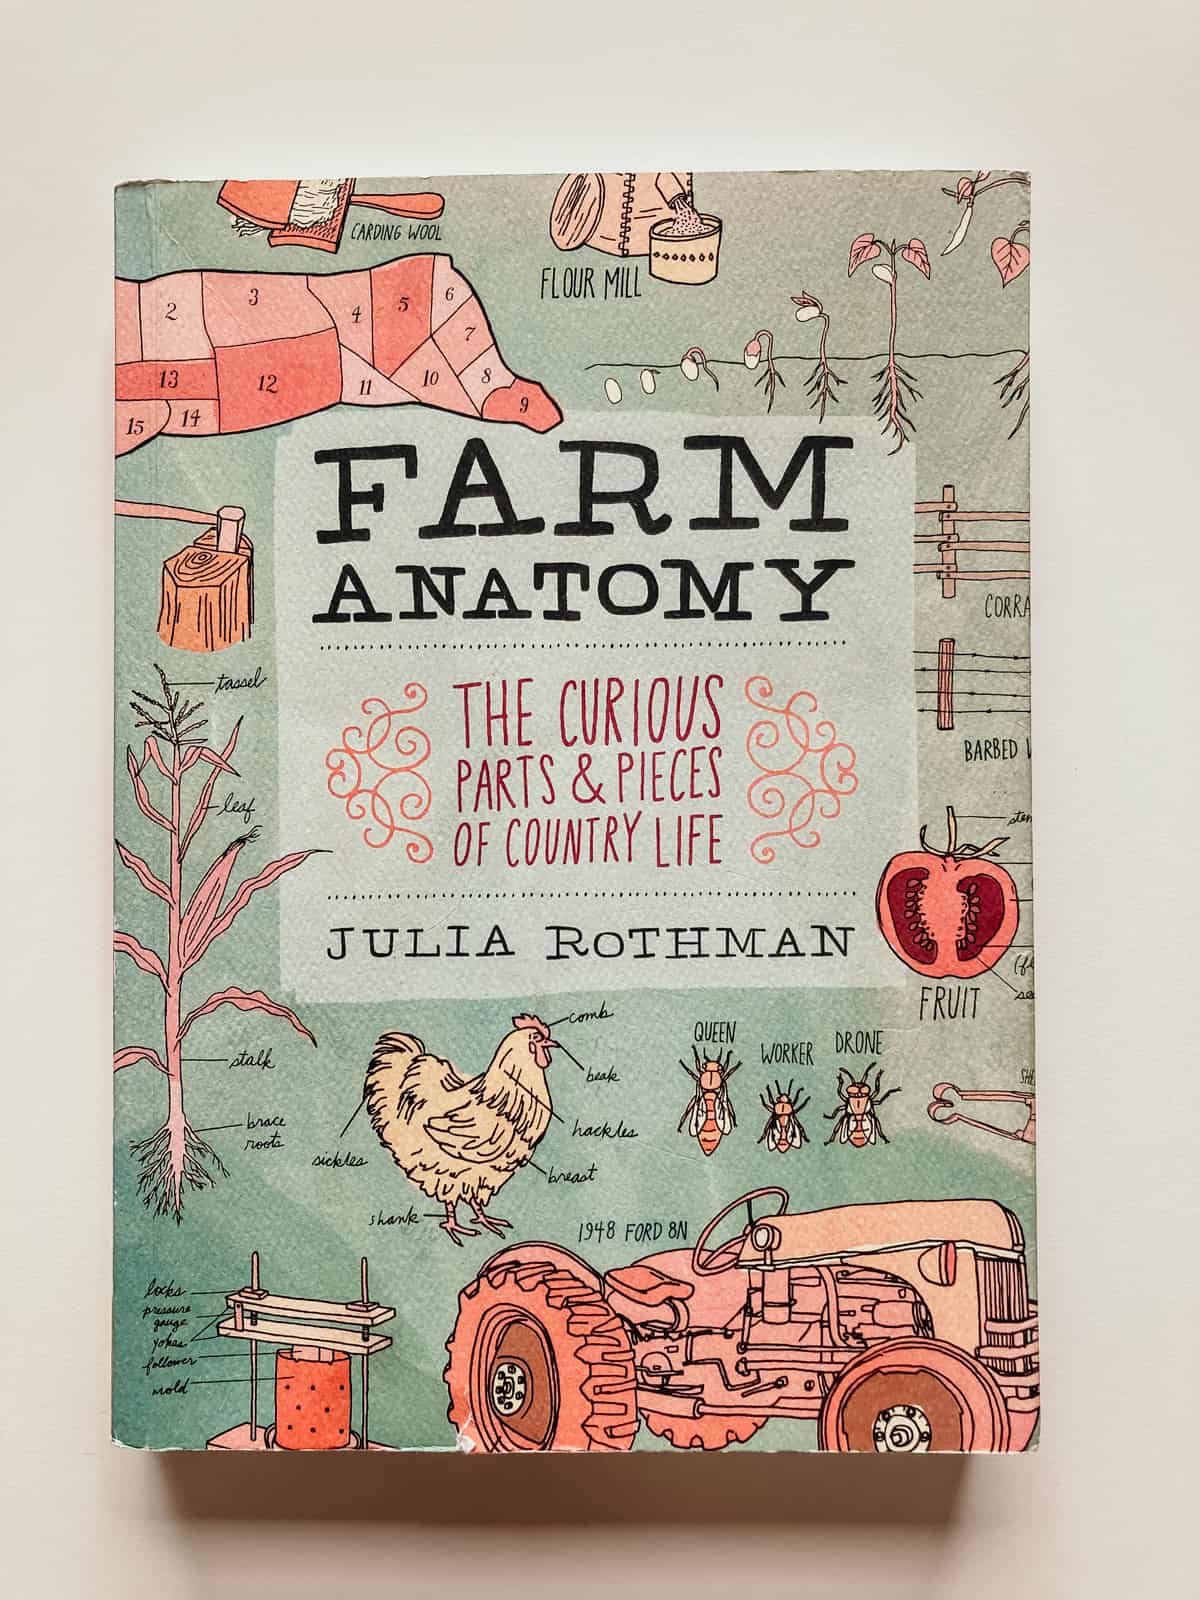
- Farm Anatomy: The Curious Parts & Pieces of Country Life - a beautiful reference book for all ages that combines nature and art in its exploration of all things farm-related; it serves as inspiration for some of our journaling experiences.

- How to Raise a Wild Child: The Art and Science of Falling in Love with Nature - this book is actually my ride-or-die resource for nature mentoring with kids. There are several reasons why it's near and dear to me, but to summarize I would say I consider it an inspirational gateway resource for many important nature-related topics.
The content of the book is relaxed but also informative, it's peppered with inspiration, and it leaves you feeling like you can instill a sense of wonder and awe in any child.

- Natural Curiosity, 2nd Edition: this curriculum resource will help you to curate child-led learning experiences that support Indigenous wisdom as being central to the teachings.

- The Open-Air Life - a brand new book by Linda Åkeson McGurk, author of There's No Such Thing as Bad Weather. The Open-Air Life is a beautiful book filled with mindfulness, nature connection, outdoor education, and yes, there are even recipes. It brings aspects of many of my favorite nature and parenting books together into one delightful guide.
- San Francisco Public Library: Bryant Terry and Bay Area Black-Owned Farms: Bryant Terry hosts a panel of black-owned farms: The 280 Project, Acta Non Verba: Youth Urban Farm Project (ANV), and Dragonspunk GRO to talk journeys, community, and food justice.
- Oregon State University's Master Gardener Series: Vegetable Gardening - a self-paced online course offered through OSU that will walk you through the steps of starting your own garden.
Exploring Layers of Soil for Kids
Materials & Tools
- Mason Jar with Lid - one for each child
- Trowel
- Gardening Fork
- Soil to Sample
- Water
Procedure
We explored the property for a bit before deciding on a spot for the vegetable garden. We chose a nice area, not too far from the house or the future compost pile, that will allow us to keep an eye on the garden.
Because of our location, we require additional protection for the garden in the form of fencing to keep the deer out. Luckily, we've already found some leftover fencing in the barn that we plan to use.
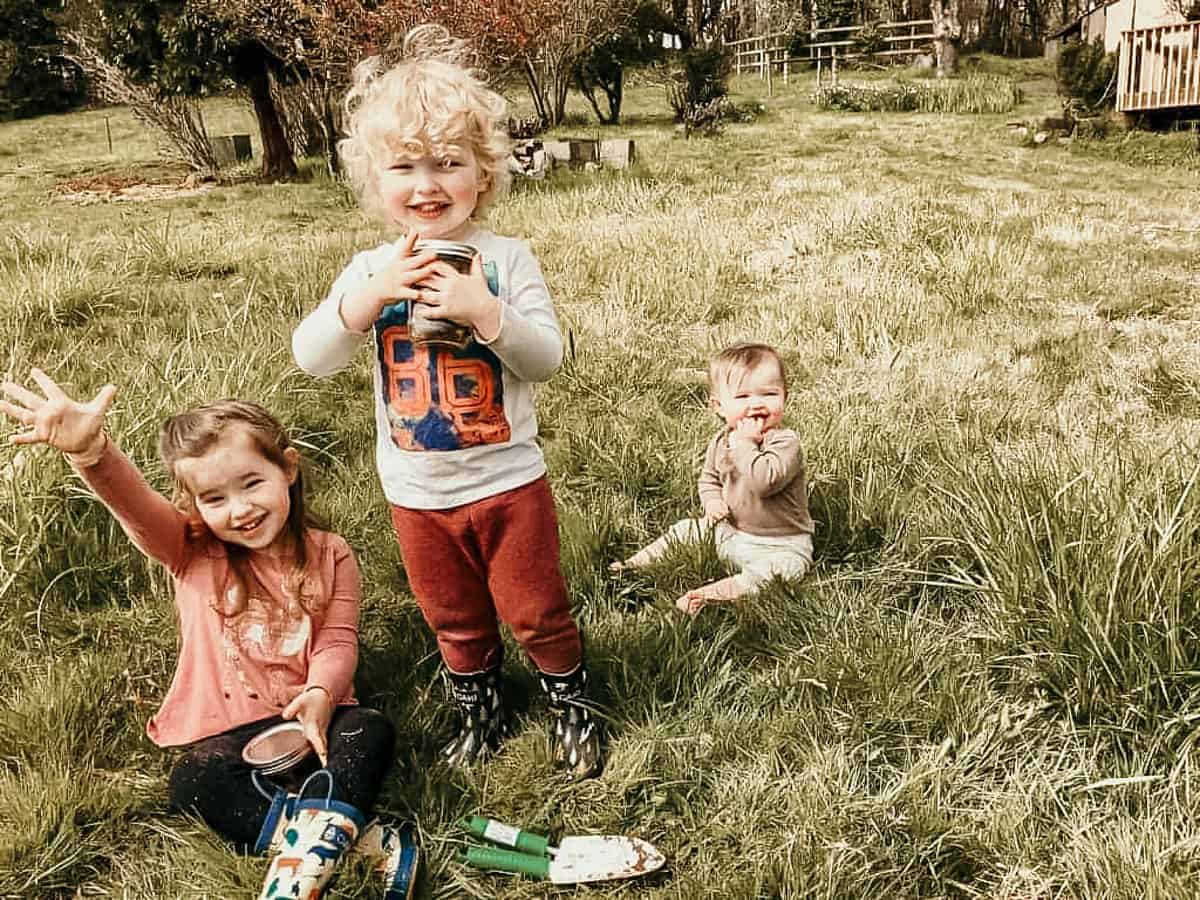
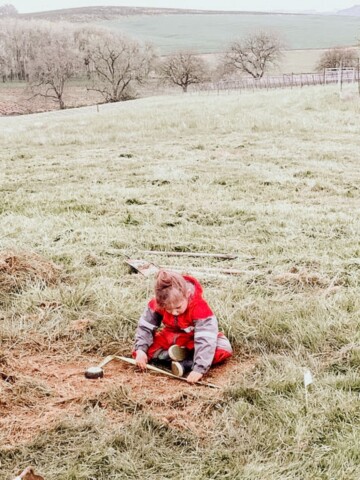
Once we found the perfect spot for our vegetable garden, on a south-facing slope, I helped remove the top layer of turf and let the kids dig in. They filled their jars about halfway with dark reddish-brown soil and capped them.

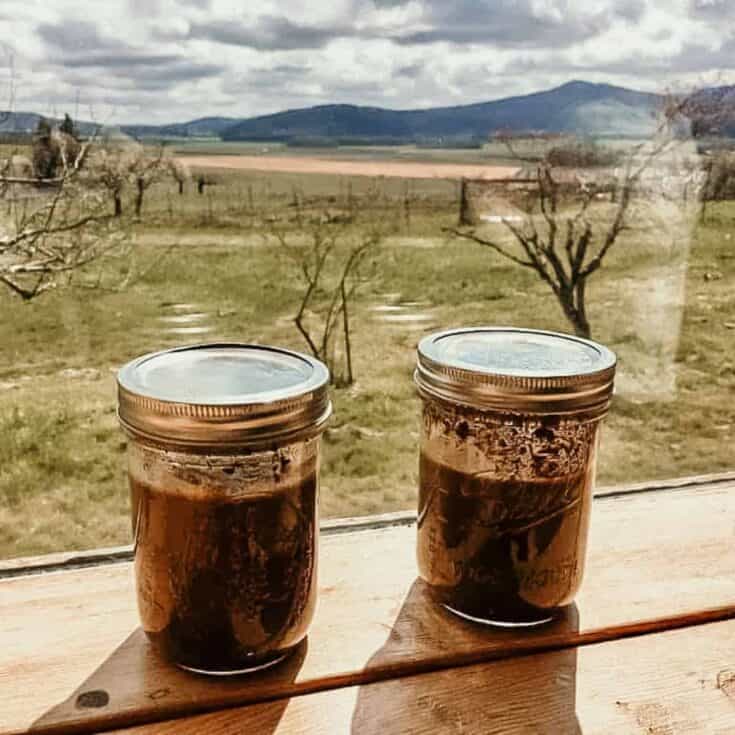
They then filled them ¾ full of water, shook them up till their hearts' content, and set them on a well-lit windowsill for 2 days.
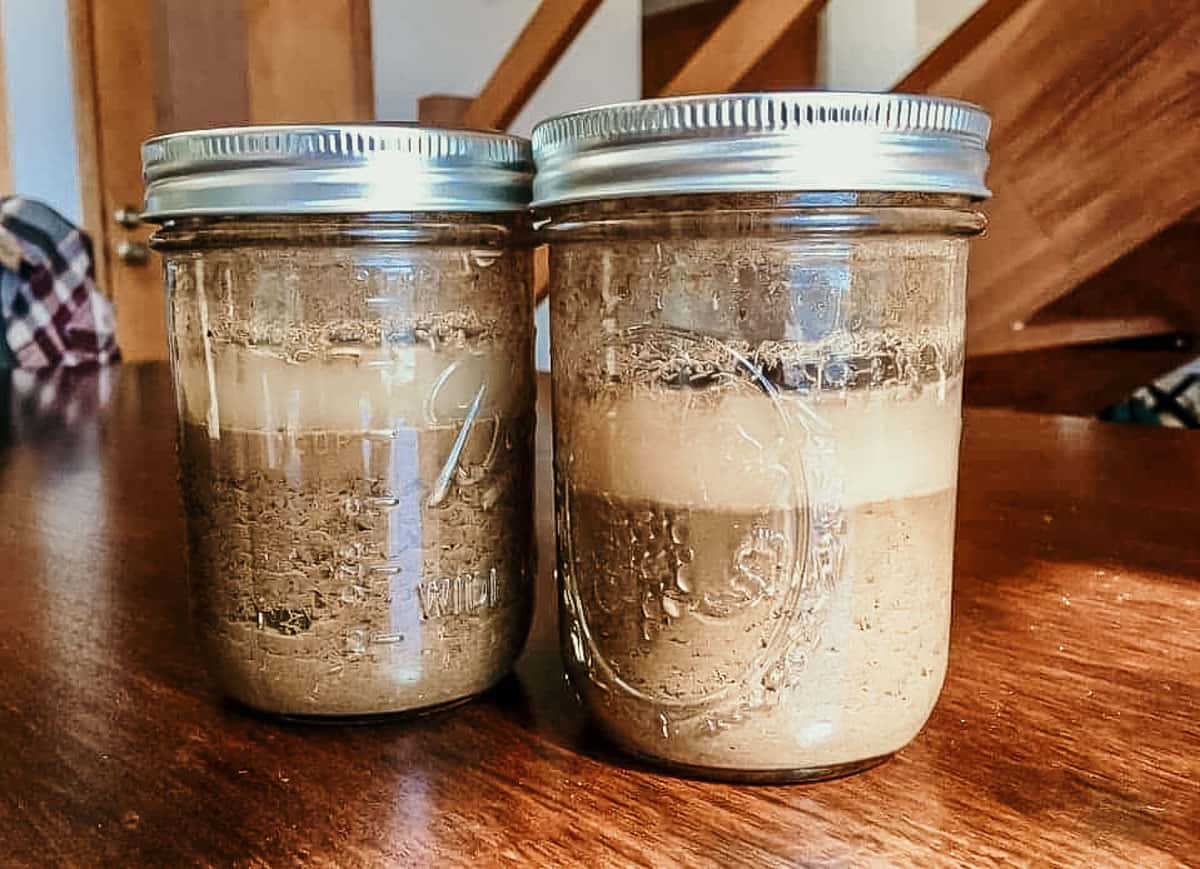
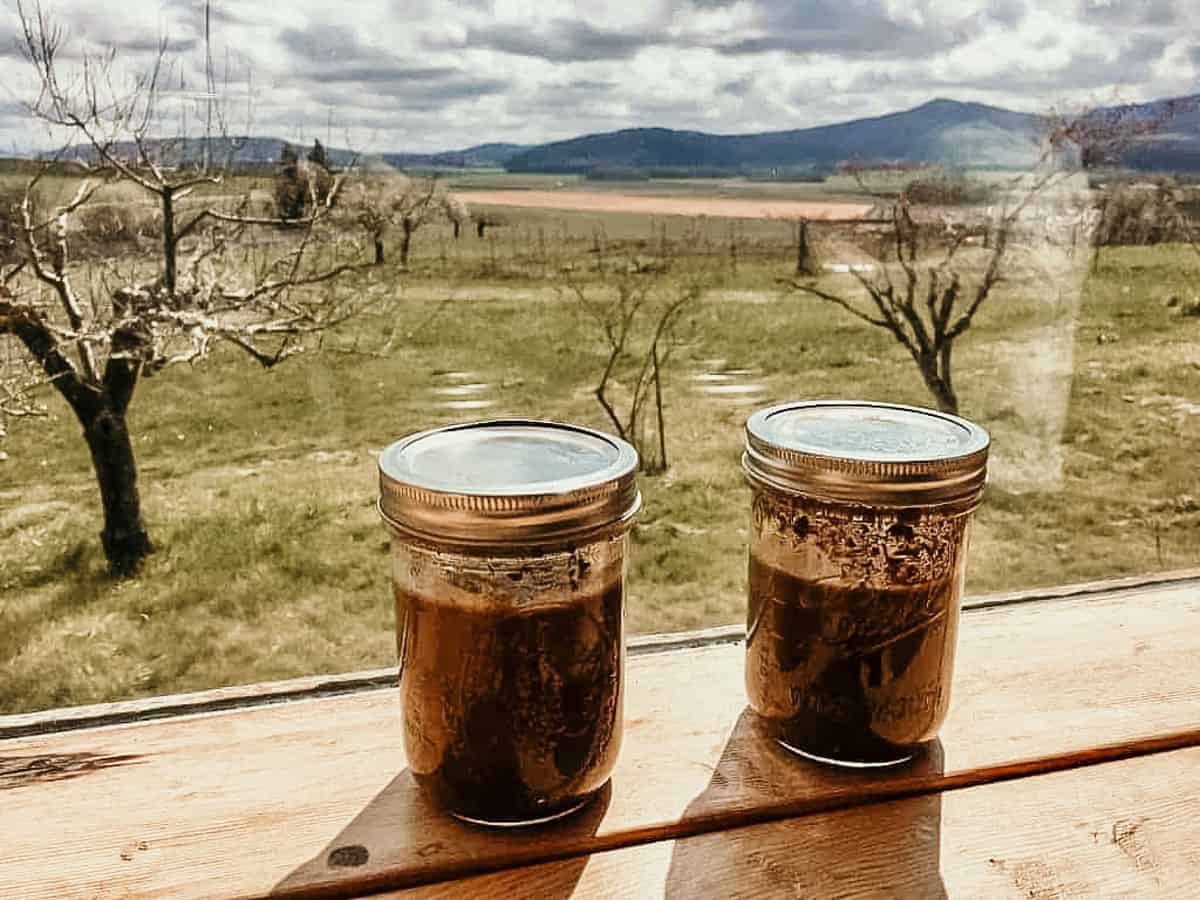
This is what the jars look like after 24 hours.
Once everything is settled, organic matter floats at the top, followed by clay suspended in the water, then silt, and then the heaviest material, sand, at the bottom.
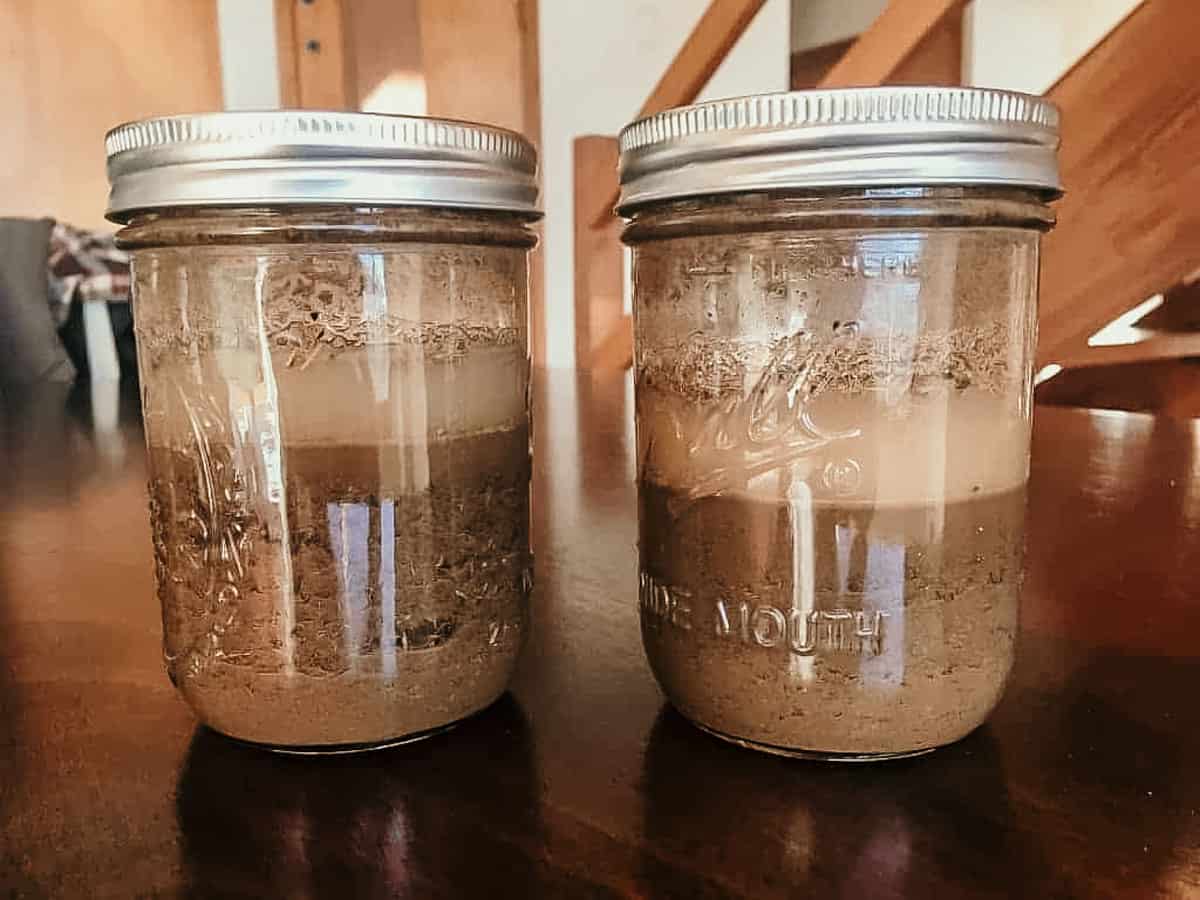
Here they are after 48 hours.
Results
In this layers of soil activity for kids, the jars didn't change much in appearance from 24 to 48 hours. We had some organic matter floating at the top, followed by clay, and then mostly silt. There was no layer of sand in ours. Overall, this is a soil composition consistent with silty clay loam.
Truth be told, I already knew that from having researched Oregon's history and the area we live in, but it's great to confirm that information and for the kids to have some fun in the process. It is a great outdoor practical life activity for preparing to start a garden.
We actually live on Jory soil, which is our official state soil and it's the result of weathered material from igneous bedrock, transported from higher slopes. Depending on the slope, it's considered prime farmland soil by the USDA and has few limitations. We're very fortunate to have such fertile soil to work with, so we're excited to get started.
Jory soil can be slightly to moderately acidic, the former being the ideal, so our kids are doing some pH testing as well, using some simple pantry ingredients, to see where our soil falls in that respect. The results of these two tests help us identify what amendments and how much to add to the soil before we plant.
Have you already started your garden? Are you going to try this layers of soil for kids activity?
If you're looking for books for kids and adults to explore, this botany book collection is for you.
More Kids' Gardening
- Outdoor Practical Life: PNW Vegetable Garden – Soil Temp & DIY Soil pH Testing
- Vegetable Garden Beds: Establishment & DIY Compost
- Vegetable Garden: Sun, Soil, Air, & Water… & Deer
- Montessori Gardening: Empower Kids to Grow Their Own Food & Eat Healthy - Farm to Table
Exploring Layers of Soil for Kids
Exploring layers of soil for kids is an easy kids' gardening activity. Discover nature mentoring books and learn more about your soil.
Materials
- Mason Jar with Lid
- Trowel
- Gardening Fork
- Soil
- Water
Tools
- See Materials List
Instructions
- Locate a place for your garden, preferably a spot that receives several hours of full sun every day.
- Kids can use gardening tools to fill their jars halfway with soil and cover them with the lid. You may need to remove the top layer of turf if this is a new garden. Try to make sure you've obtained a soil sample 6-12 inches in depth. You may need to look up specific depth considerations for your location.
- Bring the jars to your water source and add water until they are ¾ of the way full.
- Screw the lid on the jars and shake them up.
- Set them on a well-lit windowsill for 2 days.
- Take photos periodically to track any changes in the appearance of the layers. You should see settled, organic matter floating at the top, followed by clay suspended in the water, then silt, and then the heaviest material, sand, at the bottom.
- Use the results of your soil composition test to identify the type of soil in the location of your garden. Use the USDA soil texture triangle to find the soil composition.
- Use the books and resources provided to explore additional nature and farm-related topics.
Notes
- Find your soil composition: https://commons.wikimedia.org/wiki/File:SoilTexture_USDA.svg
- Lesson info, pictures, and resources can be found at: https://happyhomeschooladventures.com/outdoor-practical-life-pnw-vegetable-garden-soil-composition-test-sediment-jars/

Leave a Reply