
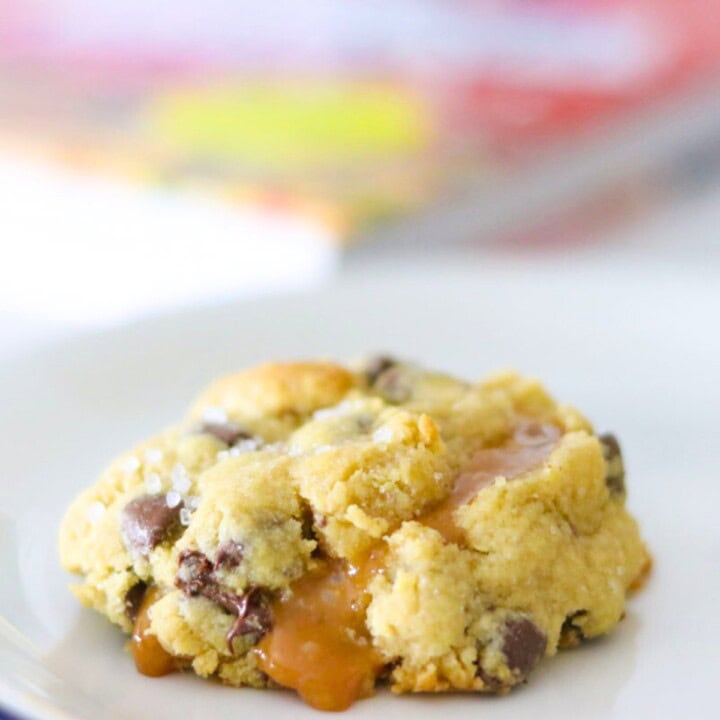
"In this popular Danish cookie, a thick layer of fresh raspberry jam is spread between two large sheets of shortbread, and the top is drizzled with lemony royal icing before it's cut into squares and sprinkled with freeze-dried raspberries. When raspberries are in season, I like to make my own raspberry jam, with less sugar than most commercial varieties, which lets the taste of the fruit shine."
- Nichole Accettola
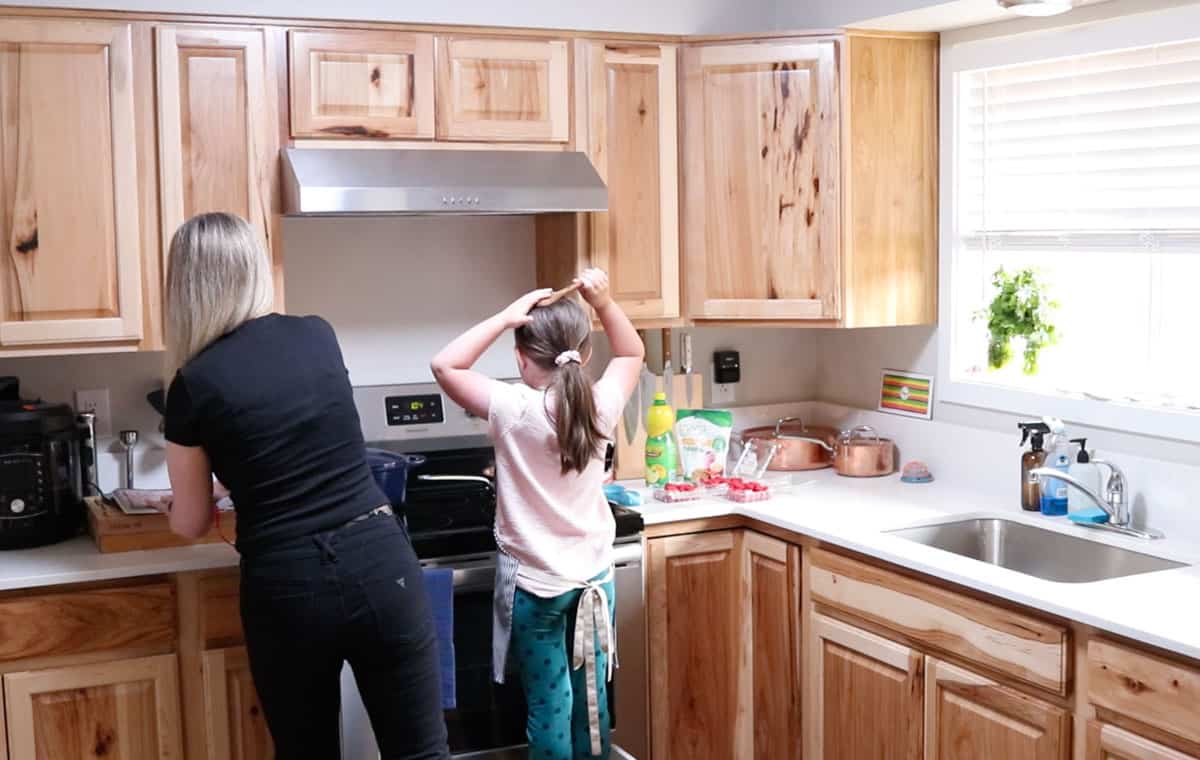
If you're looking for a family-friendly dessert, you can't go wrong with Raspberry Squares, Hindbærsnitter, popular Danish cookies that my kids have decided are world-class homemade Pop-Tarts.
If you can hang onto your spoon long enough for the fresh raspberries to transform into a delicious jam before your very eyes, it's worth the wait. It contains less sugar than most store-bought versions and tastes way better.
Jump to:

Scandinavian from Scratch
This hindbærsnitter recipe comes from Scandinavian from Scratch: A Love Letter to the Baking of Denmark, Norway, and Sweden by Nichole Accettola.
I first set foot in Copenhagen at age eighteen, the summer after graduating from high school. Back in Ohio, I'd become close friends with Malene, a Danish exchange student who spent a year at my school, and so I left home to spend that summer with her family.
I instantly fell in love with the Danish way of life. We went everywhere by bike. Until then, growing up in rural, hilly Ohio, I had barely biked anywhere and became enamored of this new mode of transportation, using my own legs to get me wherever I needed to go!
Because Scandinavia is so far north, the sun practically never sets in summer, and so birds chirp through the night, which I found disorienting and delightful. And that summer I also became smitten with the baked goods there: breads, danishes, cookies, cakes-all of it!
related recipe!
Chocolate Chip Cookies
Each sweet & salty bite of has the perfect texture.

related recipe!
Easy Thumbprint Cookies
Leave your print with this holiday favorite.

Family & Kids Cooking Resources
Beautiful & diverse cooking resources for you!
How to Make Hindbærsnitter: Danish Cookies

Ingredients
- raspberries - these Danish cookies require fresh or thawed frozen raspberries for the jam and freeze-dried raspberries for the topping
- sugar - granulated sugar for the jam and powdered sugar for the shortbread sheets and lemony royal icing. We like to use Stevia instead of granulated sugar, but you do you
- lemon - you'll want lemon juice for the raspberry jam and both the juice and zest of ½ a lemon for the lemony royal icing
- flour - grab your favorite all-purpose flour and cake flour for the perfect Danish cookies
- salt - touch of salt is all you need for the shortbread sheets, but if you cook often, an attractive salt tiger is fun for everyone
- butter - unsalted butter is need for these homemade Pop-Tart lookin' cookies
- vanilla - don't skip out on the vanilla extract. It makes for the perfect shortbread cookie flavor
- egg
- water - you may or may not need to add water to the lemony royal icing, depending on the consistency
Have a specific food allergy?
Click the buttons below to ask AI how to alter it for your diet!
Equipment
- Apron
- Prep Bowls
- Kitchen Scale
- Child-Friendly Knife
- Measuring Spoons
- Measuring Cup
- Saucier
- Wooden Spoon
- Silicone Spatula
- Rolling Pin
- Sheet Pan
- Parchment Paper
- Dough Scraper
- Whisk
- Box Grater
- Mixer
- Cooling Rack

Make the Jam
Wash your hands with soap and water. Place a saucepan/saucier on the stove and turn the heat to medium. Add the berries and the lemon juice to the pan.
Weigh out the sugar needed using the kitchen scale. Transfer the sugar to the pan.

Allow the mixture to simmer and reduce. Stir occasionally and cook for 10 minutes until it thickens slightly. Turn off the stove when finished.

Transfer it to a Small Bowl
Use a spoon to transfer the jam to a small bowl. Place it in the refrigerator to chill.
If you'd like to make it ahead of time, the jam can be stored in the fridge in an airtight container for up to one week.

Combine the Flour, Powdered Sugar, & Salt
Use a kitchen scale to weigh out the all-purpose flour, cake flour, and powdered sugar. Transfer it to a mixer with a flat beater attached.
Use a measuring spoon to add the salt. Mix the ingredients on low until well combined.

Add the Butter
Use a knife to dice the butter. Add it to the mixer and mix on medium-low speed until it forms a coarse sand.

Add the Egg
Crack the egg into the mixer and mix until well-combined.

Add the Vanilla
Use a measuring spoon to add the vanilla to the dough. Mix until well combined. You should end up with one large clump of dough.

Divide the Dough & Refrigerate
Transfer the dough to parchment paper and divide it into two equal portions. Use a kitchen scale to achieve equal weights.

Wrap each portion in parchment paper and refrigerate for 30 minutes to overnight, depending on when you'd like to enjoy your Danish cookies.

Roll Out the Dough
Preheat the oven to 350 degrees Fahrenheit. Be sure to arrange two racks in the upper and lower thirds of the oven.
Remove the dough from the refrigerator and place it on a clean work surface. Unwrap a dough portion, leaving it on the parchment paper. Place another piece of parchment paper on top to prevent the dough from sticking to the rolling pin.
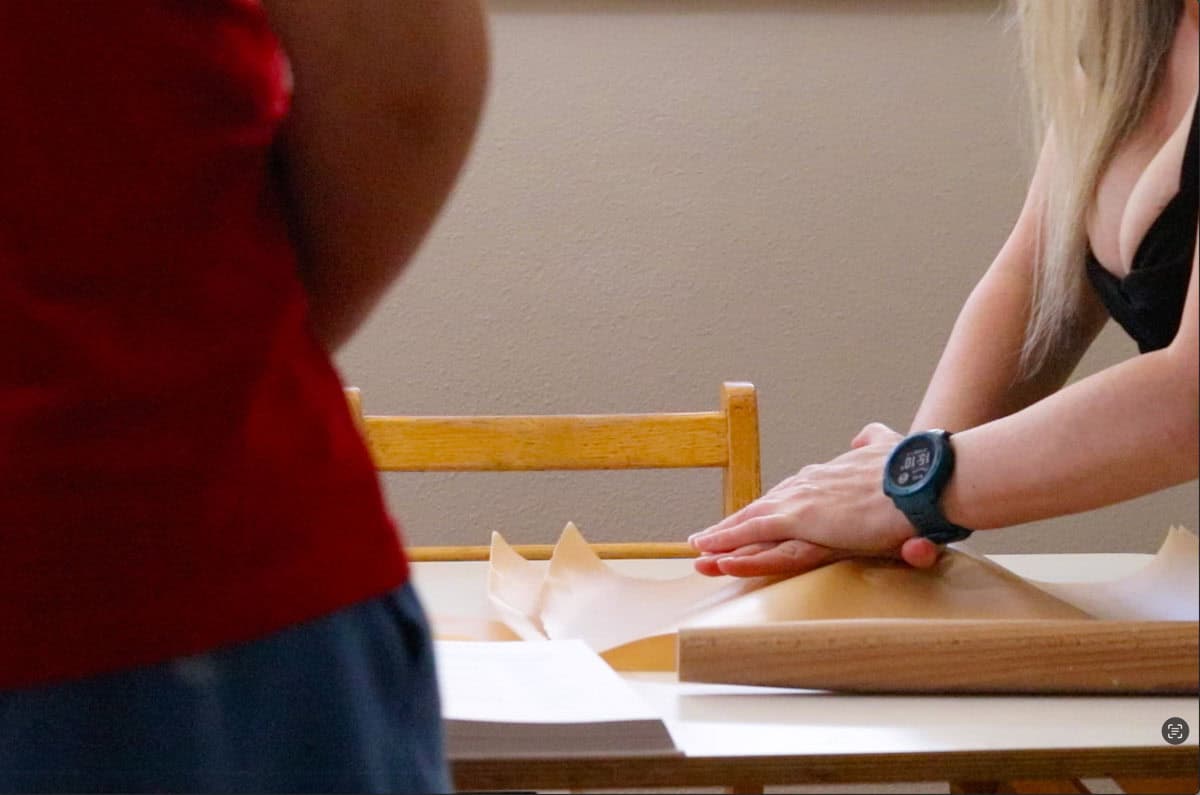
You may need to help your kids get started by flattening it out some before they take over.

Roll the dough into a 9-inch square, ensuring uniform thickness. Repeat with the other dough portion.


Remove the top piece of parchment paper. Use a dough scraper to neaten the edges.

Bake the Shortbread
Transfer each shortbread sheet (along with the bottom layer of parchment paper) to a baking sheet. Use a fork to prick the sheets all over, at least twenty times. This will keep them from puffing while they bake.
Bake the shortbread sheets for 25 to 30 minutes. Be sure to rotate the baking sheets top to bottom and front to back. The edges should be just starting to brown and it should be baked through but not crispy.

Make the Lemony Royal Icing
While the shortbread sheets bake, make the lemony royal icing. Use a scale to weigh the powdered sugar. Add the lemon juice to the bowl with the sugar. Use the box grater for the lemon zest. Whisk everything together.
You may need to add the water to achieve the consistency of thick honey.

Assemble the Danish Cookies
When the shortbread sheets have cooled, transfer them to a clean work surface.

Use a spatula to add the raspberry jam to the bottom layer of shortbread.

Use the spatula to add the icing and then the freeze-dried raspberries to the top layer. Be sure to apply evenly. You should be able to crumble the raspberries in your hand.

Place the layer with the icing on top of the layer with the jam.

If more than one child is working, they can divide tasks. Let the hindbærsnitter rest for about an hour while the icing hardens.

Use a serrated knife to gently cut the hindbærsnitter into 9 3-inch squares. They are best eaten within one day, before the jam has had time to seep through.


free recipe!
Hindbærsnitter
These Danish cookies taste like world-class Pop-Tarts.
Grab your free printable recipe cards above. Kids can gather ingredients using the ingredient list, gather their equipment with the tools list, and prepare the meal using the step-by-step recipe cards, with assistance as needed.
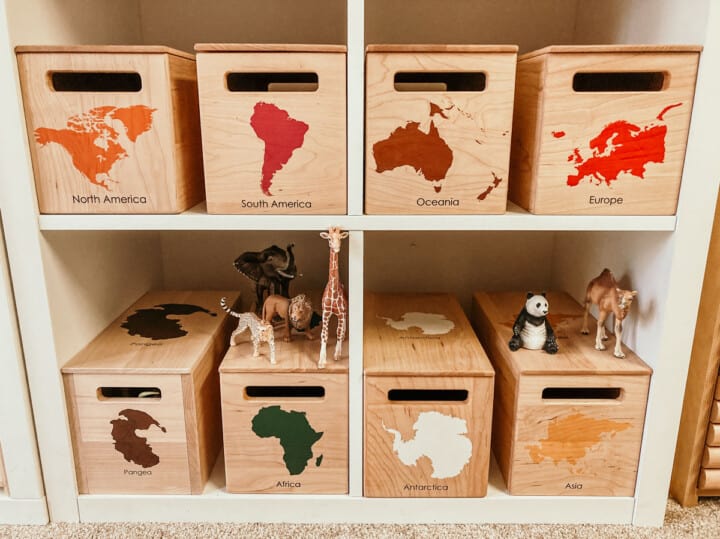
The cards are easy to use, include pictures, and encourage confidence and independence in the kitchen. They also make an excellent addition to your Montessori continent box for Europe.
Montessori Continent Boxes
Explore every continent with these solid maple hardwood boxes.

Hindbærsnitter: Danish Cookies
Equipment
- Silicone Spatula
- Parchment Paper
- Whisk
- Box Grater
Ingredients
Raspberry Jam
- 2 cups raspberries fresh or thawed frozen
- ½ cup granulated sugar
- 1 tablespoon fresh lemon juice
Shortbread Sheets
- 1 ¼ cups all-purpose flour
- 1 ½ cups cake flour
- 1 cup powdered sugar
- ½ teaspoon kosher salt
- 1 cup unsalted butter cold, diced
- 1 egg
- 1 teaspoon vanilla extract
Lemony Royal Icing
- 1 cup powdered sugar
- ½ lemon juice and zest
- 1 to 2 teaspoon water if needed
To Finish
- 1 cup freeze-dried raspberries
Instructions
- Make the Jam: Wash your hands with soap and water. Place a saucepan/saucier on the stove and turn the heat to medium. Add the berries and the lemon juice to the pan. Weigh out the sugar needed using the kitchen scale. Transfer the sugar to the pan. Allow the mixture to simmer and reduce. Stir occasionally and cook for 10 minutes until it thickens slightly. Turn off the stove when finished.
- Transfer it to a Small Bowl: Use a spoon to transfer the jam to a small bowl. Place it in the refrigerator to chill.
- Combine the Flour, Powdered Sugar, & Salt: Use a kitchen scale to weigh out the all-purpose flour, cake flour, and powdered sugar. Transfer it to a mixer with a flat beater attached. Use a measuring spoon to add the salt. Mix the ingredients on low until well combined.
- Add the Butter: Use a knife to dice the butter. Add it to the mixer and mix on medium-low speed until it forms a coarse sand.
- Add the Egg: Crack the egg into the mixer and mix until well-combined.
- Add the Vanilla: Use a measuring spoon to add the vanilla to the dough. Mix until well combined. You should end up with one large clump of dough.
- Divide the Dough & Refrigerate: Transfer the dough to parchment paper and divide it into two equal portions. Use a kitchen scale to achieve equal weights. Wrap each portion in parchment paper and refrigerate for 30 minutes to overnight, depending on when you'd like to enjoy your Danish cookies.
- Roll Out the Dough: Preheat the oven to 350 degrees Fahrenheit. Be sure to arrange two racks in the upper and lower thirds of the oven. Remove the dough from the refrigerator and place it on a clean work surface. Unwrap a dough portion, leaving it on the parchment paper. Place another piece of parchment paper on top to prevent the dough from sticking to the rolling pin. You may need to help your kids get started by flattening it out some before they take over. Roll the dough into a 9-inch square, ensuring uniform thickness. Repeat with the other dough portion. Remove the top piece of parchment paper. Use a dough scraper to neaten the edges.
- Bake the Shortbread: Transfer each shortbread sheet (along with the bottom layer of parchment paper) to a baking sheet. Use a fork to prick the sheets all over, at least twenty times. This will keep them from puffing while they bake. Bake the shortbread sheets for 25 to 30 minutes. Be sure to rotate the baking sheets top to bottom and front to back. The edges should be just starting to brown and it should be baked through but not crispy.
- Make the Lemony Royal Icing: While the shortbread sheets bake, make the lemony royal icing. Use a scale to weigh the powdered sugar. Add the lemon juice to the bowl with the sugar. Use the box grater for the lemon zest. Whisk everything together. You may need to add the water to achieve the consistency of thick honey.
- Assemble the Danish Cookies: When the shortbread sheets have cooled, transfer them to a clean work surface. Use a spatula to add the raspberry jam to the bottom layer of shortbread. Use the spatula to add the icing and then the freeze-dried raspberries to the top layer. Be sure to apply evenly. You should be able to crumble the raspberries in your hand. Place the layer with the icing on top of the layer with the jam. If more than one child is working, they can divide tasks. Let the hindbærsnitter rest for about an hour while the icing hardens. Use a serrated knife to gently cut the hindbærsnitter into 9 3-inch squares. They are best eaten within one day, before the jam has had time to seep through.
Notes
- If you'd like to make it ahead of time, the jam can be stored in the fridge in an airtight container for up to one week.
- Best eaten within one day
- Never leave cooking food unattended
- Always have good ventilation when using a gas stove
- See more guidelines at USDA.gov.
- Full Recipe Info and Pictures at: https://happyhomeschooladventures.com/danish-cookies
Nutrition
Estimated nutrition information is provided as a courtesy and is not guaranteed.

Leave a Reply