
"Pizza is synonymous with New York. I don't view it as an Italian thing. Especially slice pizza. It was born here, you know what I'm saying? It caters to everyone. It's not a bougie thing; it's super accessible and anyone can have it. It's what I always wanted in opening a spot, specifically a shop like what I grew up with in the city, where anybody could line up for an affordable slice and everybody got treated the same."
- Scarr Pimentel
Whether it's a plain pie, white pie, Sicilian, or something in between, you can't go wrong with New York-style crust on your pizza. Everyone knows NY has the best pizza, and the secret is that special NY pizza dough that makes every slice unforgettable.
Stop longing for the days when you can hit up that slice shop on the corner and make your own New York-style pizza dough.
Jump to:
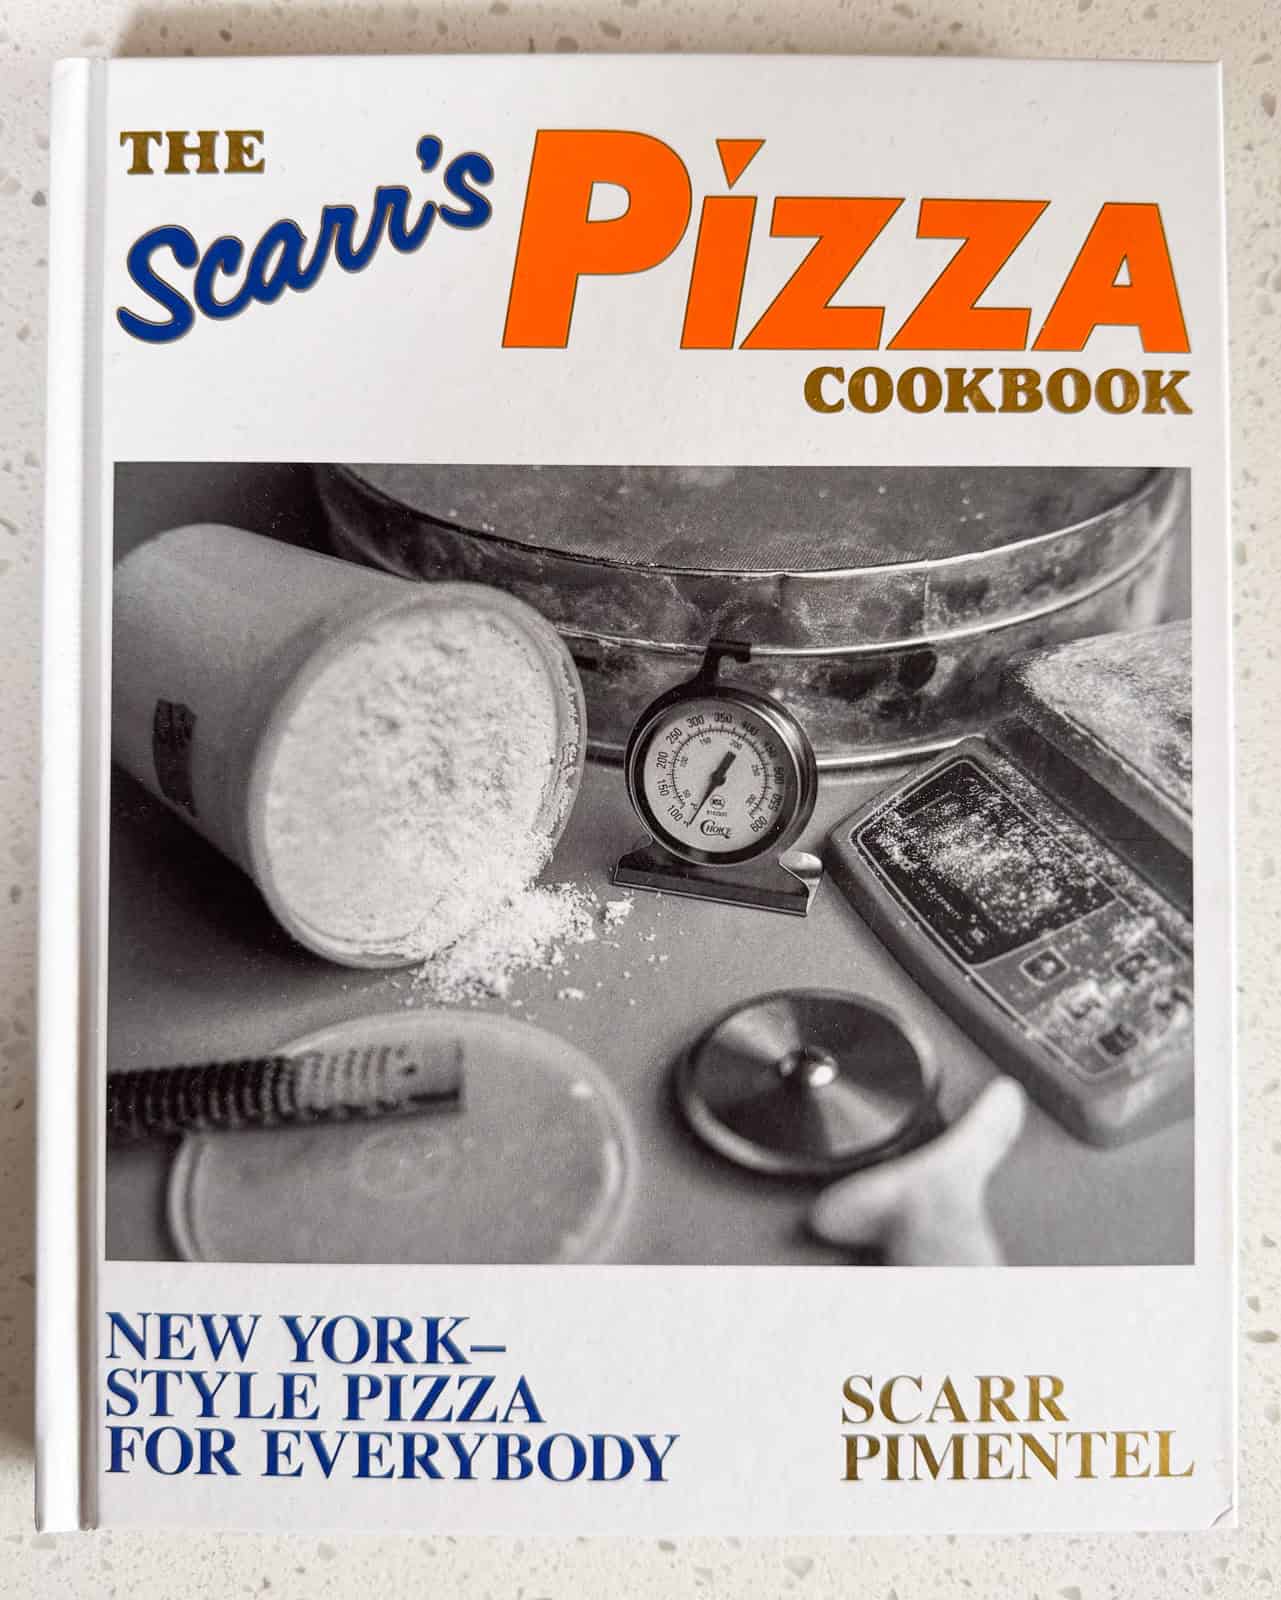
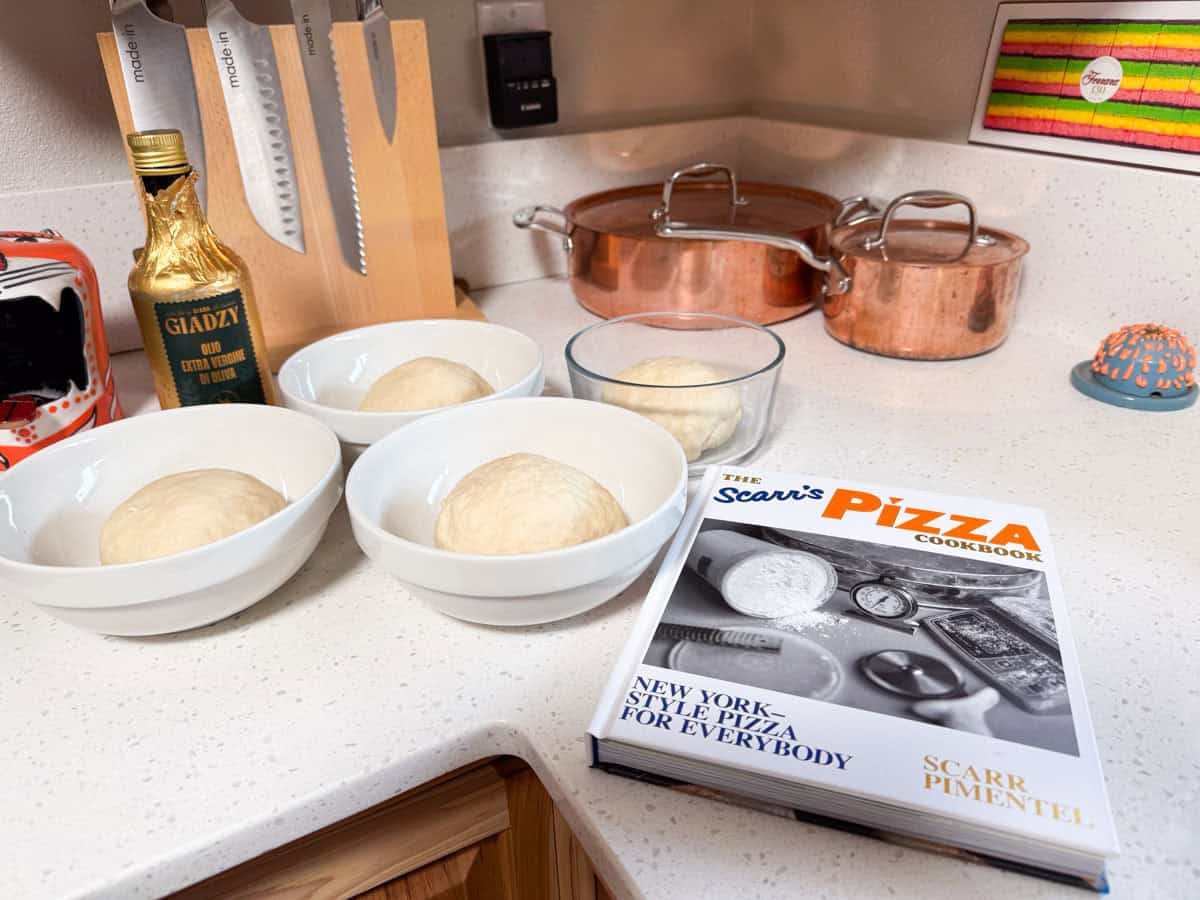
The Scarr's Pizza Cookbook
This New York-style pizza dough recipe comes from The Scarr's Pizza Cookbook: New York-Style Pizza for Everybody by Scarr Pimentel.
I fell in love with pizza because it brings people together from all over. It forces them to congregate and talk to each other. Slice-shop culture with counter service is different from being in a sit-down restaurant.
In my shop, you get someone from Middle America next to someone who grew up in a hood here. You'll see a Muslim person next to a Jewish person waiting on line together. We get photographers, construction workers, building supers, regular people from the neighborhood.
You don't see that anywhere else. It's democratic. That's what makes New York slice pizza beautiful.

related recipe!
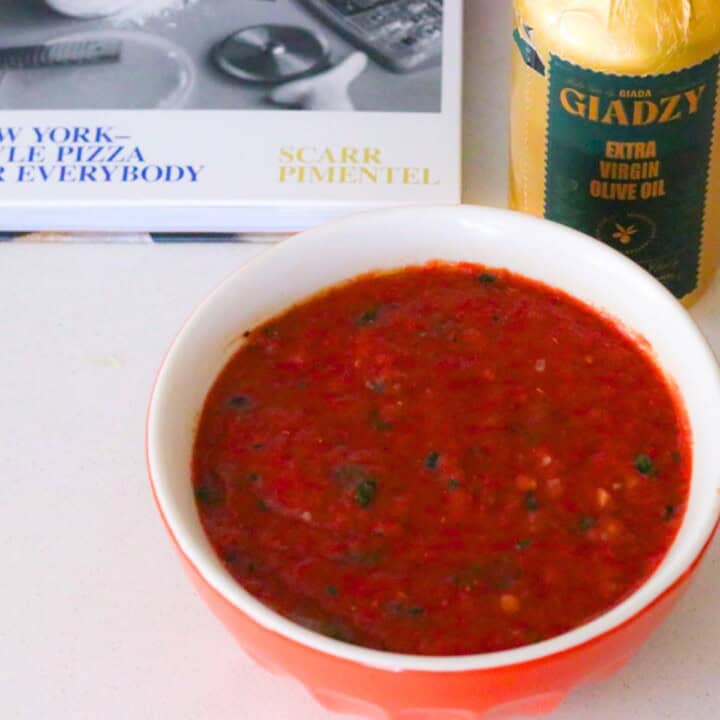
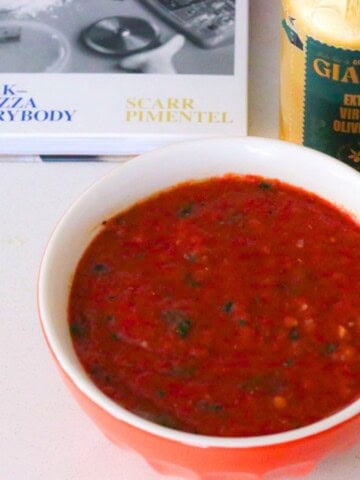
New York Pizza Sauce
Pick up some NY history with this sauce.

related recipe!
NY Pizza
Don't mess with the best! This plain pie knows what's up.

related recipe!
White Pie
A perfect marriage of cheeses: mozzarella, ricotta, and pecorino, baked on NY's finest dough. You'll forget all about a pizza with a sauce.
If you like these pizzas, try fugazzeta.

start your journey!
Family & Kids Cooking Resources
Beautiful & diverse books for you!
How to Make Homemade NY Pizza Dough
Ingredients
- sugar
- yeast - fresh yeast or dry yeast will work. See the recipe card for the correct amount
- water - use cold water for best results
- flour - a 50:50 blend of high-gluten and all-purpose flour is recommended, plus extra all-purpose for stretching and flouring your workspace
- salt - Kosher salt is recommended
- oil - grab your favorite olive oil for the best New York-style pizza crust
Food Allergy or Substitution Needed?
Click the button below to ask AI how to alter it for your diet!
Equipment
- prep bowls
- kitchen scale
- stand mixer with dough hook and whisk attachment
- bench scraper (optional)
- spatula (optional)
- plastic wrap
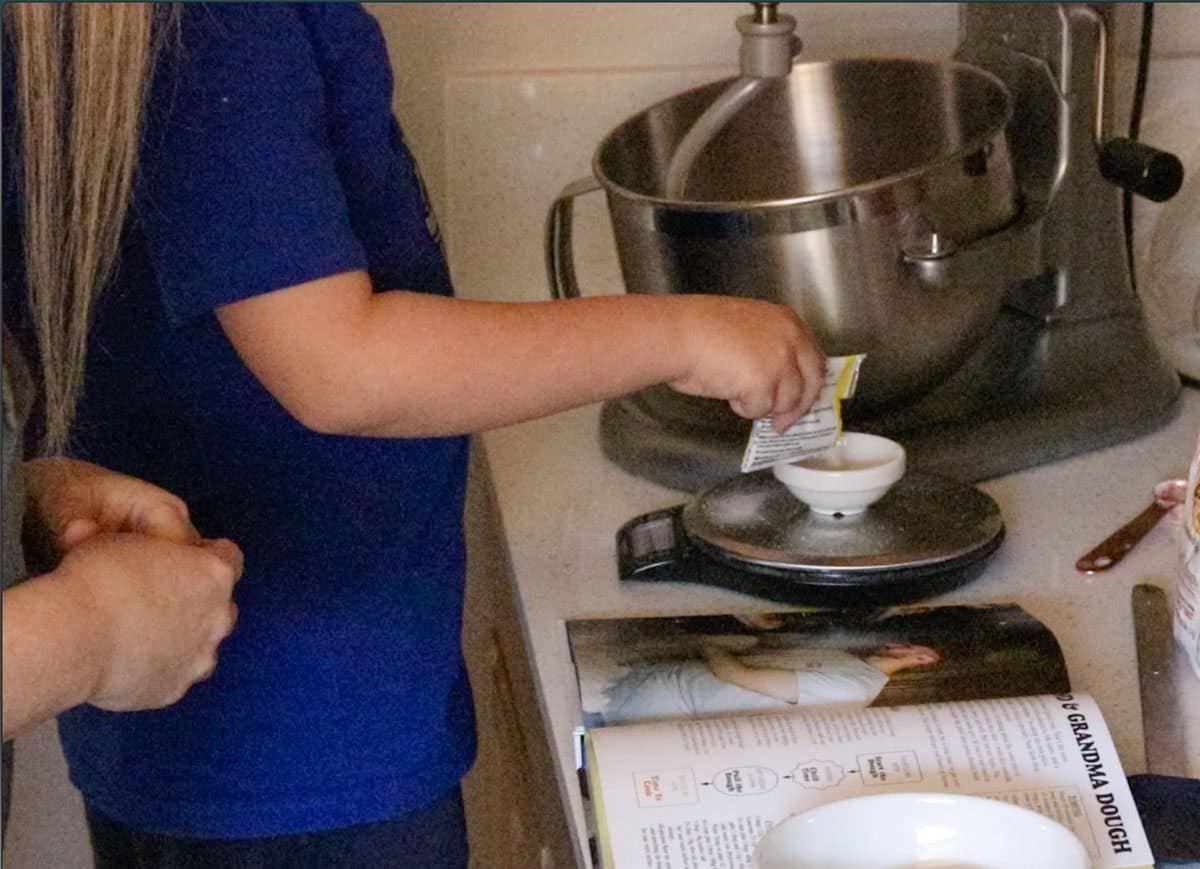
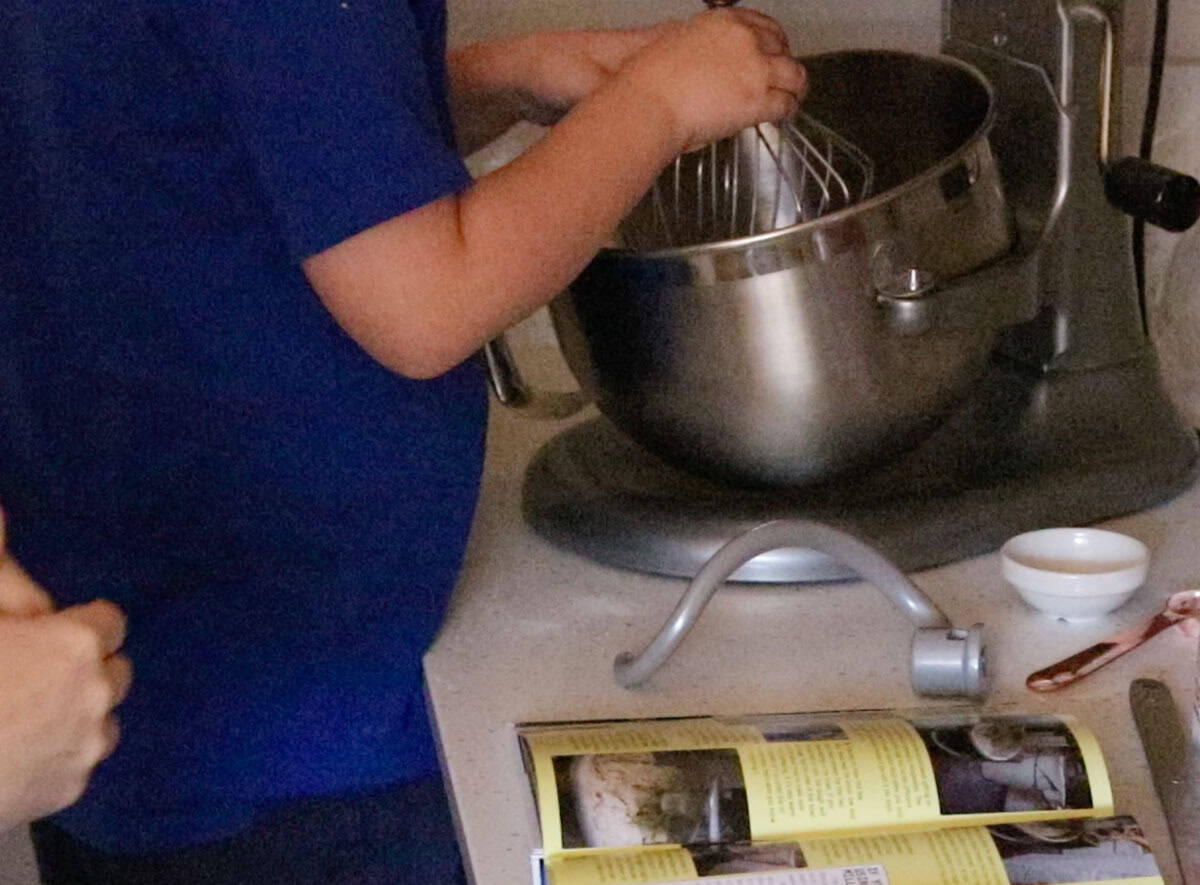
Combine the Yeast, Sugar, and ½ of the Water
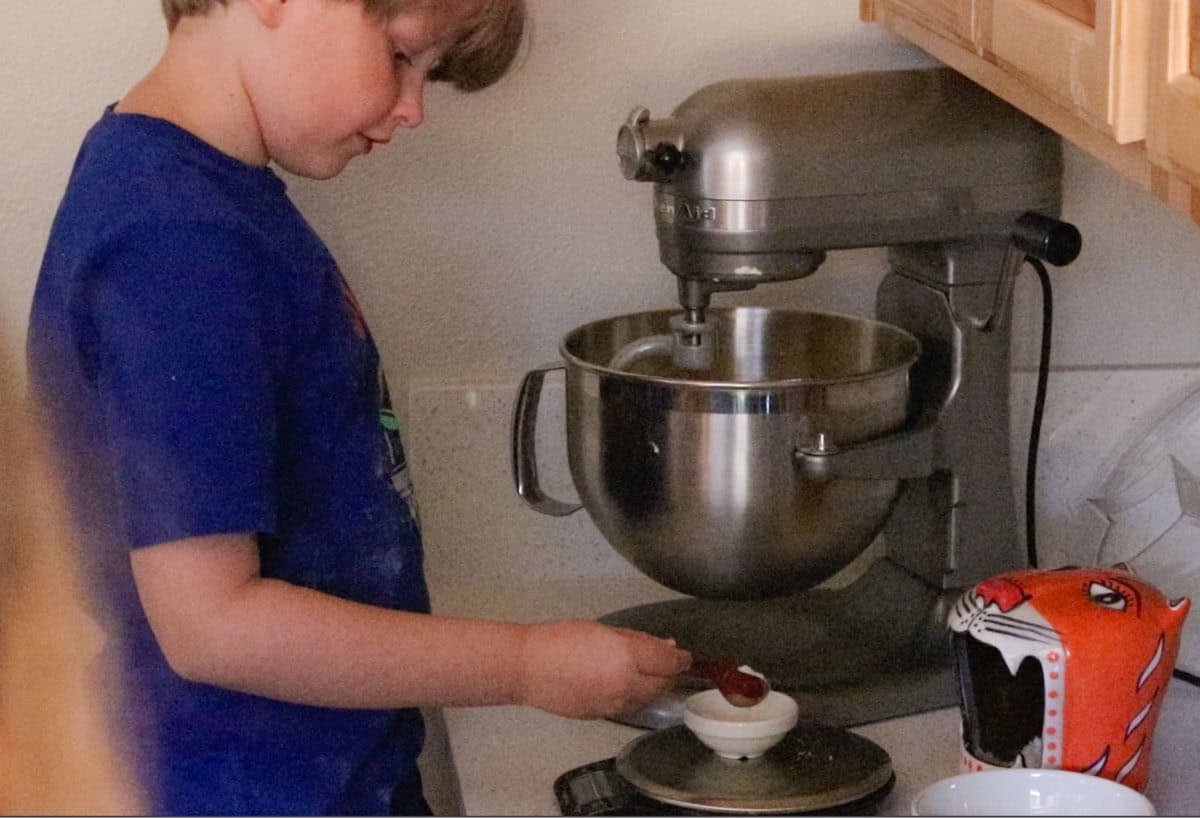
Wash your hands with soap and water. Use a whisk to combine the yeast, sugar, and half of the total water in the bowl of a stand mixer.
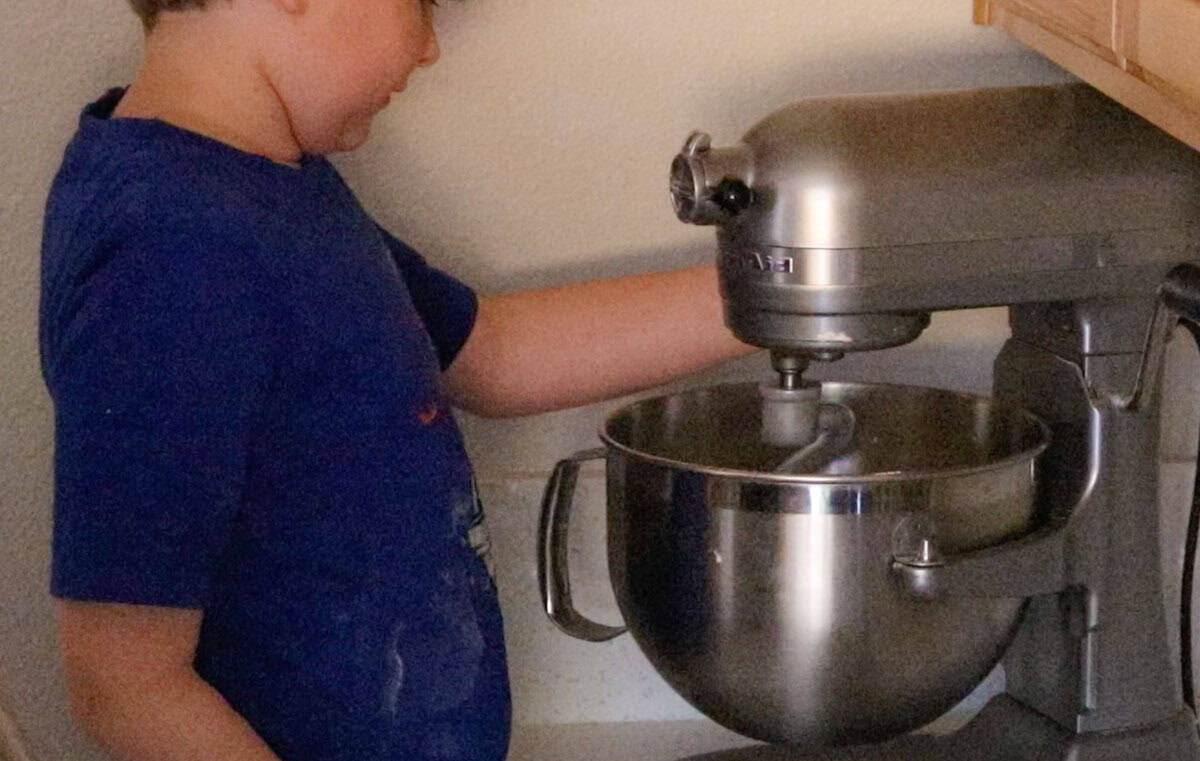
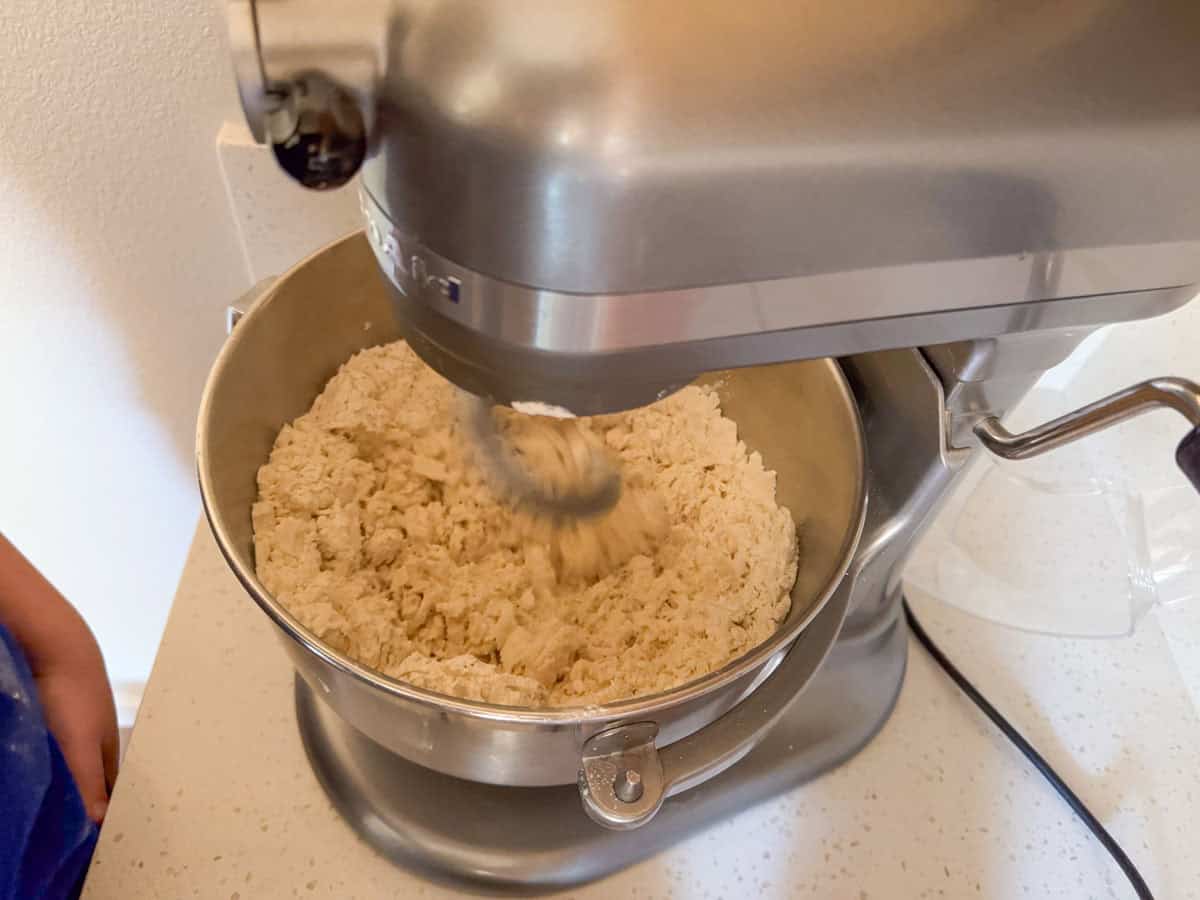
Add the Flour
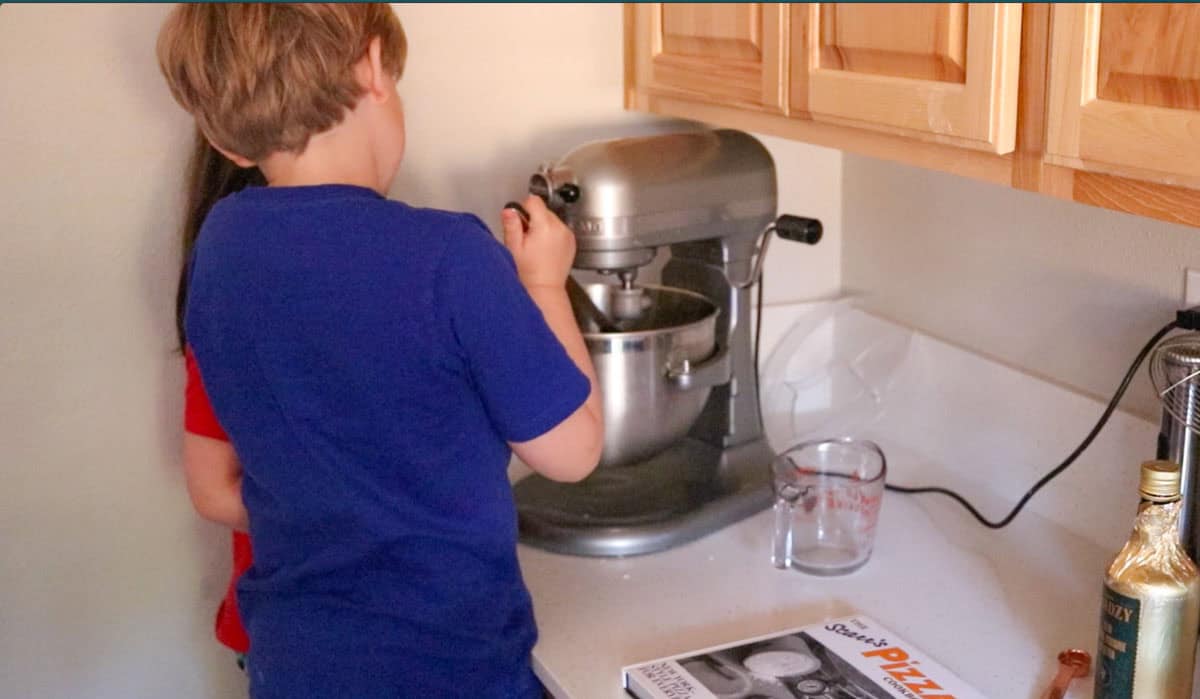
Add the flour to the yeast mixture. Set up the bowl on the mixer stand and attach the dough hook. Turn the mixer on the lowest setting to mix for 5 minutes. The sugar, yeast, and water mixture should absorb into the flour. It will look soft and crumbly.
Add the Salt
Add the salt to the mixing bowl. Mix on the lowest or second-lowest setting for 3 minutes.
Scarr says not to add the salt at the same time as the yeast because it may kill the yeast.
Add ½ of the Remaining Water
Add half of the remaining water in a steady stream and mix for 4 to 6 minutes at the same speed. The mixture should start to look more like shaggy dough.
Scrape the Sides of the Bowl
If the dough is creeping up the sides of the bowl while mixing, pause the mixer. Use a spoon or spatula to scrape the sides of the bowl and then resume mixing.

Keep it Low and Slow
The mixer should be on the lowest or second lowest setting. Mixing the dough too fast will cause it to toughen. Feel the sides of the bowl and the mixer to make sure it isn't overheating.
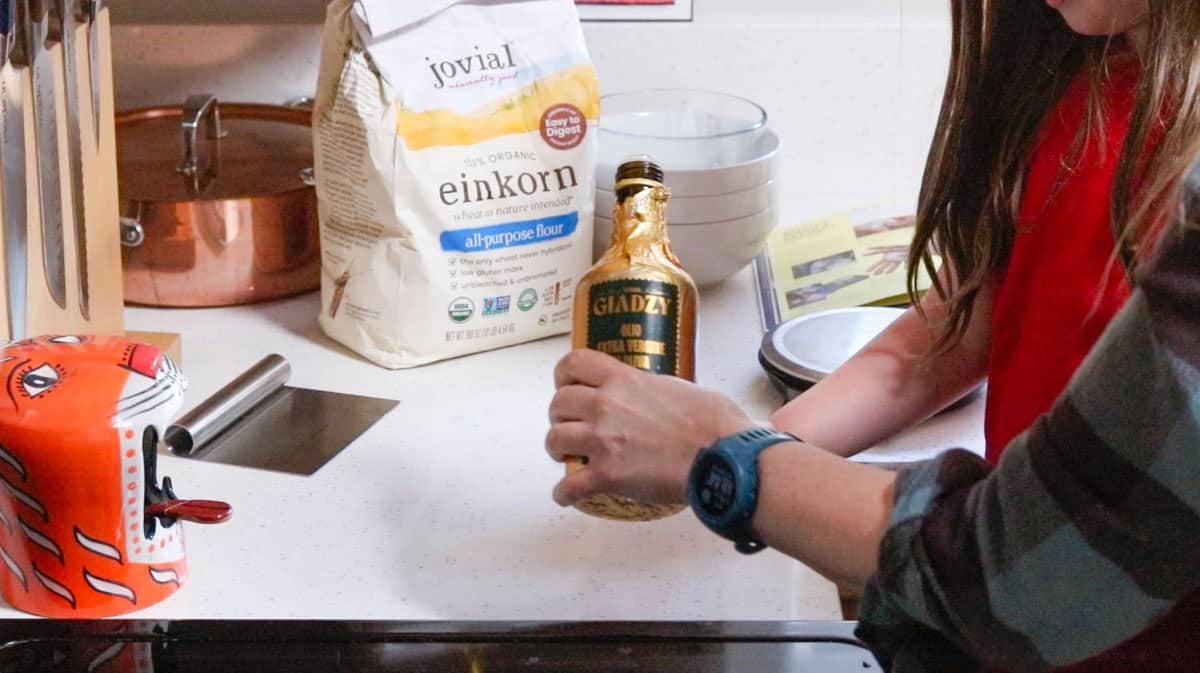
Add the Oil
Add the oil in a steady stream and mix for 4 to 5 minutes, until the oil is absorbed. The dough will have a slight sheen to it. It should look and feel like stiff Play-Doh.
Add the Remaining Water
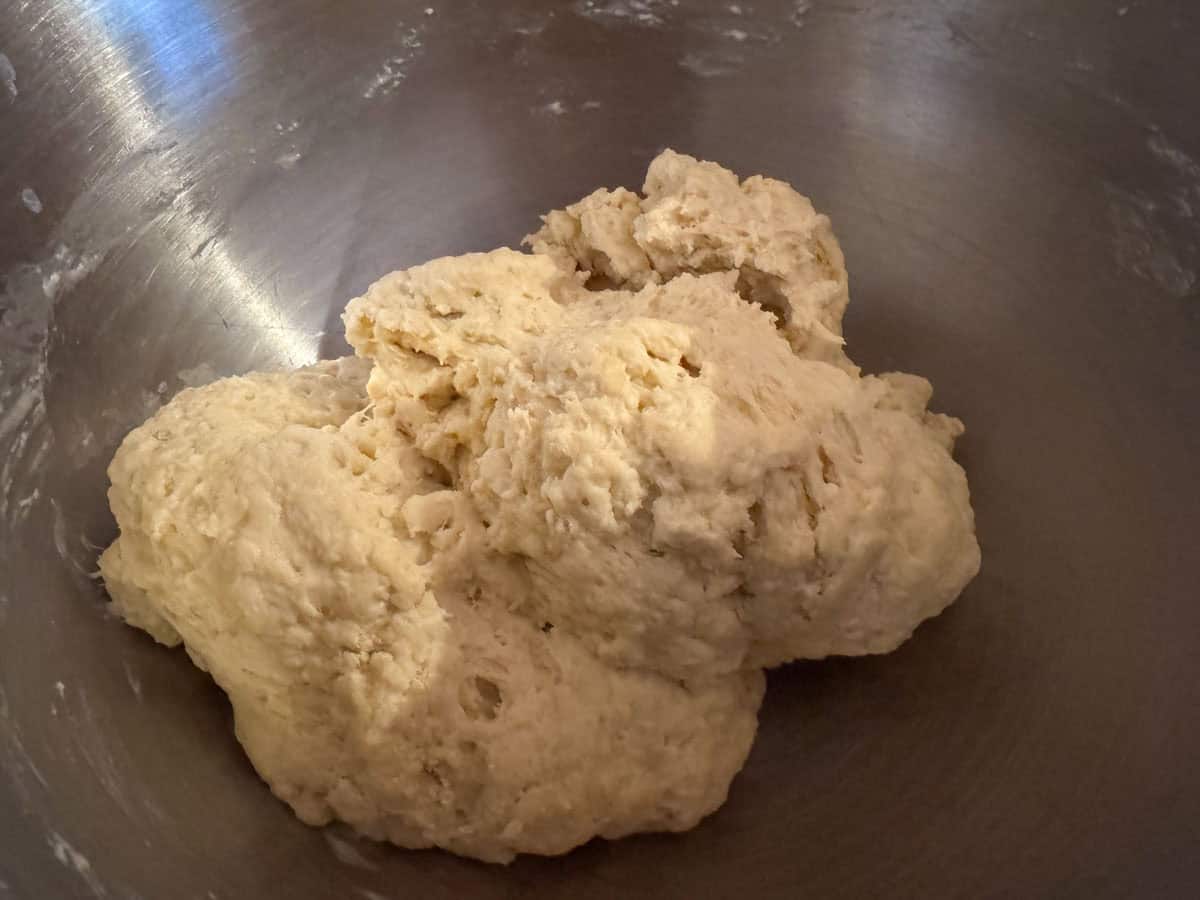
Add the remaining water to the mixing bowl in a steady stream while the mixer runs on low. Mix for 5 to 7 minutes. The dough will loosen and then come back together to form a clean dough ball.
Take it Up a Notch
At this point, you can turn up the mixing speed to 4 or 5, if needed, to allow the water to absorb. Be patient. Give it another minute or two in the mixer if it's not coming together right away.

Let it Rest
Turn off the mixer. Leave the dough in the mixing bowl. Cover it with plastic wrap or a cloth. Let it rest at room temperature for 20 to 30 minutes.
One Last Spin
Turn the mixer on medium speed for 30 seconds to tighten up the dough ball. It should look and feel smooth.
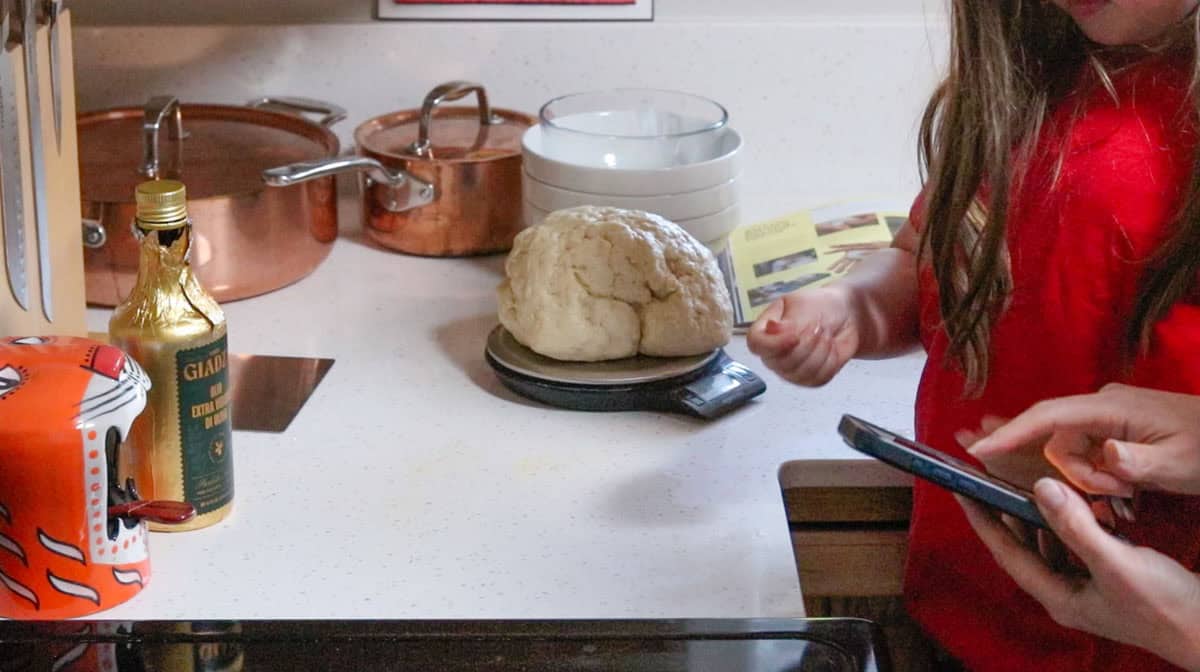
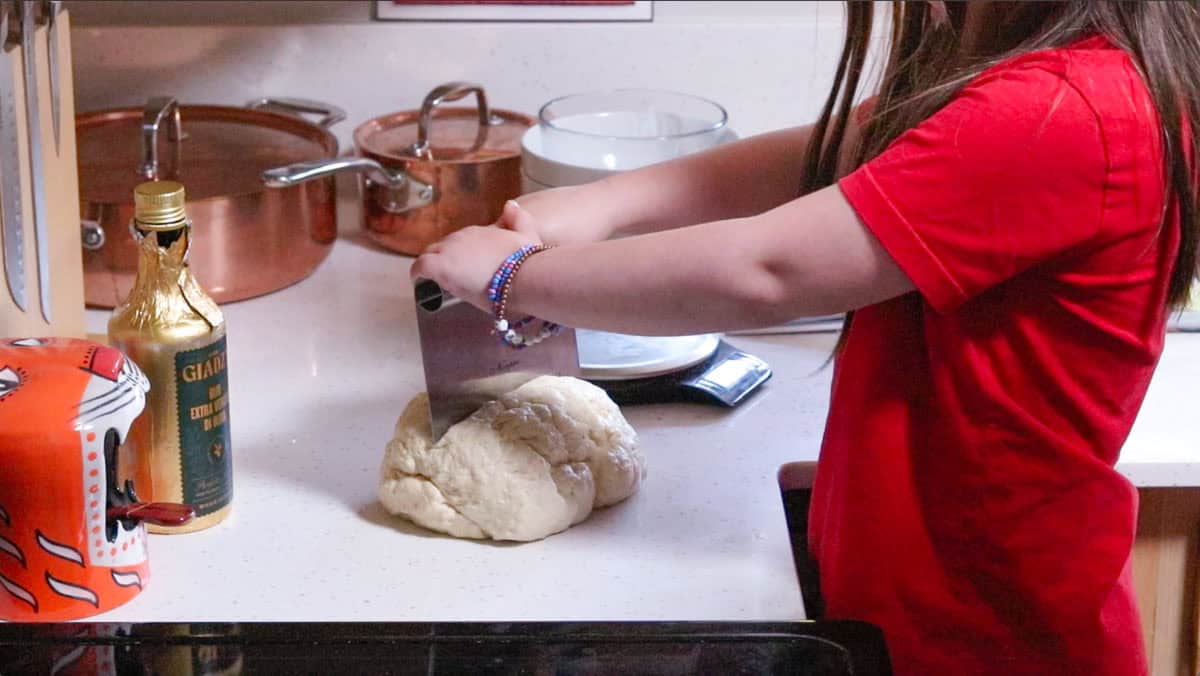
Divide the Dough
Lightly oil a clean work surface. Transfer the dough to the work surface using your hands and/or a bench scraper. Use a kitchen scale to divide the dough into 4 equal portions.
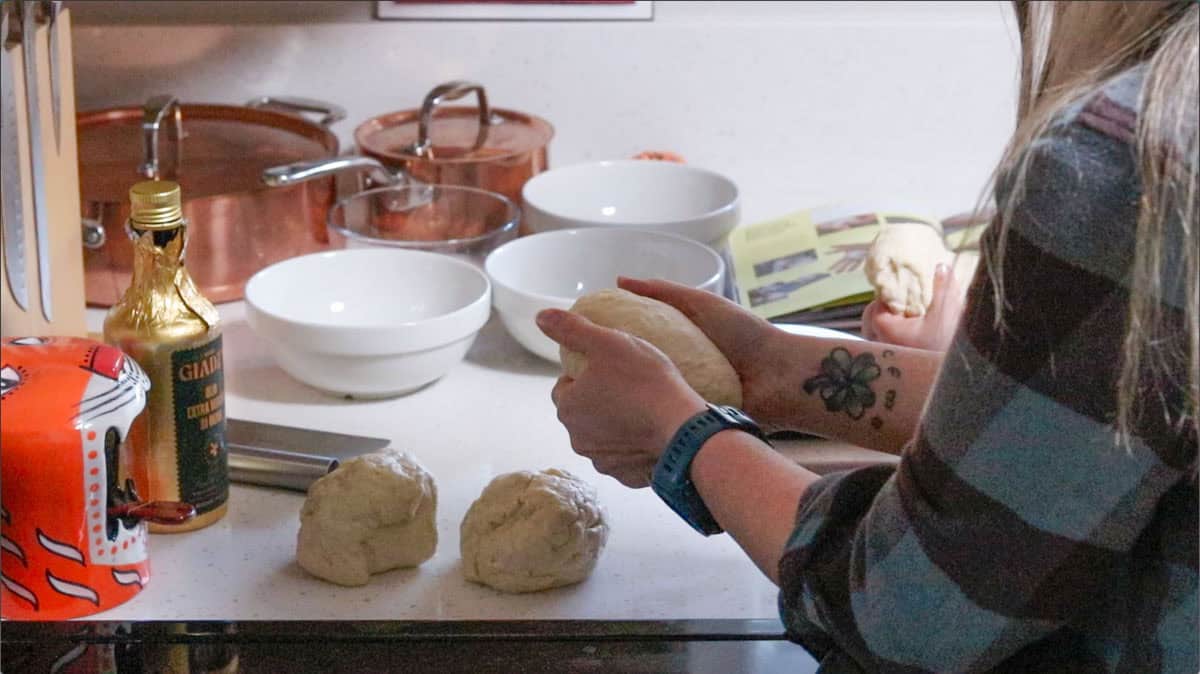
Ball the Dough
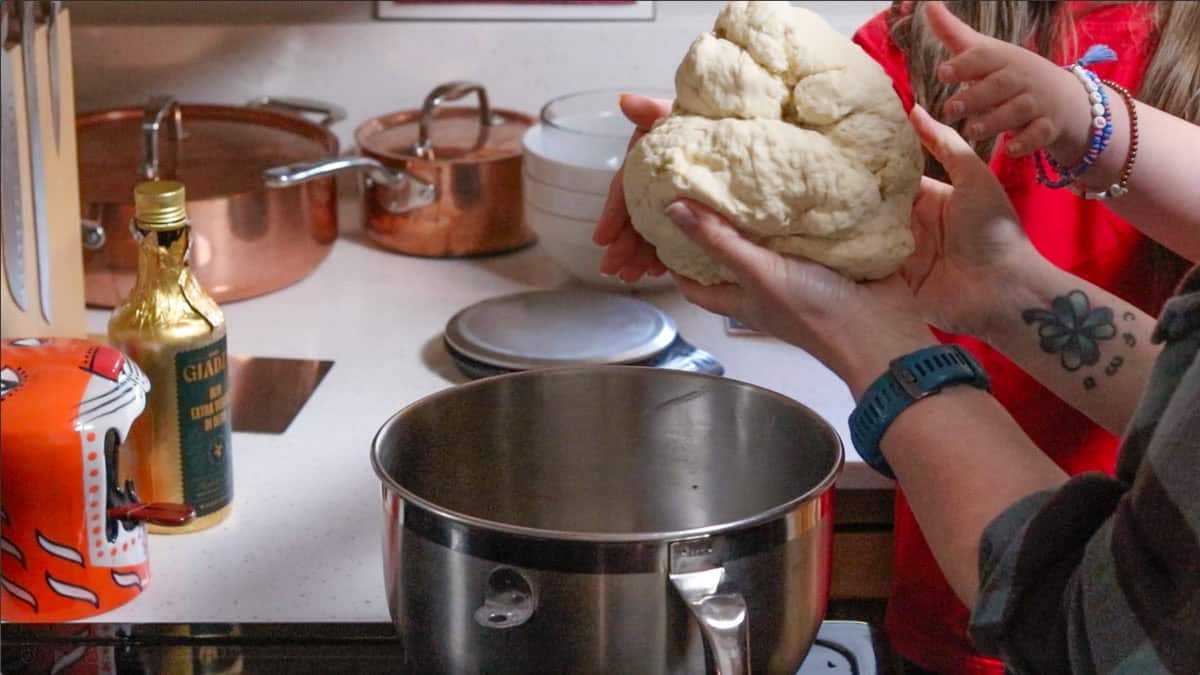
Grab one dough ball. Gently pull and fold the edges up toward each other into the center. Repeat 2 or 3 times.

With the center facing up, turn the dough ball in your hands a few times, using one hand to turn and one hand to cup the dough. It should feel smooth and taut. Crimp or pinch the center of the dough ball closed.
Repeat for the remaining 3 dough balls.
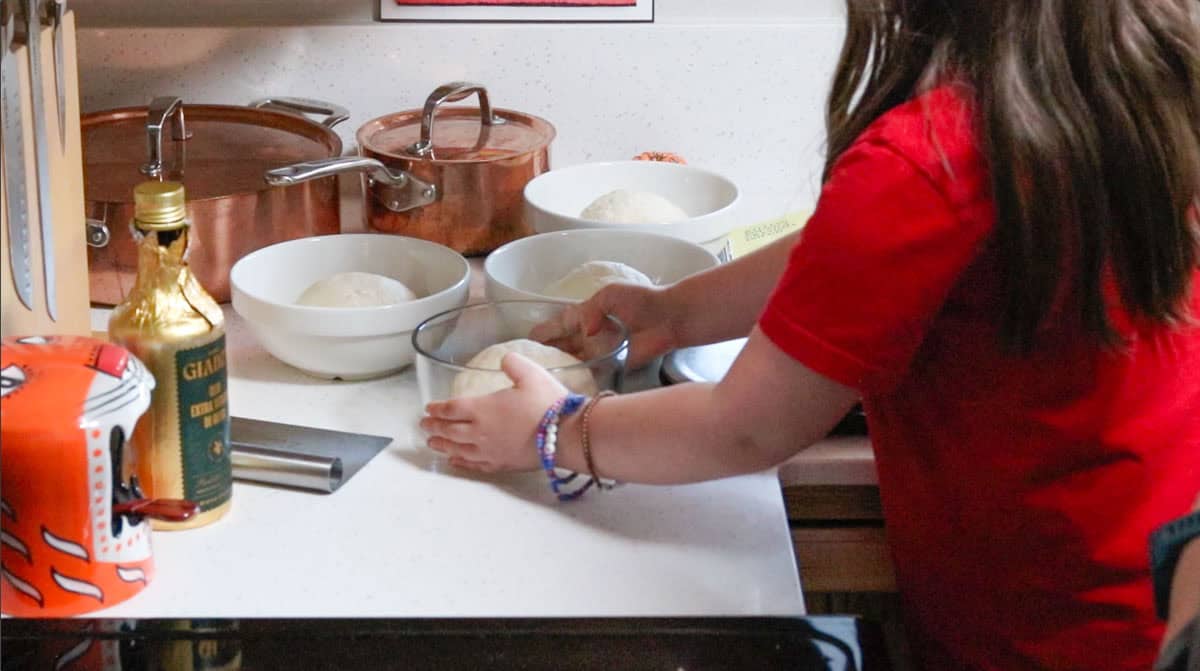
One Long Final Rest
Lightly coat 4 containers with oil. Transfer each dough ball to its own container. Cover them with a tight-fitting lid or plastic wrap.
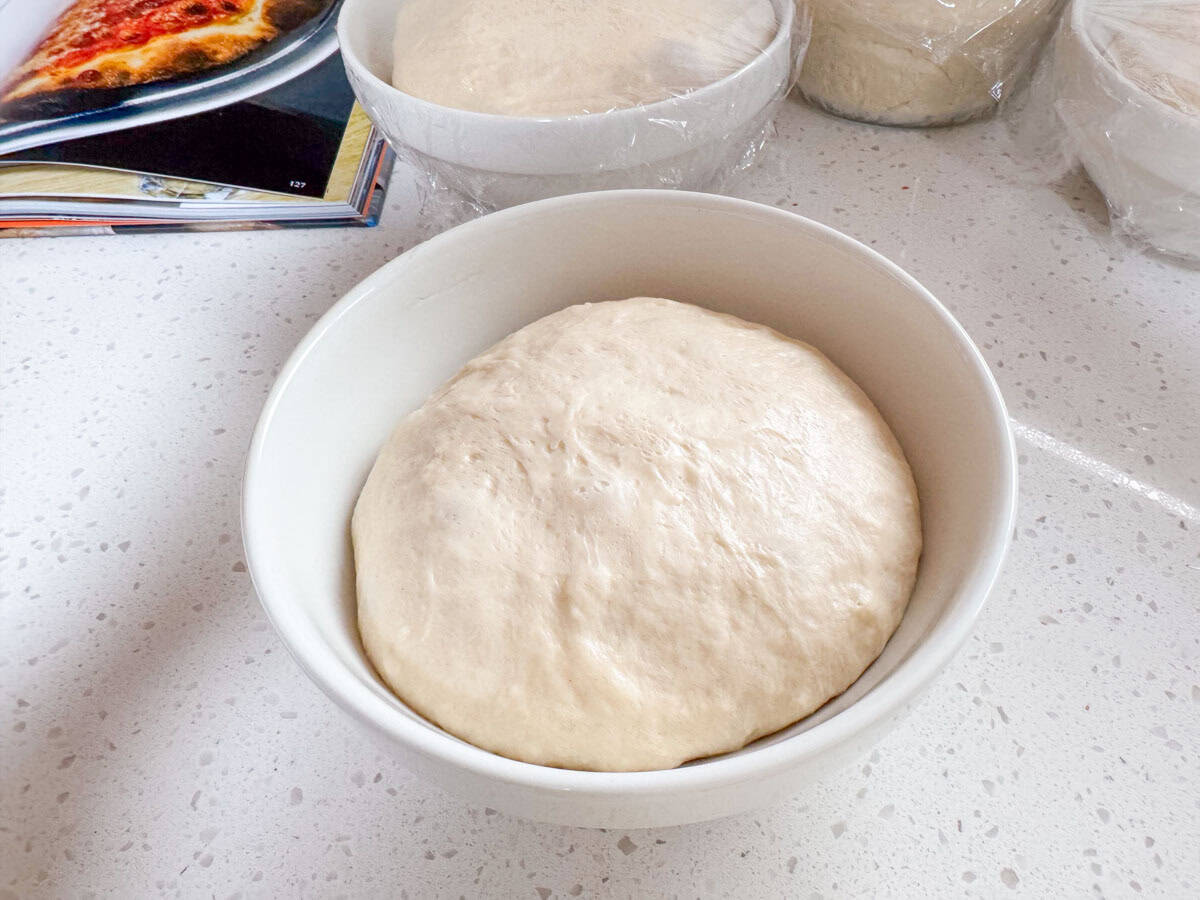
Allow the dough to rest in the fridge for at least 12 hours, ideally 24 to 48 hours, and a maximum of 4 to 5 days. The dough will have doubled in size when ready.
To check if it's ready, press your fingertip or knuckle into the dough. It should dimple, then spring back slowly, leaving a small indent. If it doesn't pass the test, place it back in the fridge. It should also smell like bread. If it smells like beer or alcohol, it's overproofed.
Top Tip
When you're ready to use the dough, remove it from the fridge and let it sit at room temperature for 2 to 3 hours before baking. Do not exceed 5 to 6 hours at room temp.
Need to use the dough in less than 2 to 3 hours after removing it from the fridge? Set it in a warm spot in your house. It's ready to use once it has reached room temperature.

free recipe!
New York-Style Pizza Dough
Stop longing for the days when you can hit up that slice shop on the corner and make your own instead!
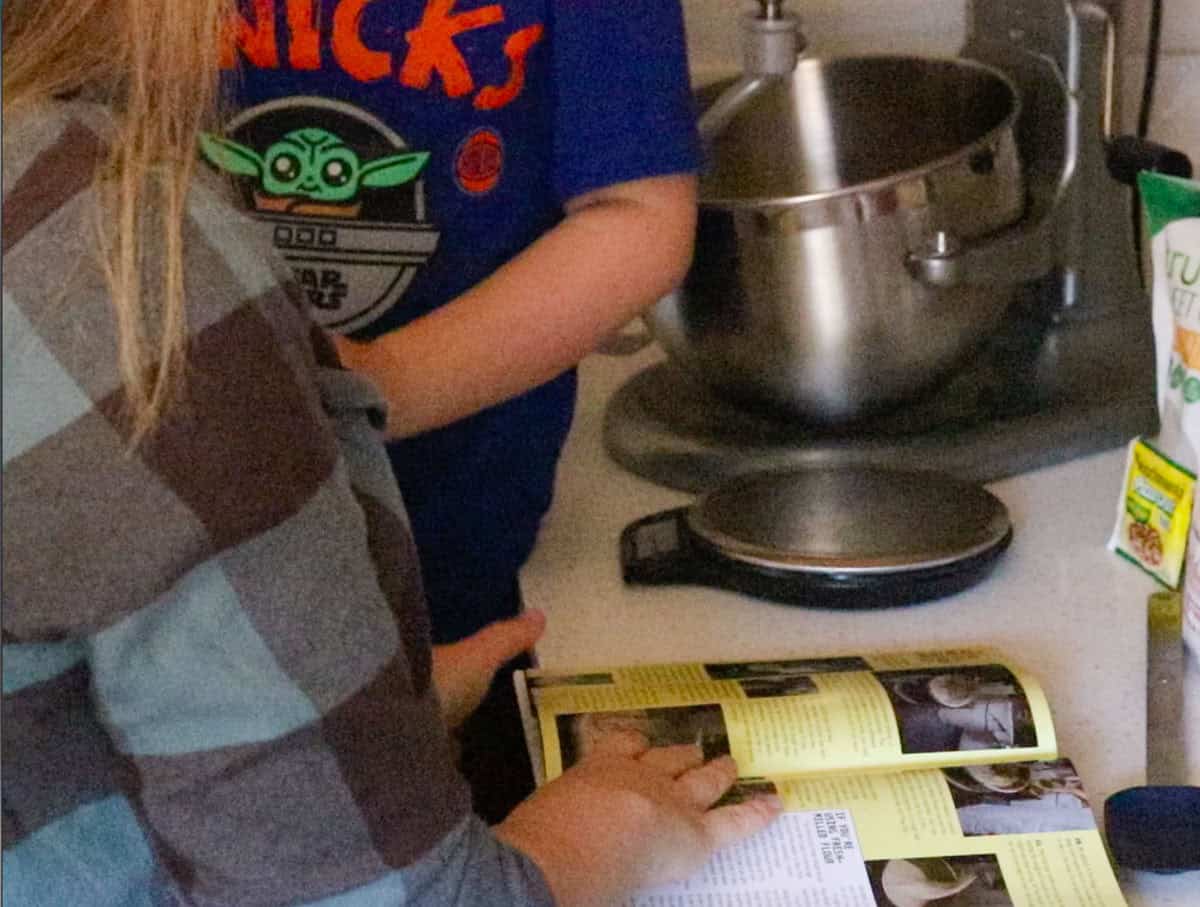
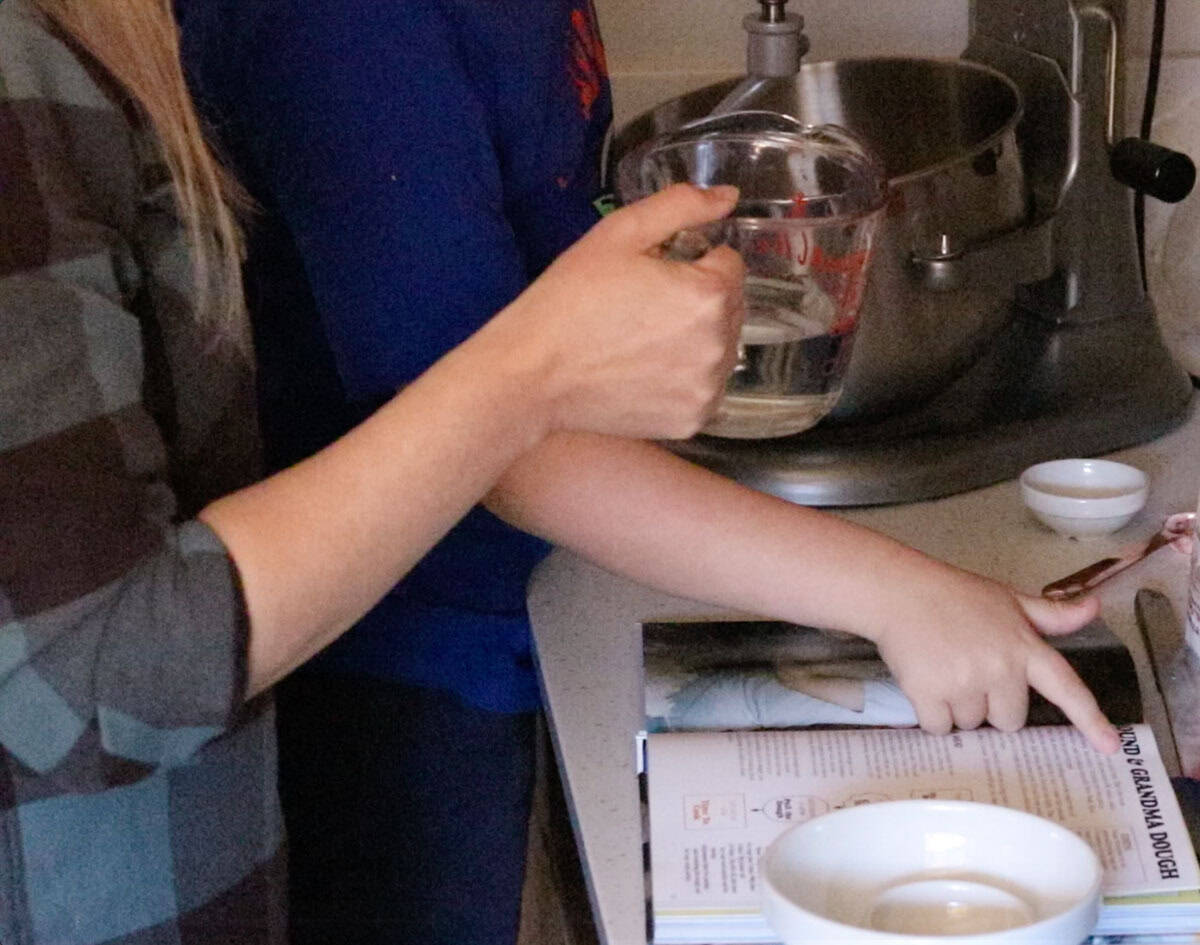
Grab your free printable recipe cards above. Kids can gather ingredients using the ingredient list, gather their equipment with the tools list, and prepare the meal using the step-by-step recipe cards, with assistance as needed.
The cards are easy to use, include pictures, and encourage confidence and independence in the kitchen. They also make an excellent addition to your Montessori continent box for North America.
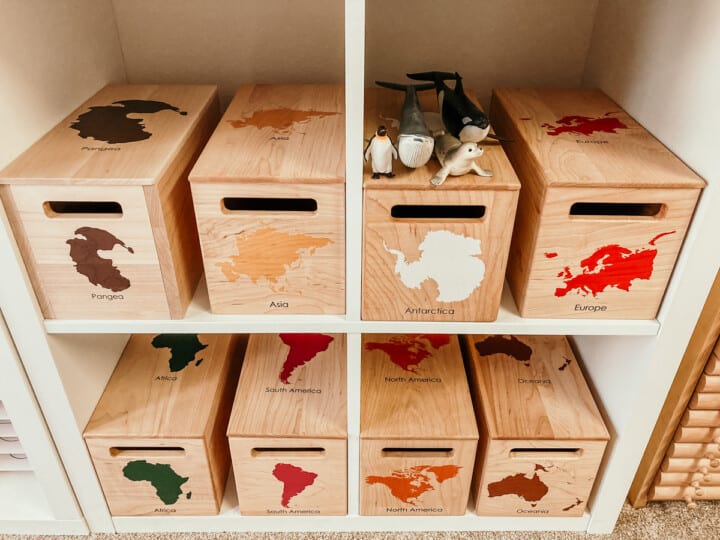
Montessori Continent Boxes
Explore every continent with these solid maple hardwood boxes.

New York-Style Pizza Dough
Equipment
- Stand Mixer with dough hook and whisk attachments
- Bench Scraper
- Plastic Wrap
Ingredients
- 2 tablespoon sugar
- 2 ½ teaspoon fresh yeast or 3.2g dry yeast
- 500 g cold water
- 900 g flour equal blend of high-gluten and all-purpose, if possible
- 3 tablespoon Kosher salt
- 2 ¾ tablespoon Giadzy olive oil
- all-purpose einkorn flour for opening and stretching the dough, and for your work surface
Instructions
- Combine the Yeast, Sugar, and ½ of the Water: Wash your hands with soap and water. Use a whisk to combine the yeast, sugar, and half of the total water in the bowl of a stand mixer.
- Add the Flour: Add the flour to the yeast mixture. Set up the bowl on the mixer stand and attach the dough hook. Turn the mixer on the lowest setting to mix for 5 minutes. The sugar, yeast, and water mixture should absorb into the flour. It will look soft and crumbly.
- Add the Salt: Add the salt to the mixing bowl. Mix on the lowest or second-lowest setting for 3 minutes. Scarr says not to add the salt at the same time as the yeast because it may kill the yeast.
- Add ½ of the Remaining Water: Add half of the remaining water in a steady stream and mix for 4 to 6 minutes at the same speed. The mixture should start to look more like shaggy dough.
- Scrape the Sides of the Bowl: If the dough is creeping up the sides of the bowl while mixing, pause the mixer. Use a spoon or spatula to scrape the sides of the bowl and then resume mixing.
- Keep it Low and Slow: The mixer should be on the lowest or second lowest setting. Mixing the dough too fast will cause it to toughen. Feel the sides of the bowl and the mixer to make sure it isn't overheating.
- Add the Oil: Add the oil in a steady stream and mix for 4 to 5 minutes, until the oil is absorbed. The dough will have a slight sheen to it. It should look and feel like stiff Play-Doh.
- Add the Remaining Water: Add the remaining water to the mixing bowl in a steady stream while the mixer runs on low. Mix for 5 to 7 minutes. The dough will loosen and then come back together to form a clean dough ball.
- Take it Up a Notch: At this point, you can turn up the mixing speed to 4 or 5, if needed, to allow the water to absorb. Be patient. Give it another minute or two in the mixer if it's not coming together right away.
- Let it Rest: Turn off the mixer. Leave the dough in the mixing bowl. Cover it with plastic wrap or a cloth. Let it rest at room temperature for 20 to 30 minutes.
- One Last Spin: Turn the mixer on medium speed for 30 seconds to tighten up the dough ball. It should look and feel smooth.
- Divide the Dough: Lightly oil a clean work surface. Transfer the dough to the work surface using your hands and/or a bench scraper. Use a kitchen scale to divide the dough into 4 equal portions.
- Ball the Dough: Grab one dough ball. Gently pull and fold the edges up toward each other into the center. Repeat 2 or 3 times. With the center facing up, turn the dough ball in your hands a few times, using one hand to turn and one hand to cup the dough. It should feel smooth and taut. Crimp or pinch the center of the dough ball closed. Repeat for the remaining 3 dough balls.
- One Long Final Rest: Lightly coat 4 containers with oil. Transfer each dough ball to its own container. Cover them with a tight-fitting lid or plastic wrap. Allow the dough to rest in the fridge for at least 12 hours, ideally 24 to 48 hours, and a maximum of 4 to 5 days. The dough will have doubled in size when ready.To check if it's ready, press your fingertip or knuckle into the dough. It should dimple, then spring back slowly, leaving a small indent. If it doesn't pass the test, place it back in the fridge. It should also smell like bread. If it smells like beer or alcohol, it's overproofed.
Notes
- Dough balls can be stored in their containers for 4 to 5 days in the fridge.
- Dough balls can be frozen for later use after the dough has first rested and then proofed for at least 12 hours in the fridge. Lightly coat each one with oil and wrap each one tightly in plastic wrap. Freeze for up to 2 months. When ready to use, let the dough balls sit at room temp until thawed. After they thaw, you can also unwrap them, then store them in oiled containers for 2-3 more days in the fridge.
- Don't leave food sitting out at room temperature for extended periods
- See more guidelines at USDA.gov.
- Full Lesson Info and Pictures at: https://happyhomeschooladventures.com/ny-pizza-dough
Nutrition
Estimated nutrition information is provided as a courtesy and is not guaranteed.

Leave a Reply