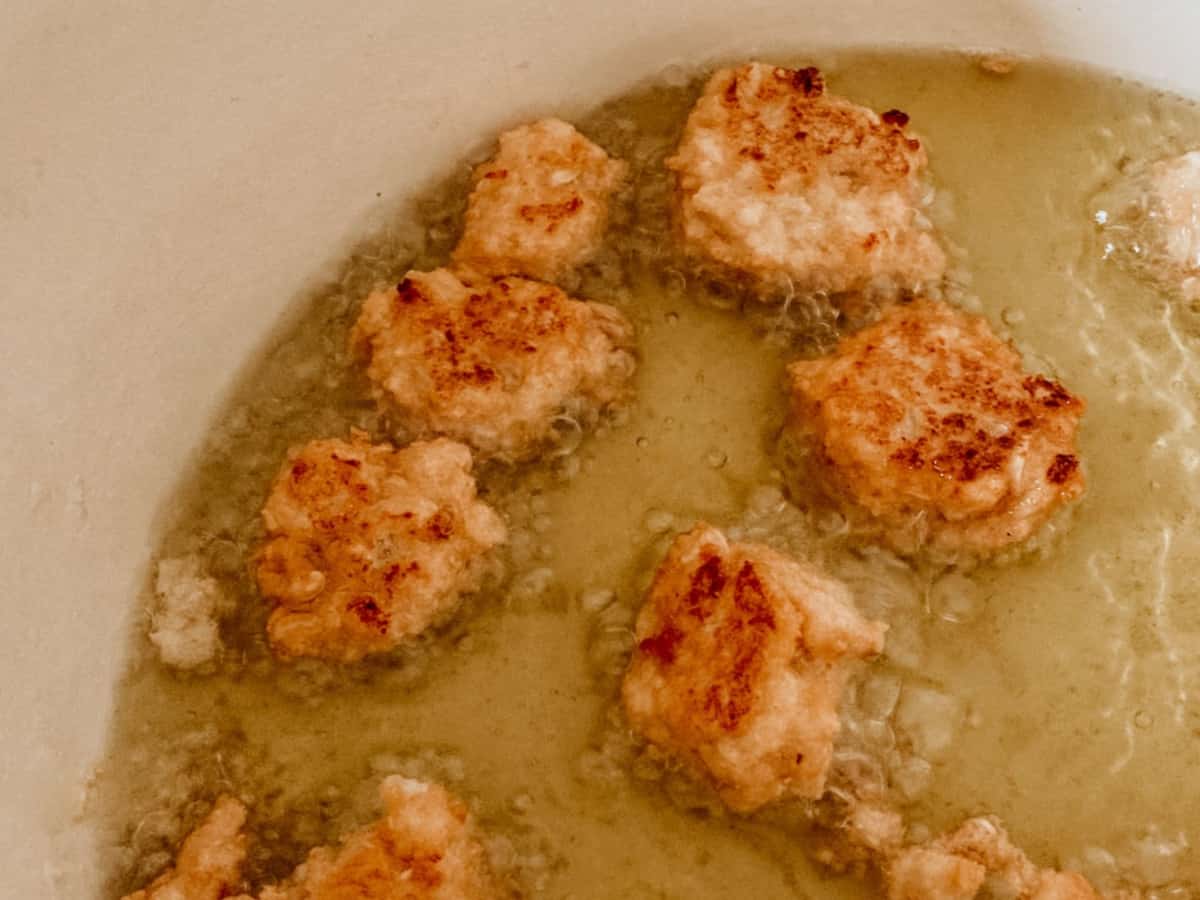
"Southern Jews created regional cuisines that were shaped by local animals and plants in the area, as well as by access to seafood, kosher butchers, bakeries, and imported goods. In the colonial South, Jews interacted with enslaved African Americans, Native Americans, and newly arrived immigrants from France, England, and Germany. In the nineteenth and twentieth centuries, Jews encountered immigrants from Italy, Greece, Latin America, and Asia. Food traditions passed back and forth between these new Southerners as they assimilated into their communities. Together they learned the rules and rituals of a place sharply divided by race, class, and gender, and much of this learning was shaped in the kitchen and at the dining table."
- Marcie Cohen Ferris
Want to dive into African and Jewish Diasporas while making a tasty snack? Take your time and bond with the kids over kala, black-eyed pea puffs.
We like it so much, we made a kid-friendly recipe with pictures for pre-readers and up. You can find it at the bottom or use the table of contents below.
Learn more about cooking with kids.
If you like this recipe, check out matzo balls, Hoppin' John, jollof rice with beans, Cuban beans and rice, three sisters bean stew, oxtails, sambusas, and stove-popped popcorn.
Disclosure of Material Connection: Some of the links in the post are “affiliate links.” This means if you click on the link and purchase the item, I will receive an affiliate commission. Amazon links are not affiliate links. You can read my full affiliate disclosure.

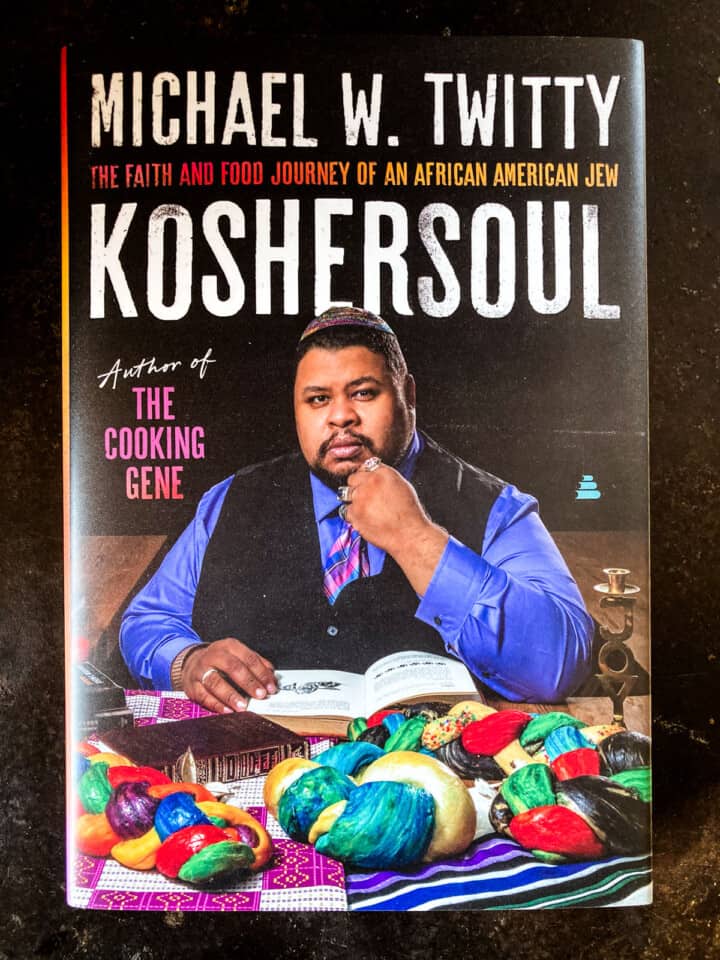
Koshersoul
This kala recipe comes from Koshersoul: The Faith and Food Journey of an African American Jew by Michael W. Twitty.
If you want to explore the movement of African and Jewish Diasporas through history and how they intersect with each other, this is the book for you!
When we first started sharing recipes from around the world, we started with African cuisine. We did so partially because we felt the least familiar with it.
Books like Koshersoul are helping us to see just how much we have to learn about the food we're eating, where it came from, and how it made its way to our plates.
Speaking of plates, Koshersoul contains a variety of menus to explore when planning your own meals. Get creative and mix it up. Maybe try something new!
As discussed in Koshersoul:
The roadmaps of the intersections between Black and Jewish food identities were made by many. There were colonial dames and enslaved Black cooks who for a generation or two had to master the ways of a kosher kitchen and foods that were relatively different from the usual fare of other citizens of Norfolk, Savannah, or Charleston; they were Black people of Jewish descent, Jews who fought for the Confederacy, abolitionists, Black domestics, and Ashkenazi and Sephardi immigrants at the turn of the twentieth century in the world of Jim Crow, not to mention those who actively fought against it and Black people without whom many Southern shuls could not function. That's not a niche; that's a microcosm of the American experience that cuts across many different parts of who we are, and whether we see it or not, it's part of the longer story of the movement of the Jewish and African Diasporas across time. Perhaps more important than any of this is that it's largely a story crafted, like much of human existence, by the interactions and confrontations of women.
- Michael W. Twitty
You can check out other books by Michael W. Twitty or learn more at Afroculinaria and on social media.
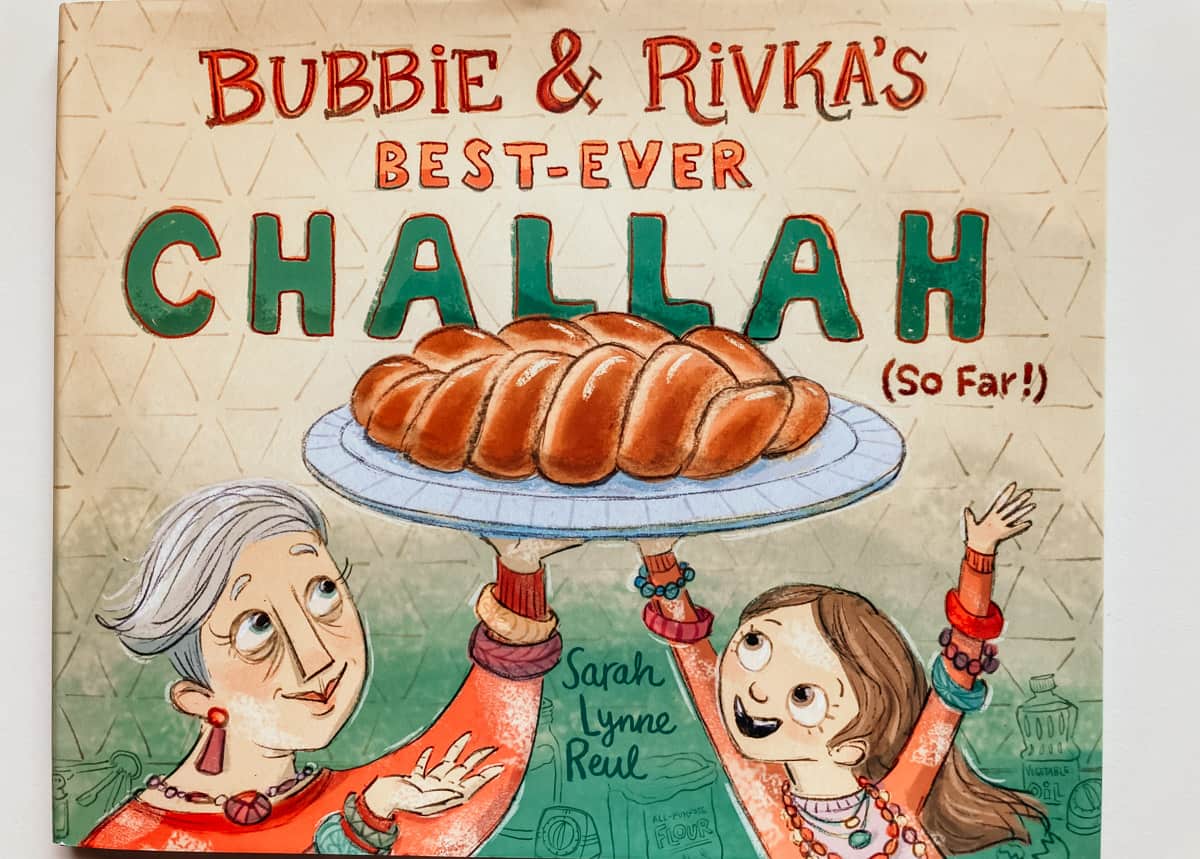
Bubbie & Rivka's Best-Ever Challah (So Far!)
Looking for a delightful picture book to pair with Koshersoul and its menus? Bubbie & Rivka's Best-Ever Challah (So Far!) will have you experimenting in the kitchen without fear as you try new recipes and create your own.
Family & Kids' Cooking Resources
Beautiful and diverse cooking resources for you!
You can also stop by our shop to see more Family & Kids' Cooking Resources.
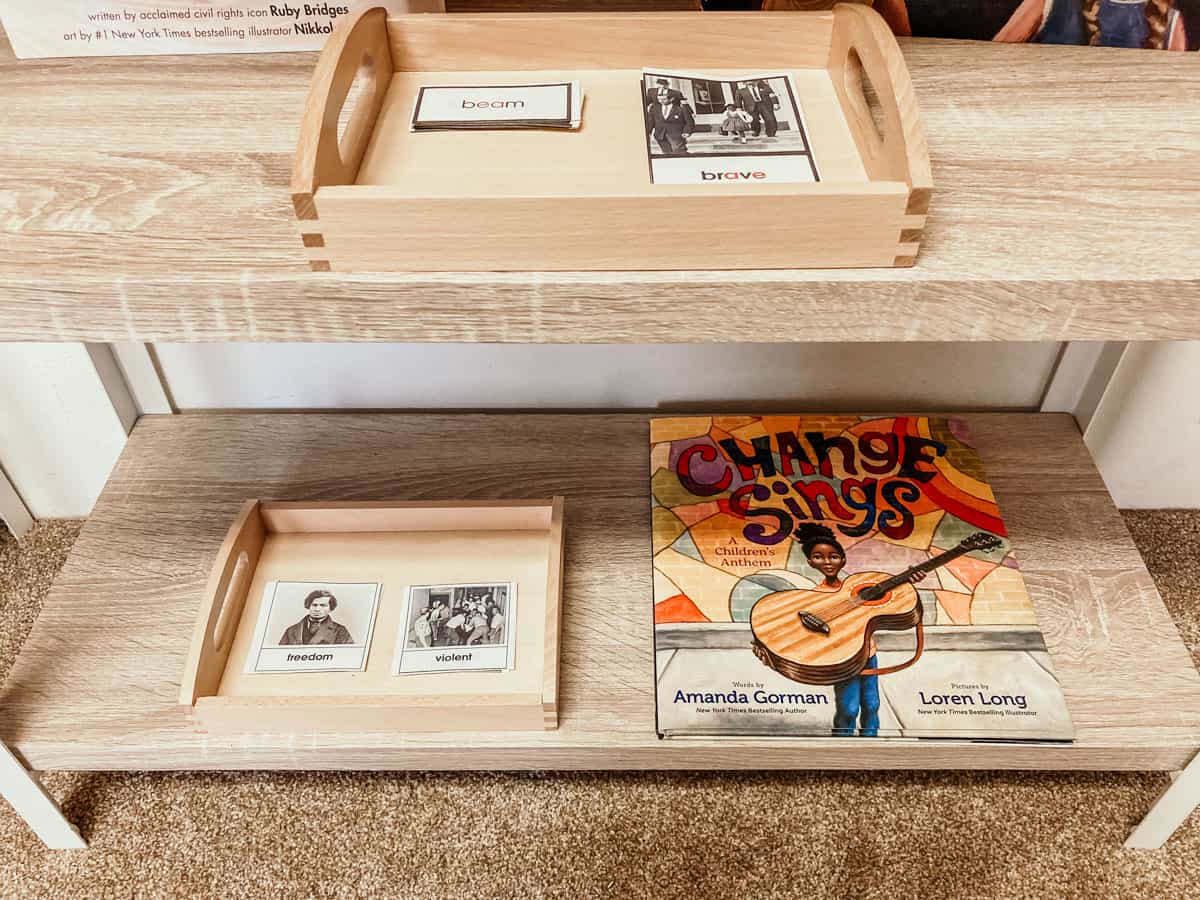
Explore the Civil Rights Movement With Language Activities
Combine these Civil Rights Movement Bundle activities for preschool through elementary with books, such as Change Sings, to continue learning outside the kitchen. History, language, and math activities are included.
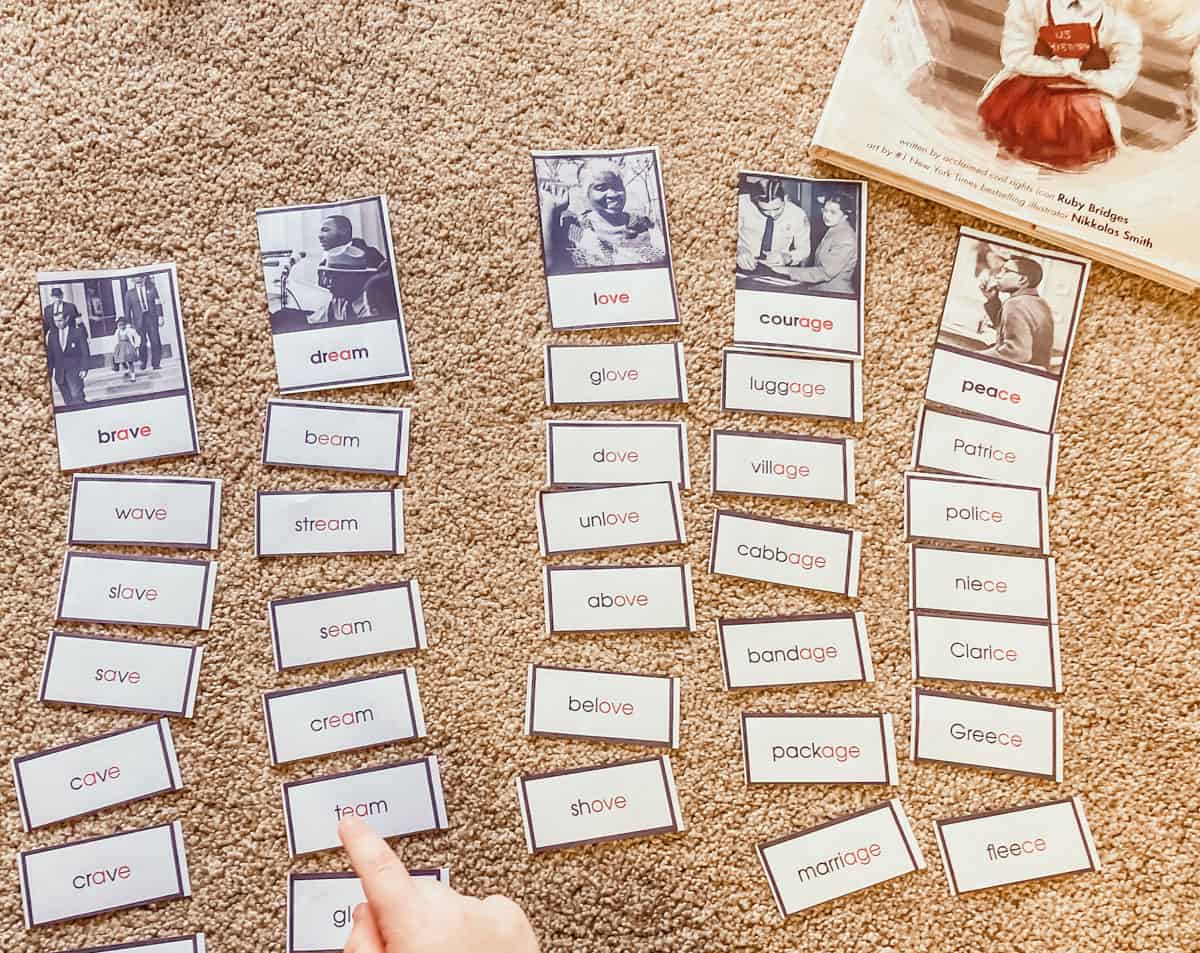
This self-correcting rhyming activity reinforces language skills and lessons on civil rights movement leaders.
Teaching Children to Read
Montessori education supports early literacy skills in children. As a toddler, Kaia experienced an oral language delay and communicated her needs differently than the average 2 year-old.
When she was 5 years old, she completed kindergarten as a homeschooler, was choosing recipes off the internet, and cooking out of cookbooks.
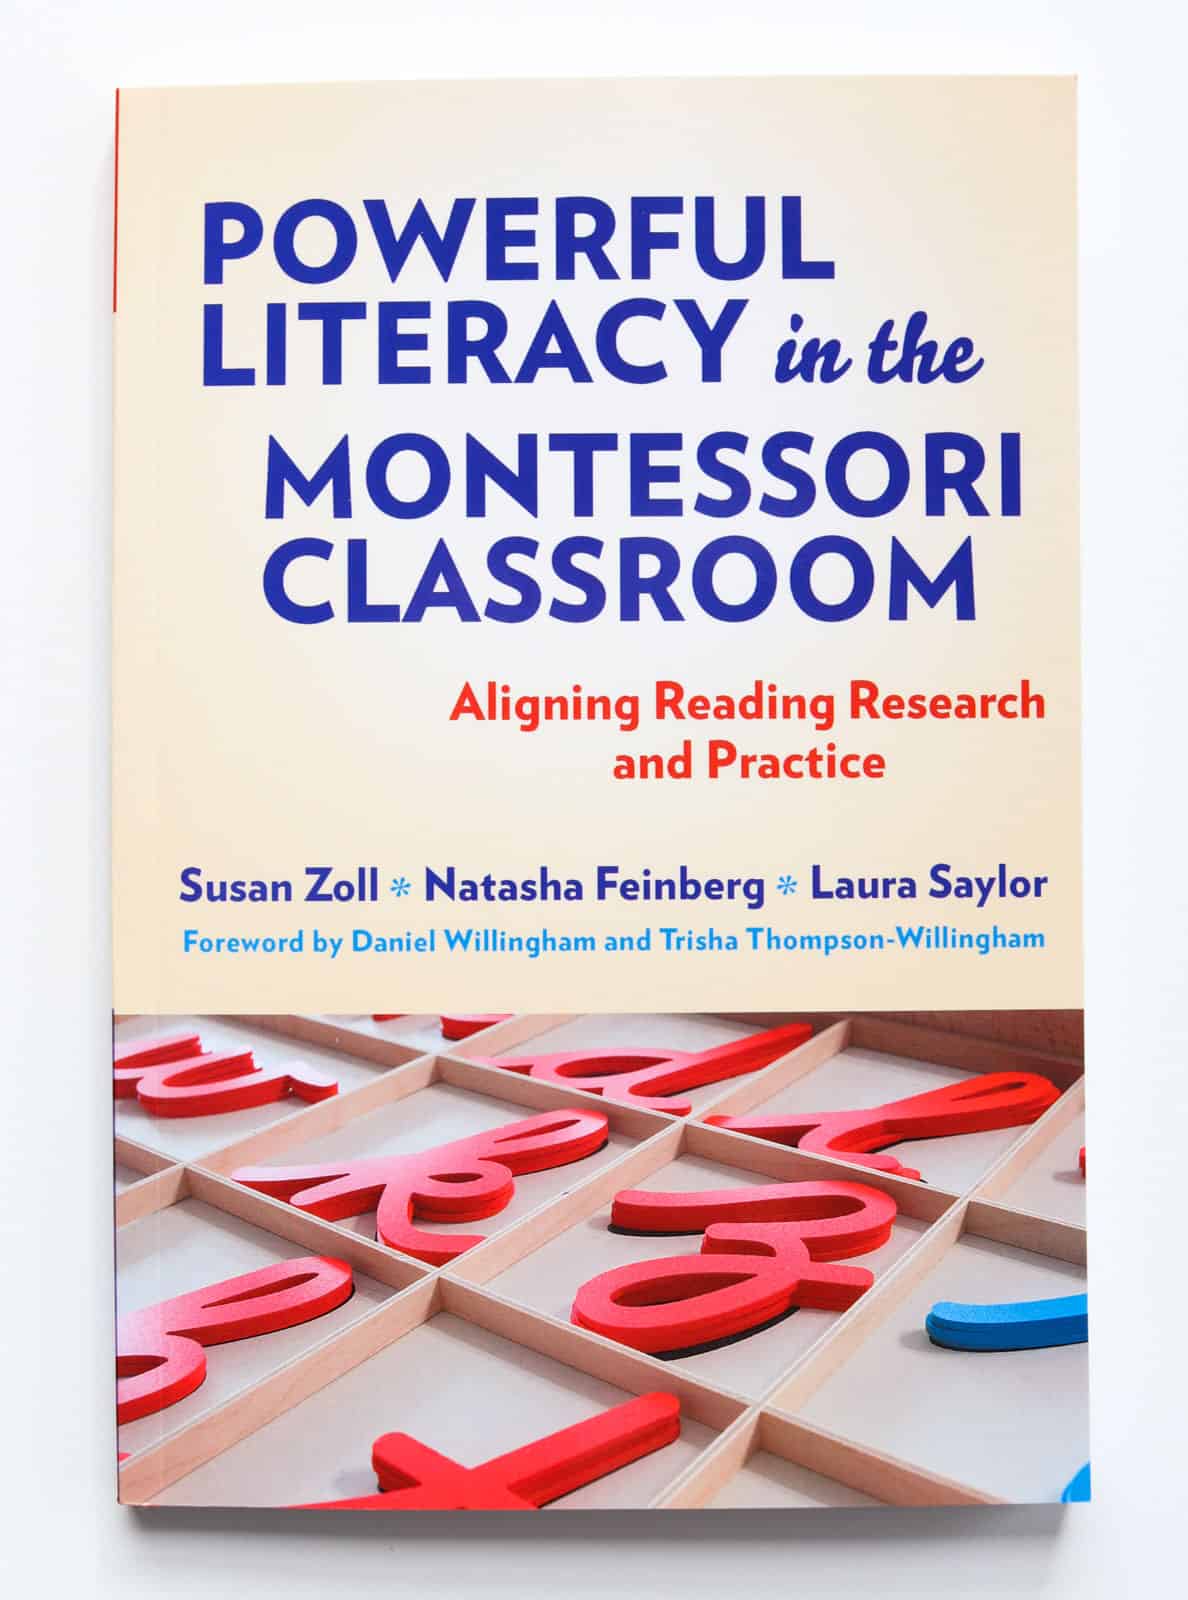
Are you looking for guidance on supporting your child with pre-literacy skills? If so, you want Powerful Literacy in the Montessori Classroom. It's an affordable resource that supports kids and families. Children will explore Montessori materials that support literacy skills, play the Sound Game, and work with Montessori sandpaper letters to develop phonemic awareness and help with letter recognition.
Also, learn more about early signs of an oral language disorder and what you can do as a parent.
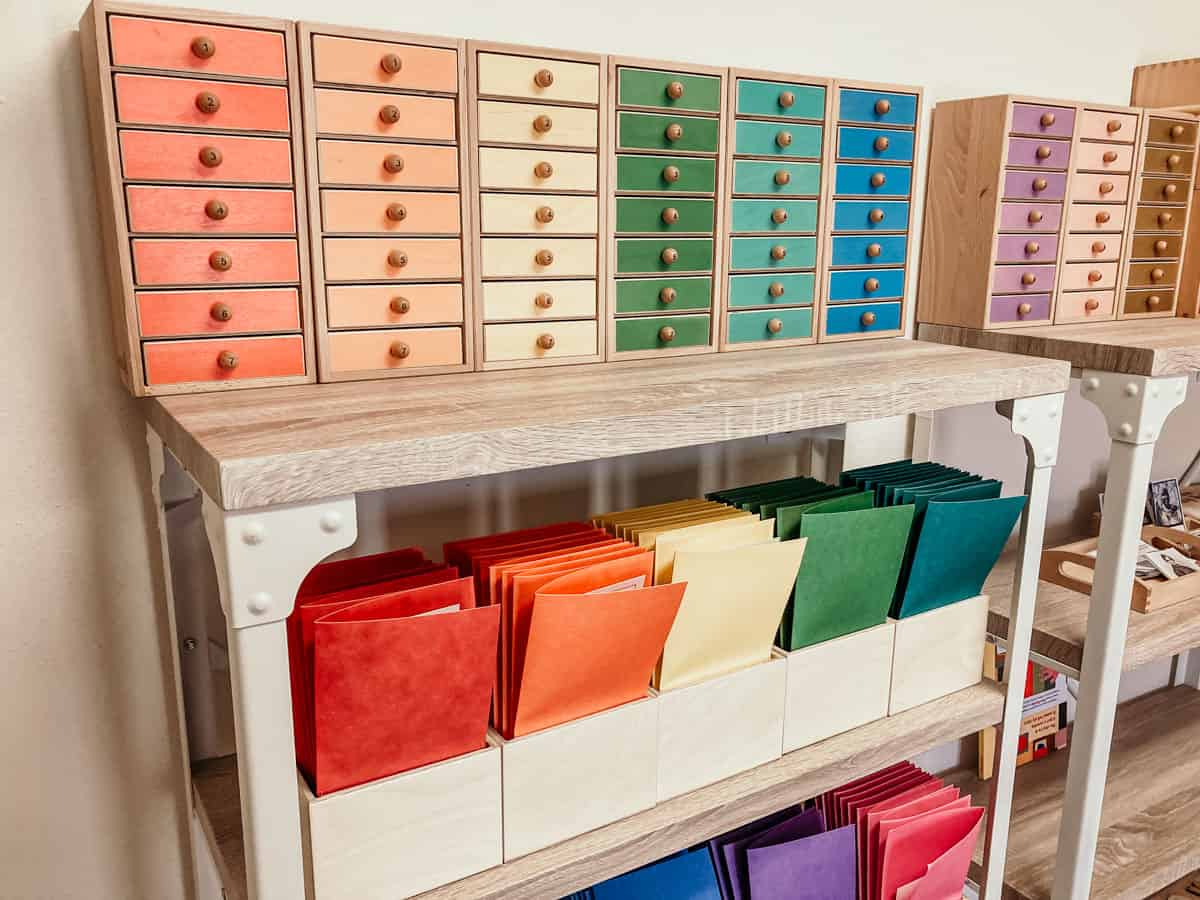
The Waseca Reading Program is the perfect set of materials for kids who have mastered ¾ of the sandpaper letters and are ready to start working with the Montessori Moveable Alphabet.
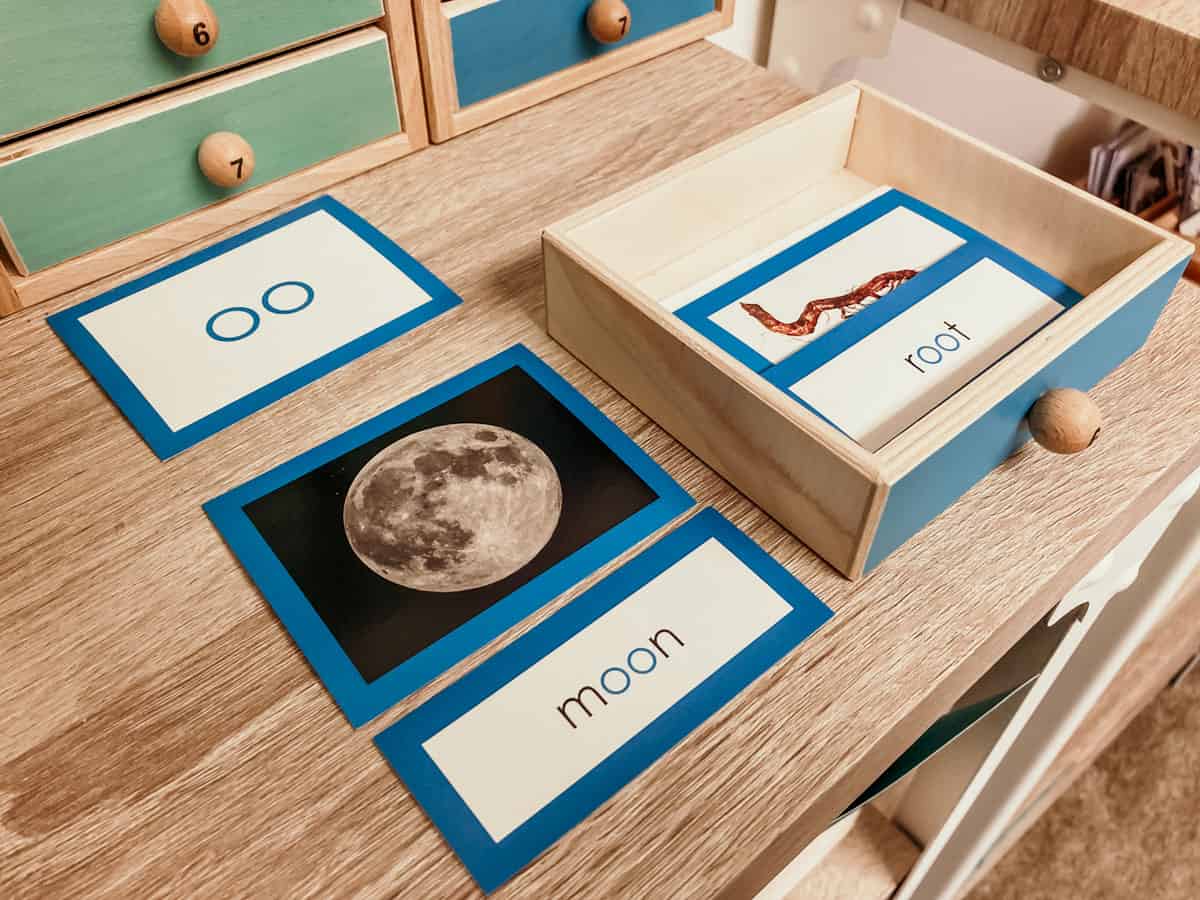
With the Waseca Reading Program, you can hit the ground running with pre-printed materials or download what you need, when you need it.
The Waseca Sentence Building materials encourage practice of these reading skills while kids work through the reading program.
Save $15 on your first Waseca Biomes purchase.

Free Cooking Course for Families
Combine your efforts! Sign up to receive free cooking lessons for the whole family. Learn from some of the most talented chefs around the world and participate in the quality practical life experiences Montessori education is known for. There are recipes for every continent.
What is Kala?
Kala is a black-eyed pea fritter with roots in West African cuisine. Before they were kala in Creole/Papiamento, they have been known as Akaras to the Yoruba people of Nigeria and Benin.
What is a Black-Eyed Pea?
Black-eyed peas, also known as black-eyed beans, are medium-sized beans with origins in West Africa. This legume is a subspecies of the cowpea and is grown all over the world. The eye of the black-eyed pea can be a variety of colors, including black or brown.
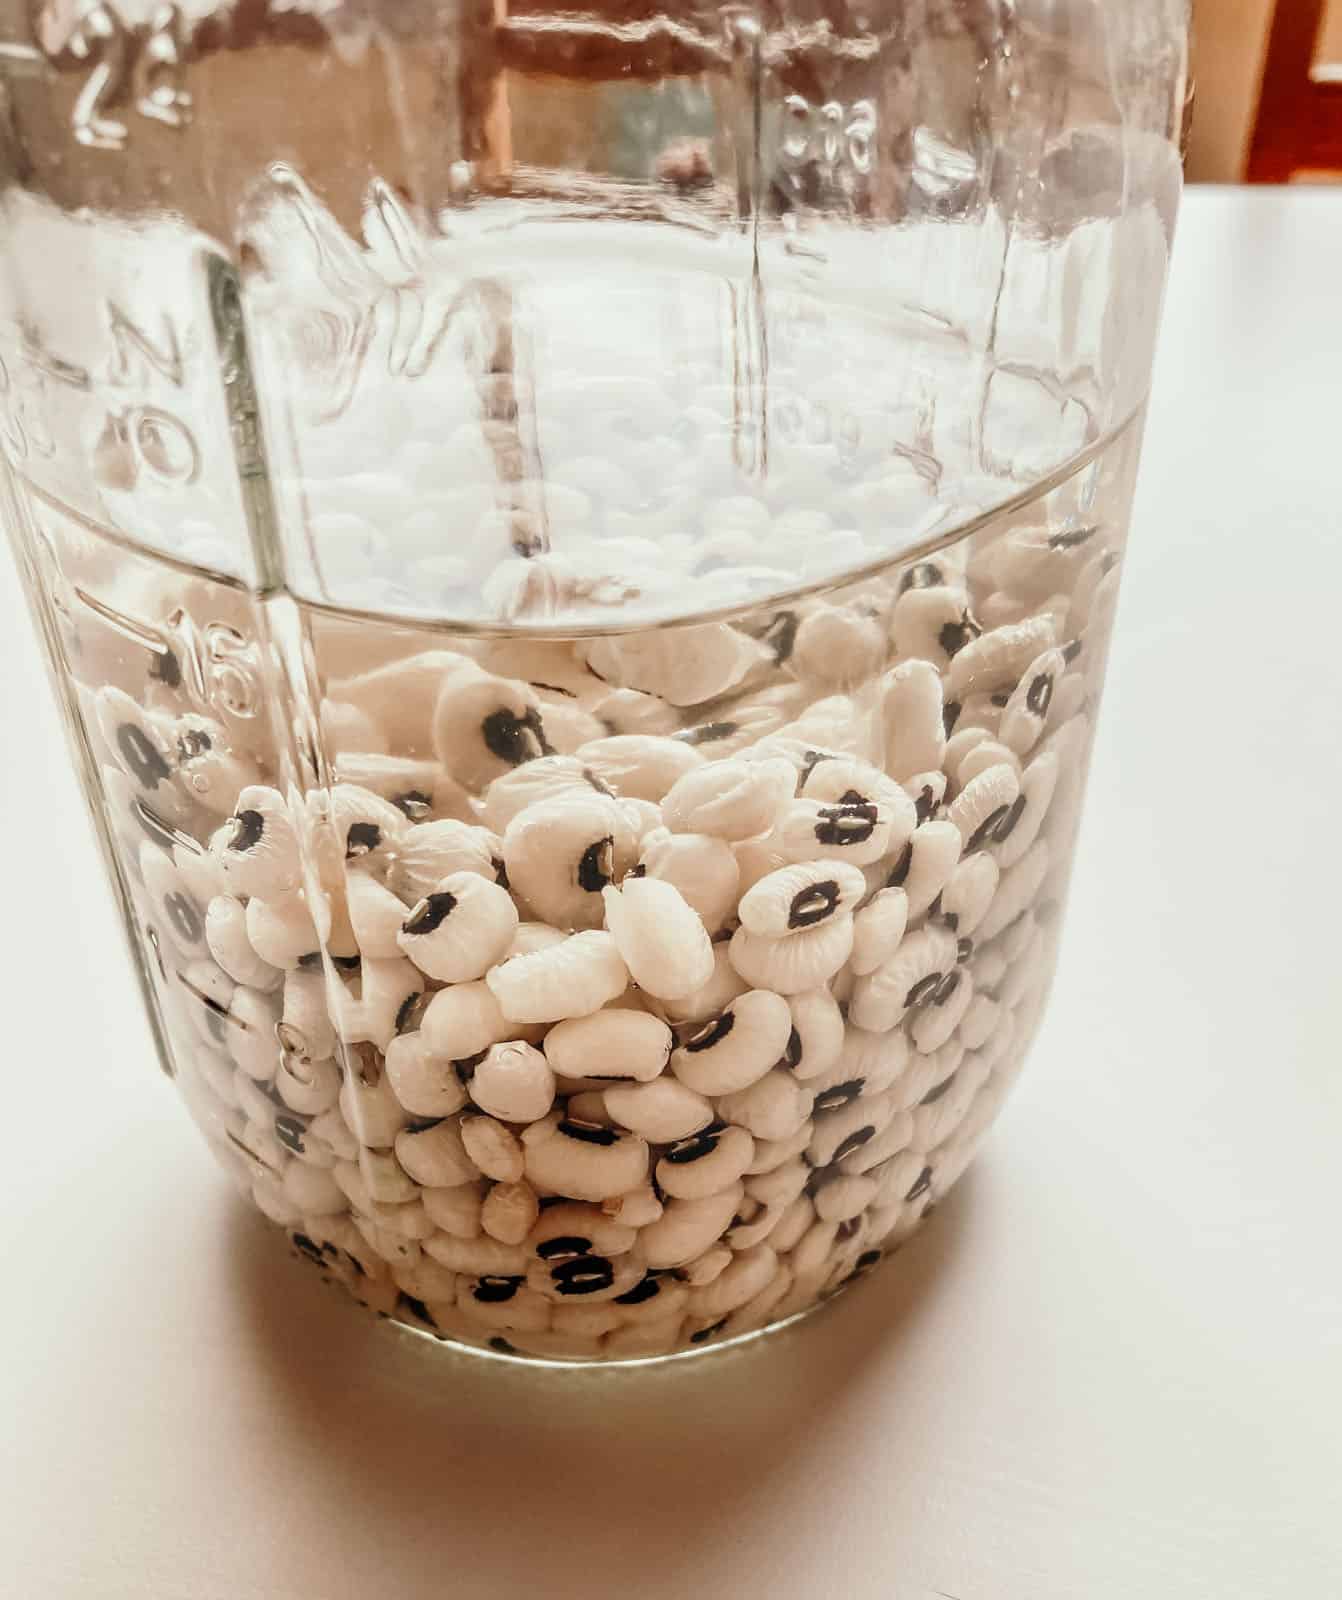
Wondering How to Soak Black-Eyed Peas?
To soak black-eyed peas, place them in a jar and cover them with water. Add some salt. Stir, place the lid on top, and let soak for 24-36 hours. Check on them periodically and add water as needed.
How to Cook Black-Eyed Peas Without Soaking
For recipes that call for cooking black-eyed peas or other types of beans whole, you can skip the soak time and just cook them longer to reach the desired consistency.
Kala: Black-Eyed Pea Puffs Recipe
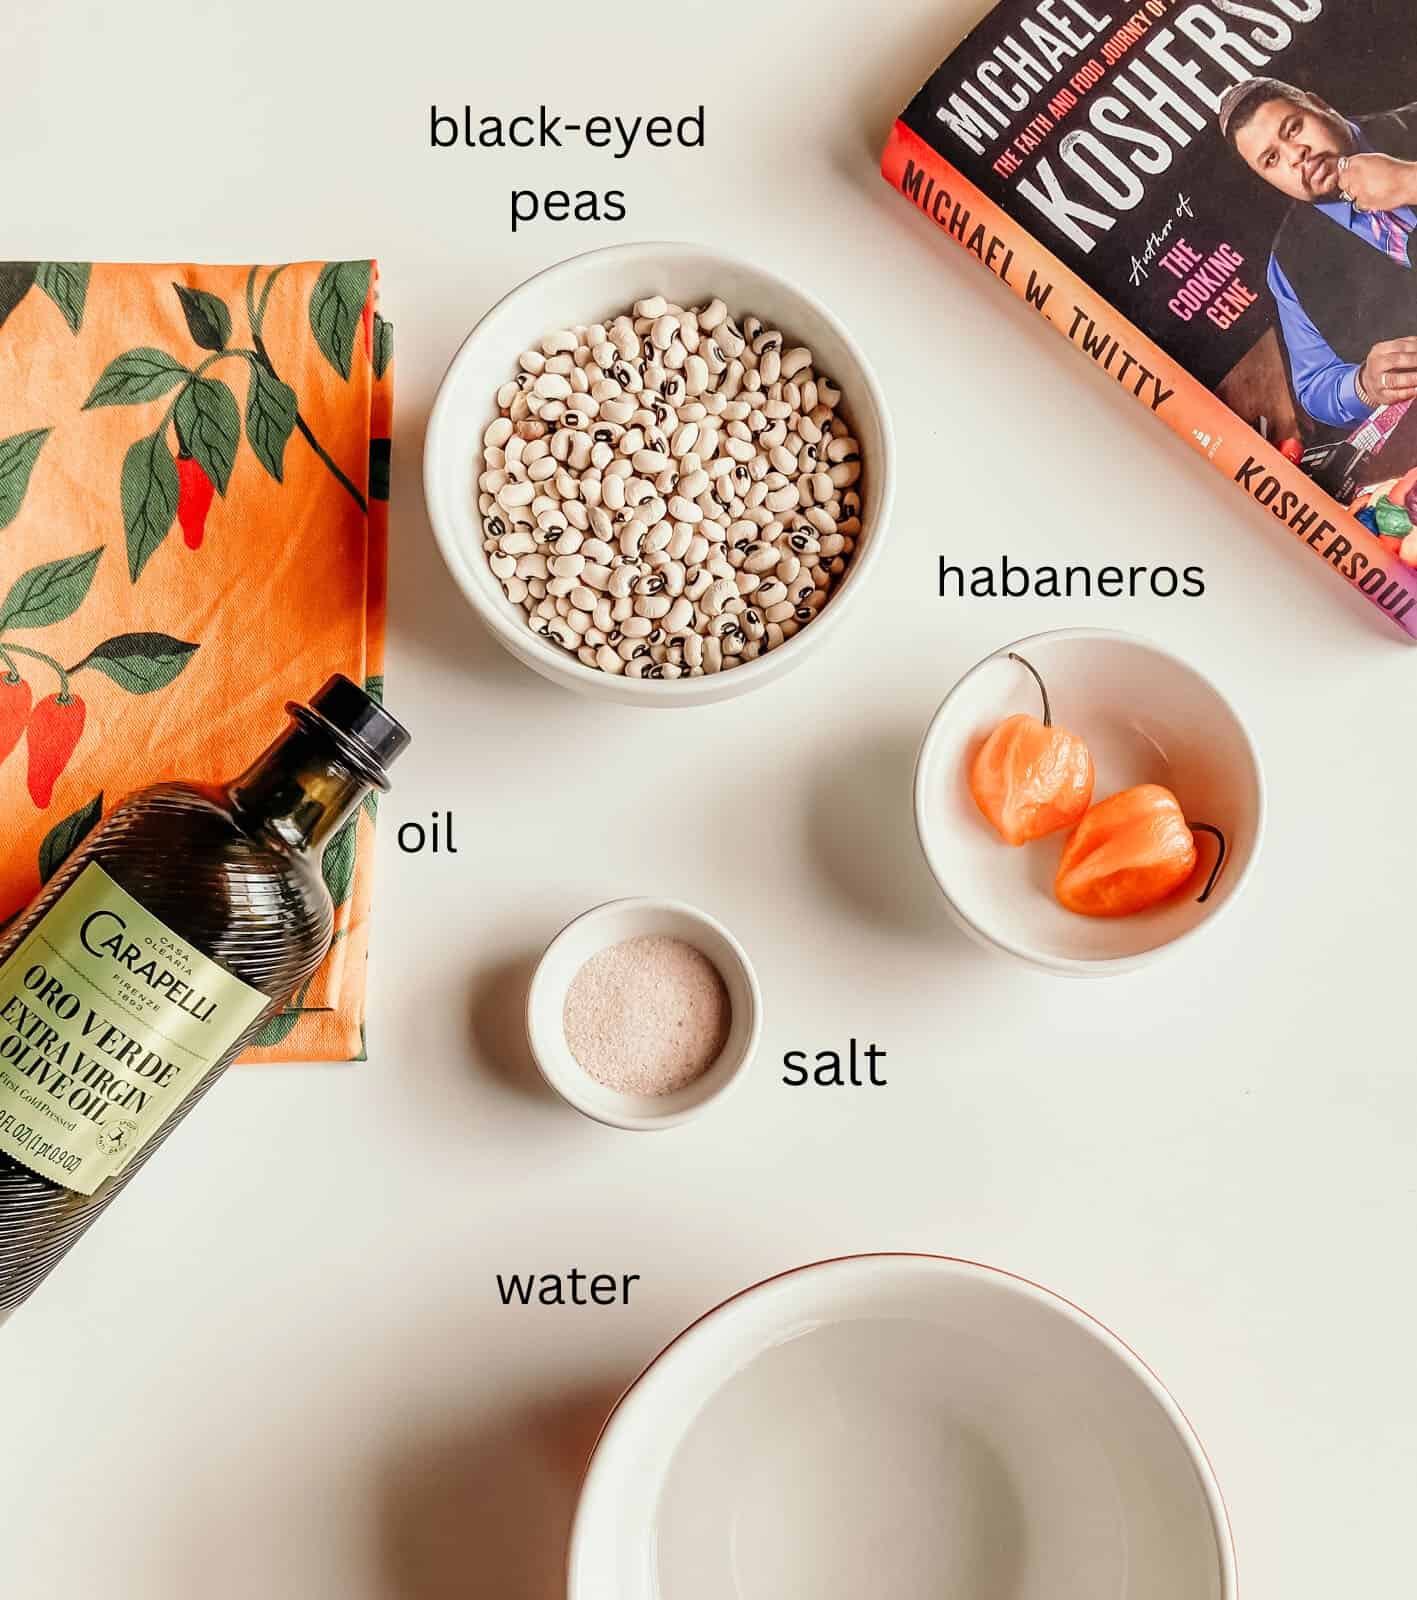
Ingredients
- black-eyed peas
- salt - we like this pink Himalayan salt
- habanero peppers - you can substitute your favorite pepper or omit them if you'd like to skip the heat
- water
- oil
- baking powder (optional) - it can make your kala even crispier than it already is
Equipment
- prep bowls
- jar with a lid
- kitchen scale
- fine mesh strainer
- kitchen towel
- chef knife
- butcher block or cutting board
- blender or potato masher
- stand mixer or hand mixer
- measuring spoons
- dutch oven
- wooden spoon
- baking slab optional
- learning tower as needed
- Berkey water filter
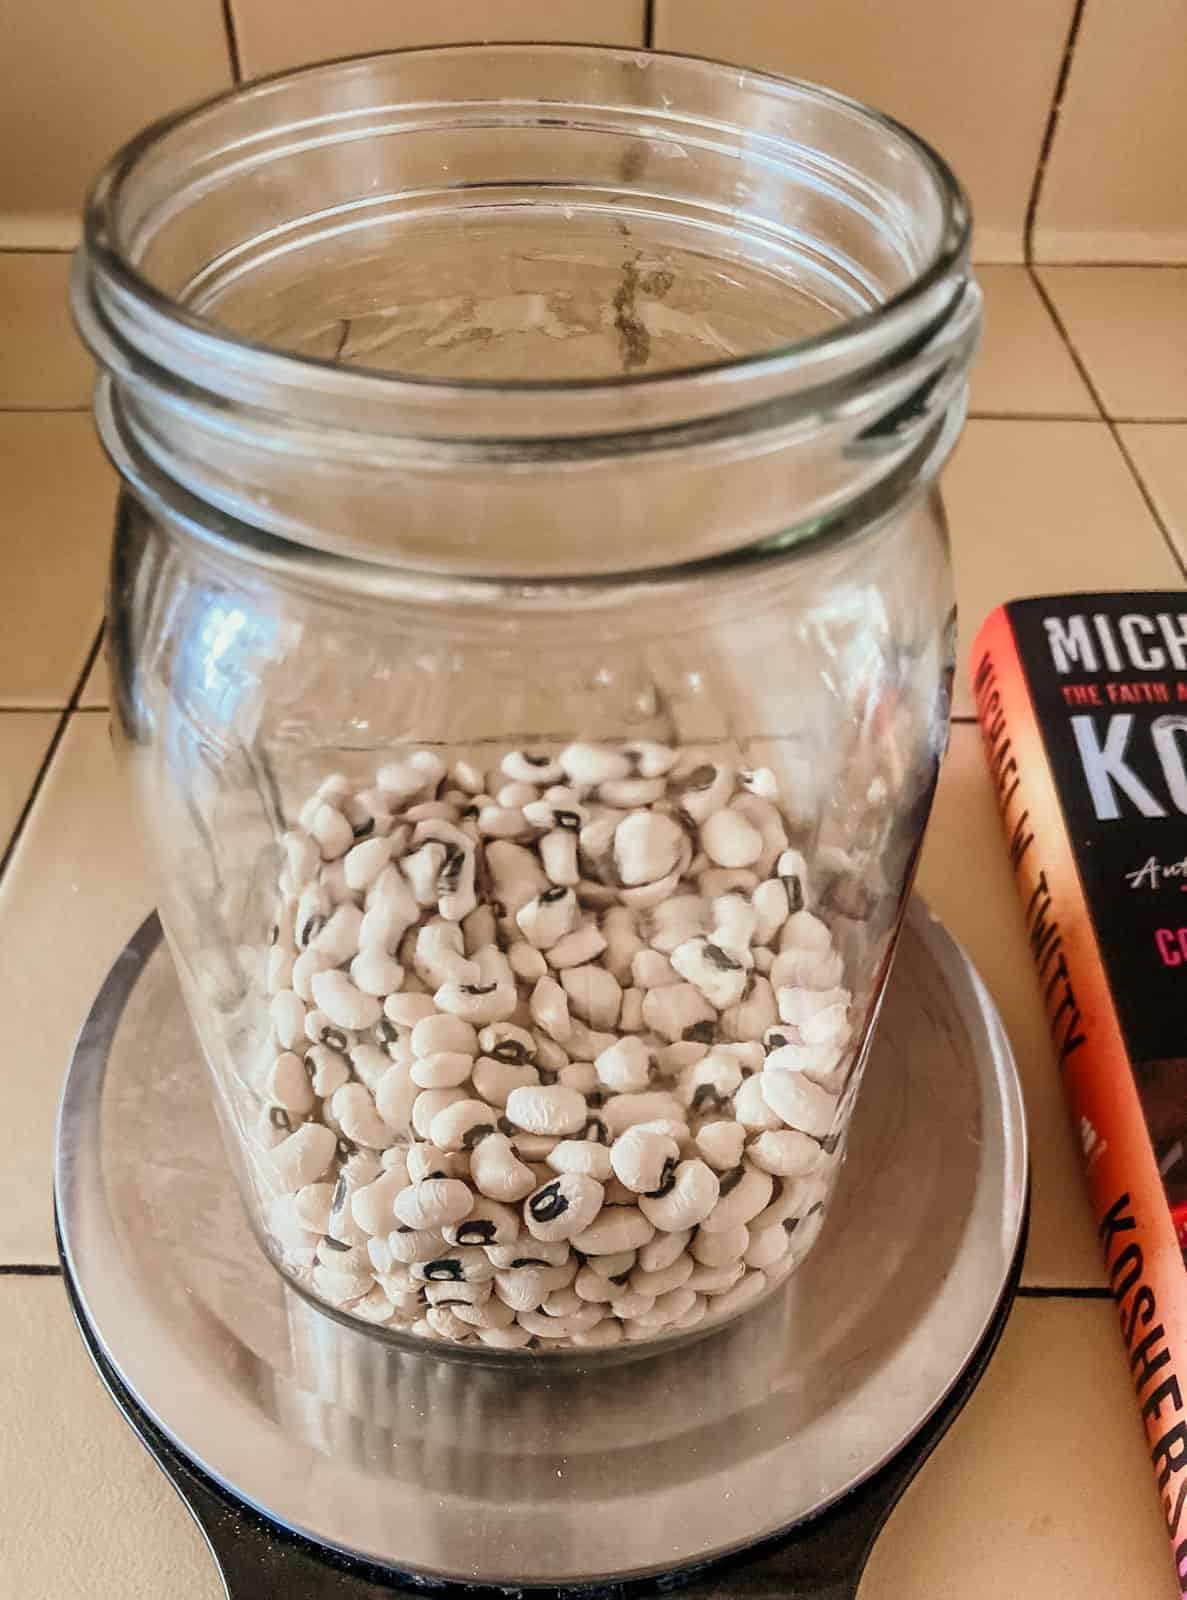
1. Weigh the Black-Eyed Peas
Wash your hands with soap and water. Use a kitchen scale and a jar to weigh the black-eyed peas. Demonstrate or assist with tasks such as zeroing the scale as needed.

2. Soak the Black-Eyed Peas in Water
Add enough water to the jar to cover the peas and add some salt. Place the lid on top. Stir and soak the black-eyed peas for 24-36 hours. Check on them periodically and add water as needed.
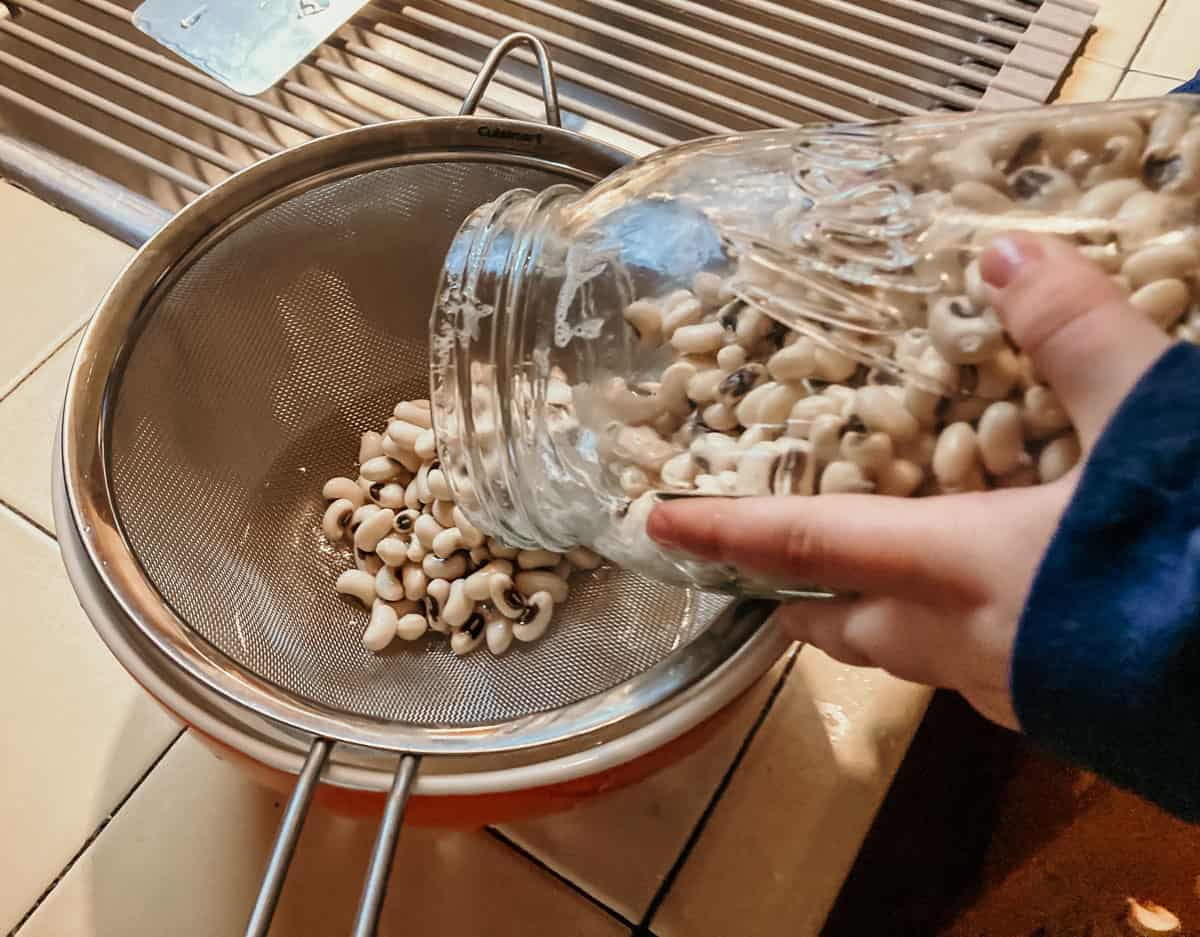
3. Strain the Black-Eyed Peas
When you're finished soaking the black-eyed peas, wash your hands with soap and water. Place a fine mesh strainer over a medium-sized bowl. Pour the contents of the jar into the strainer.
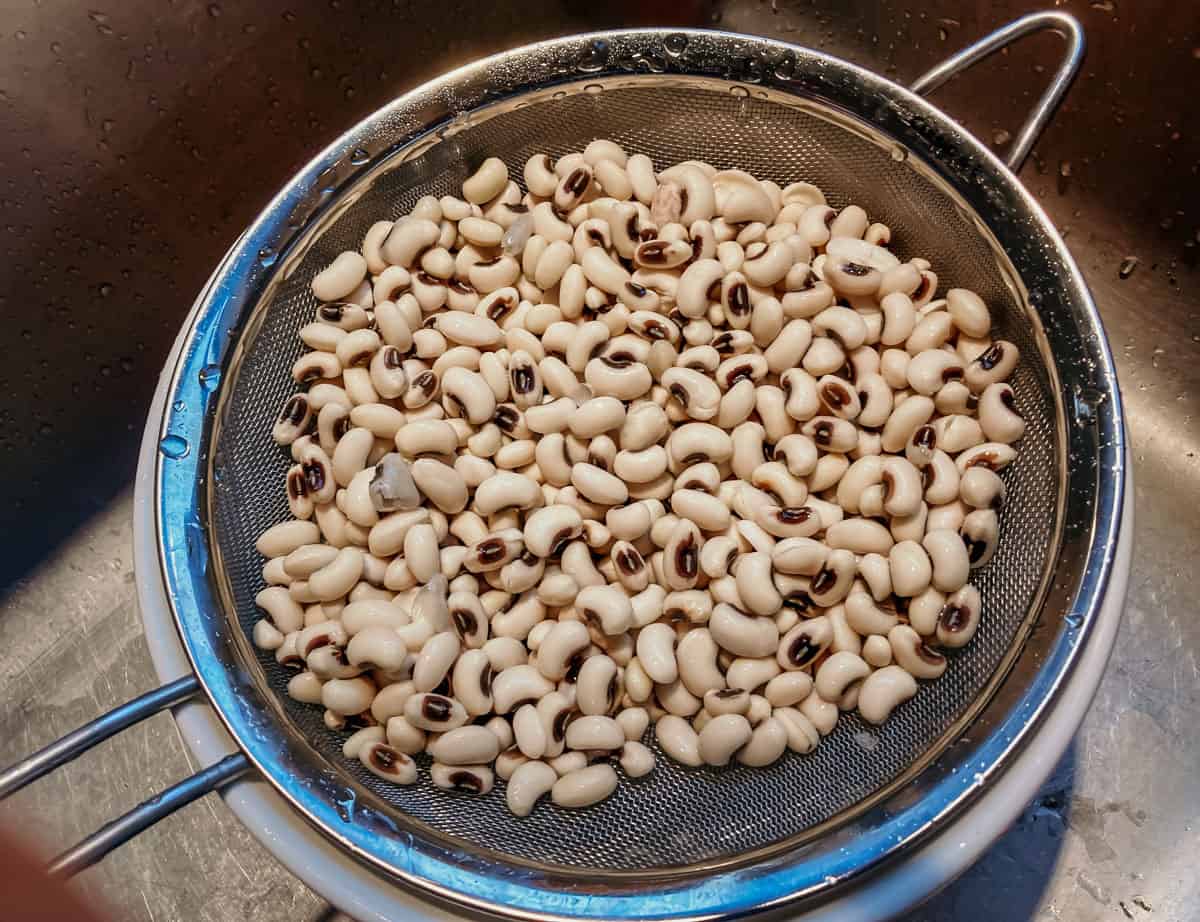
We gave ours a quick rinse. You can save the water and add it to your compost or garden. Afterward, transfer the peas to a clean bowl.
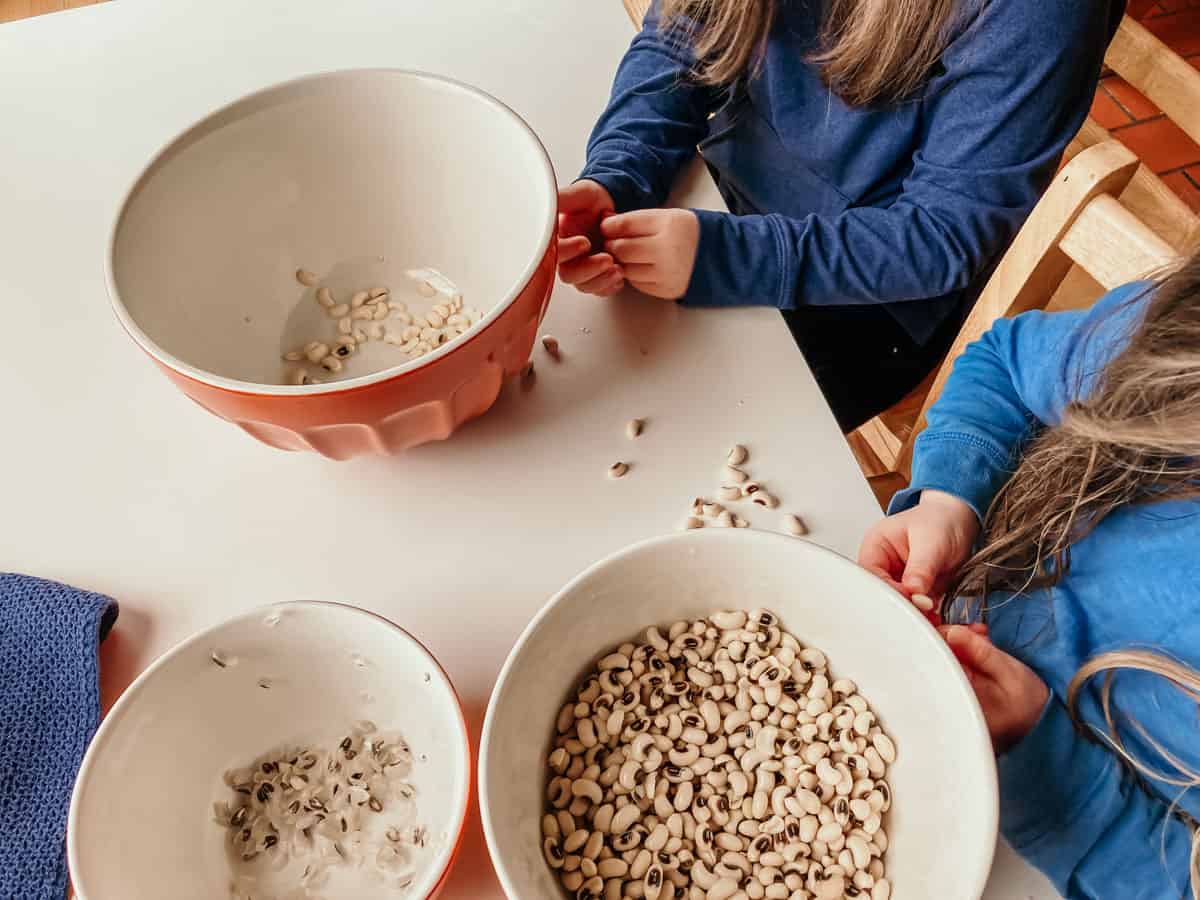
4. Get to Peeling
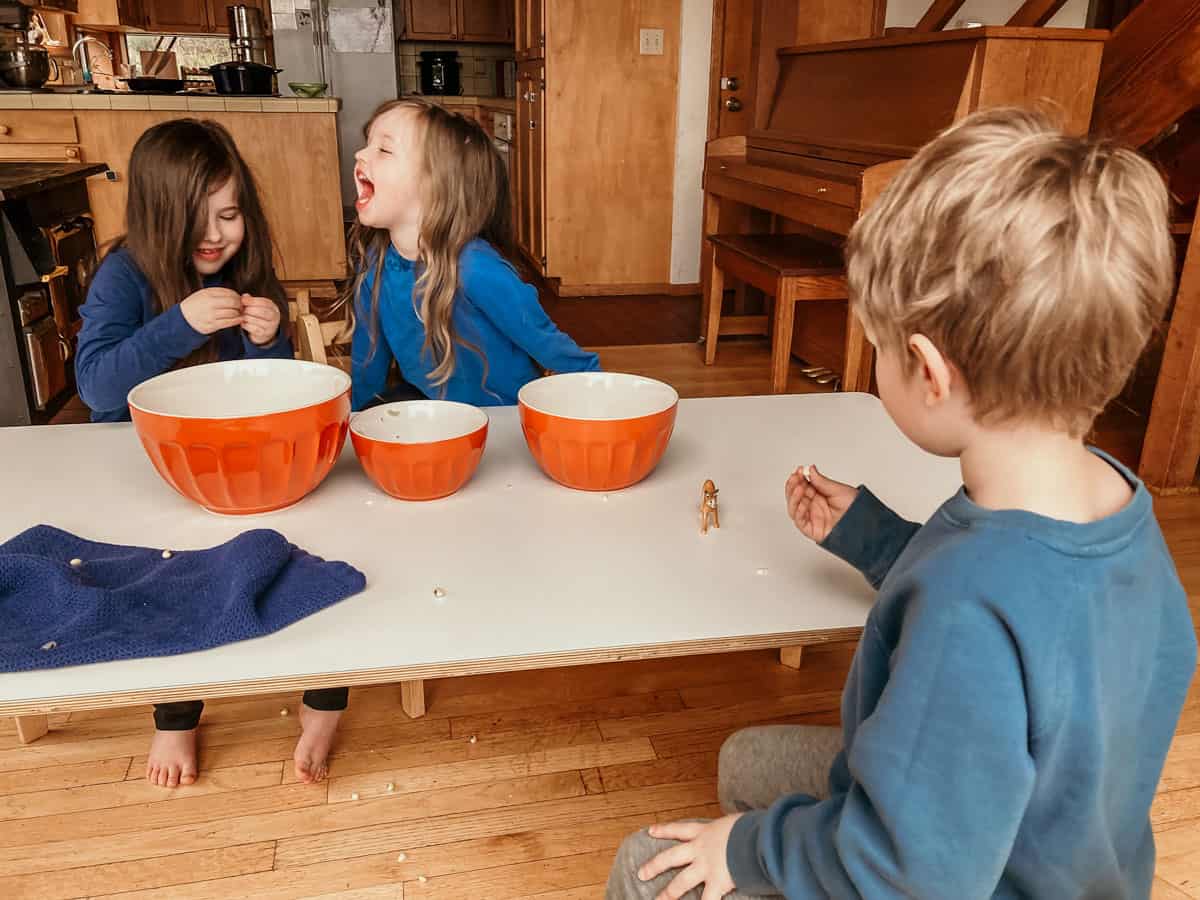
Peel the black-eyed peas. To remove the skin, we found it helpful to slightly squeeze an edge and then peel the skin off.
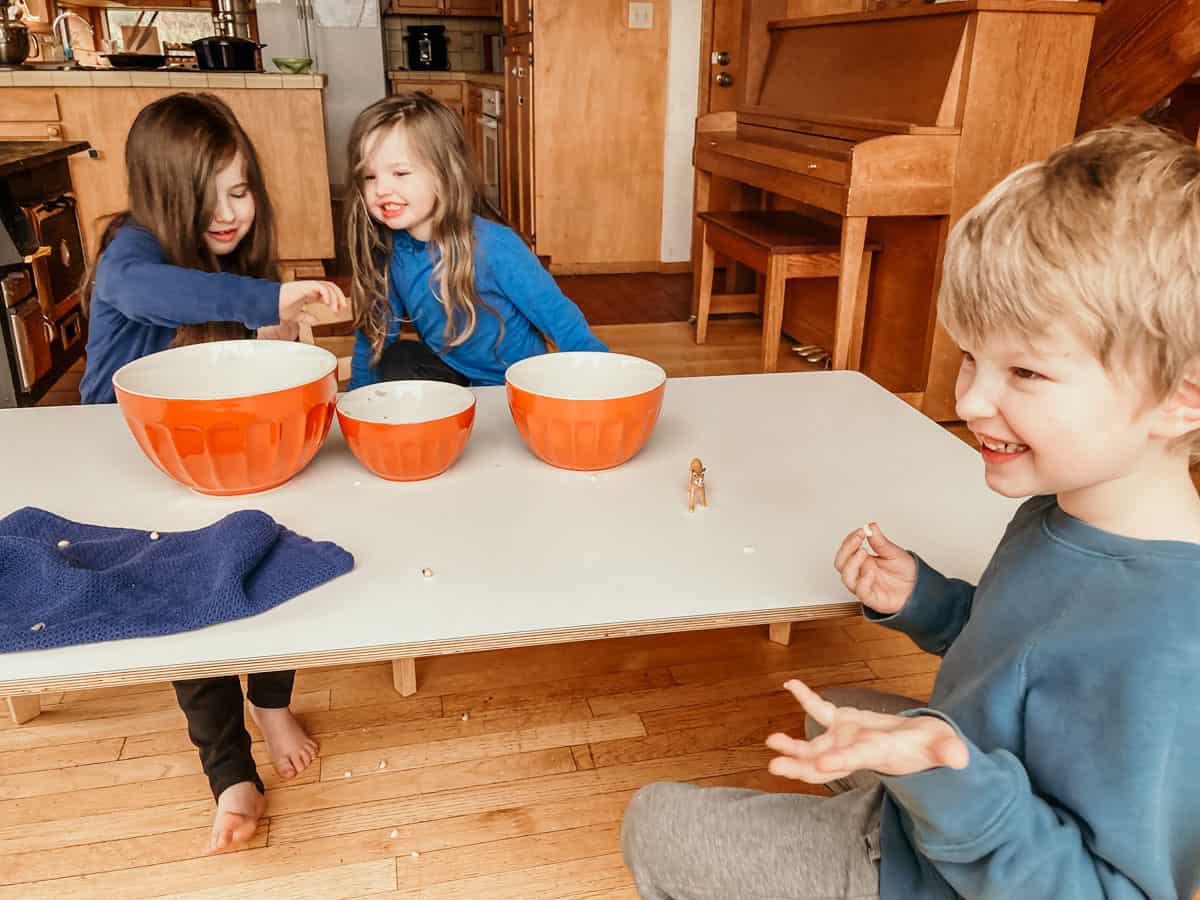
Want to bond with your kids? Try sitting around a table and peeling black-eyed peas. Lots of laughs.
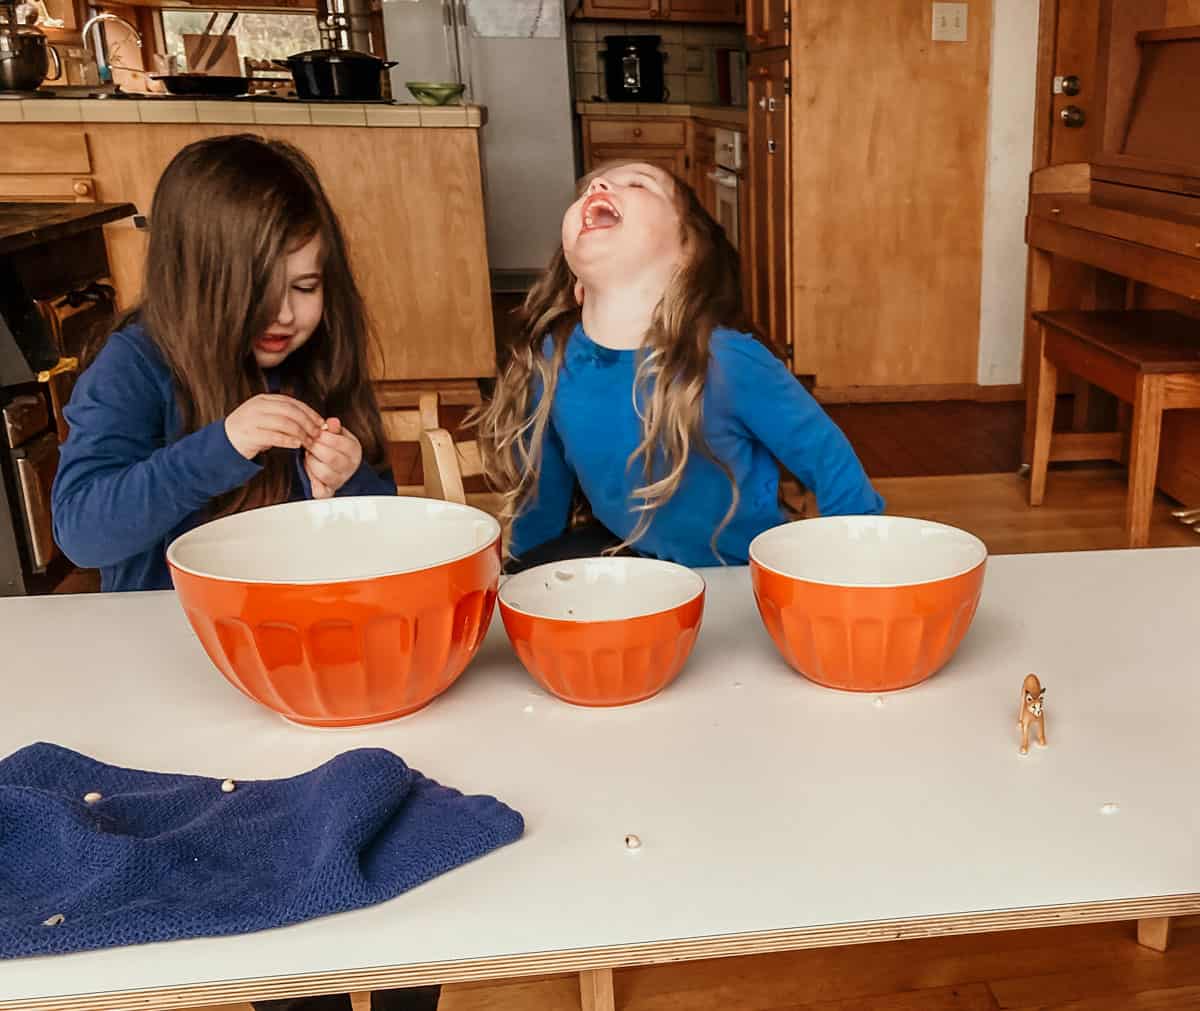
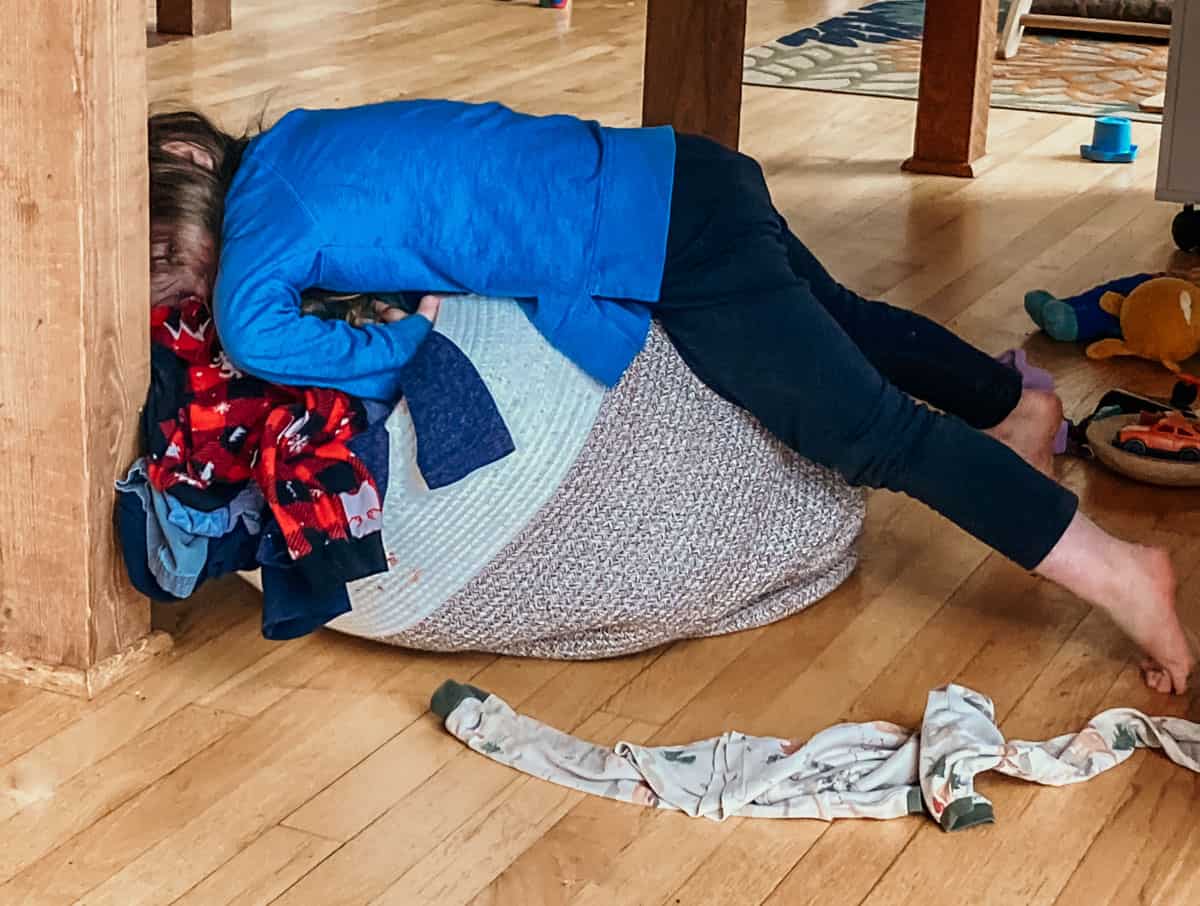
Need to take a break from peeling? Go ahead, find a soft spot, and take five.
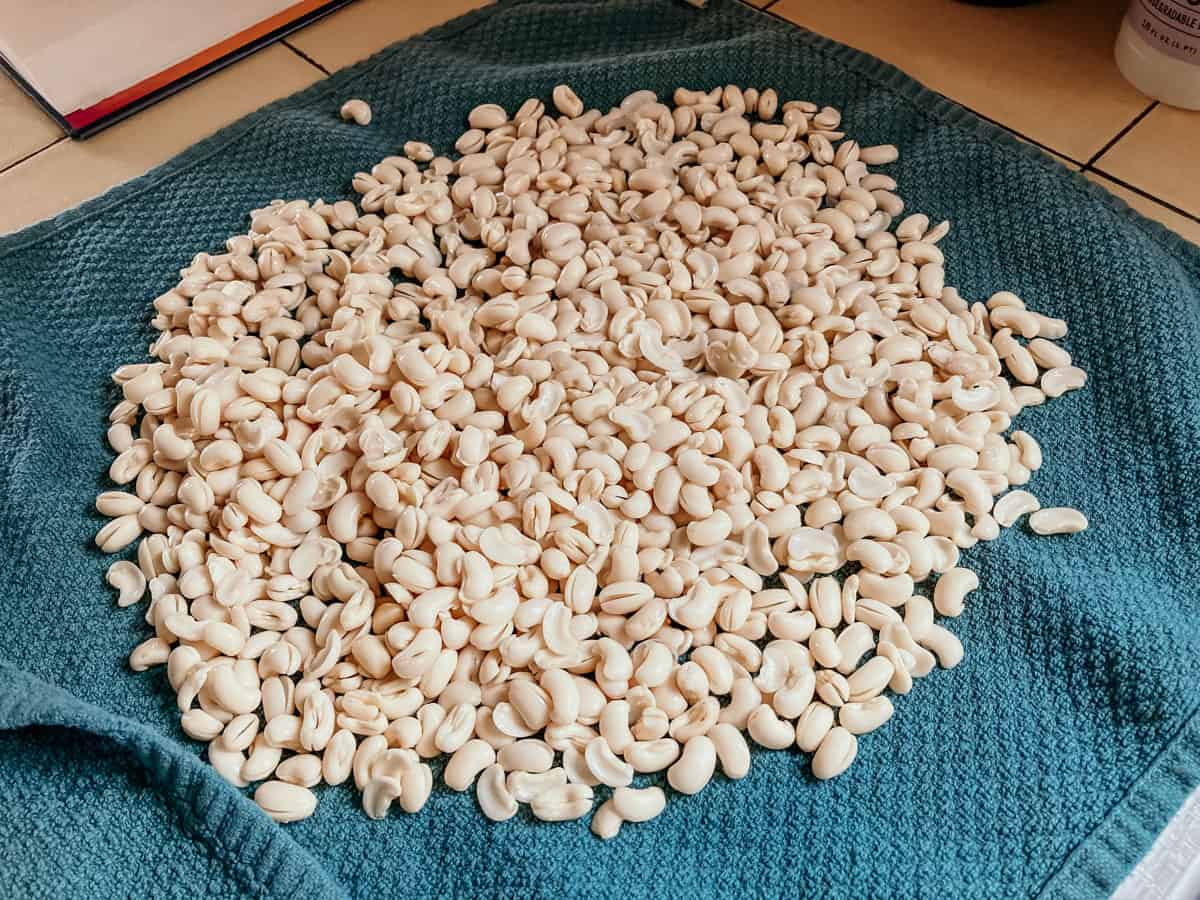
5. Dry Them With a Kitchen Towel
When you're finished peeling, pour the bowl of peas onto a kitchen towel and dry them.
The skins can be added to your compost.
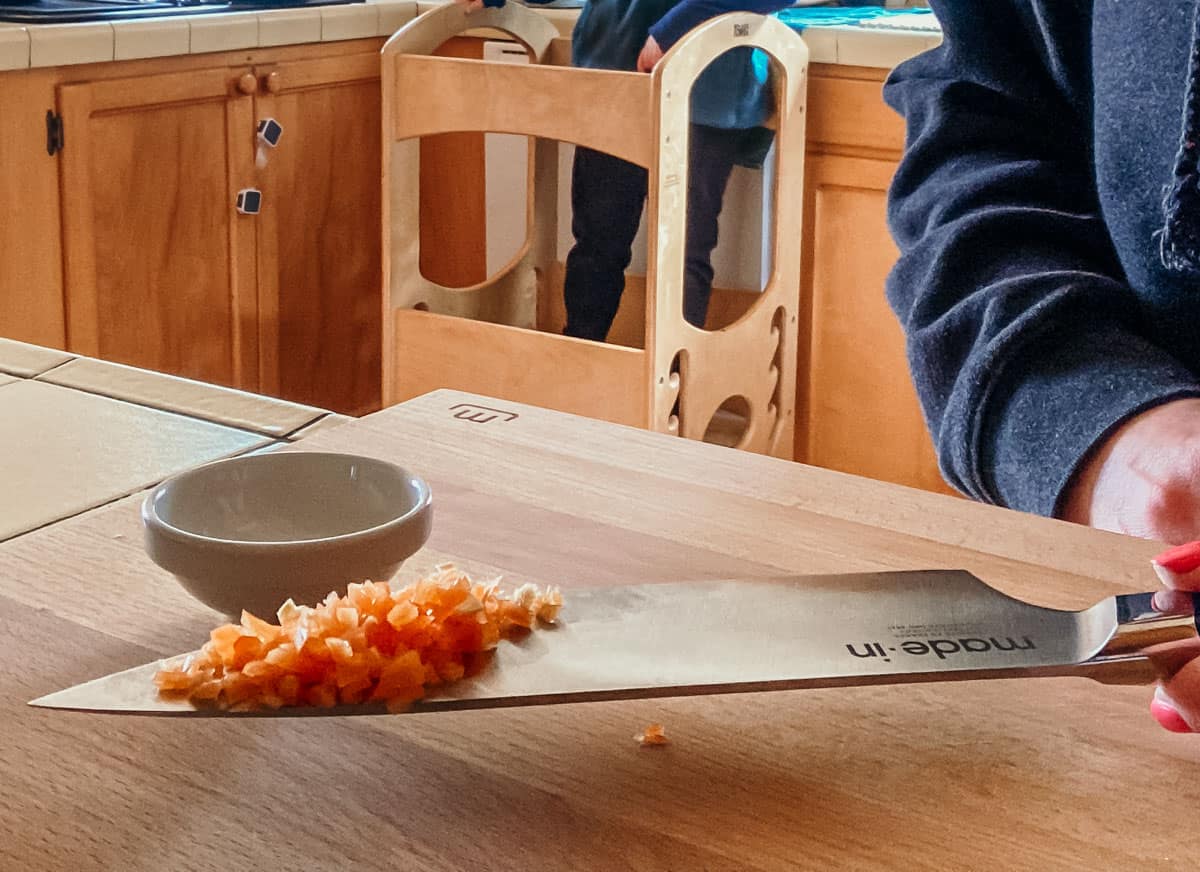
6. Chop the Peppers
Chop the habanero peppers. Transfer them to a prep bowl and set aside. You can substitute bell pepper for the habaneros if you'd like to avoid the heat.
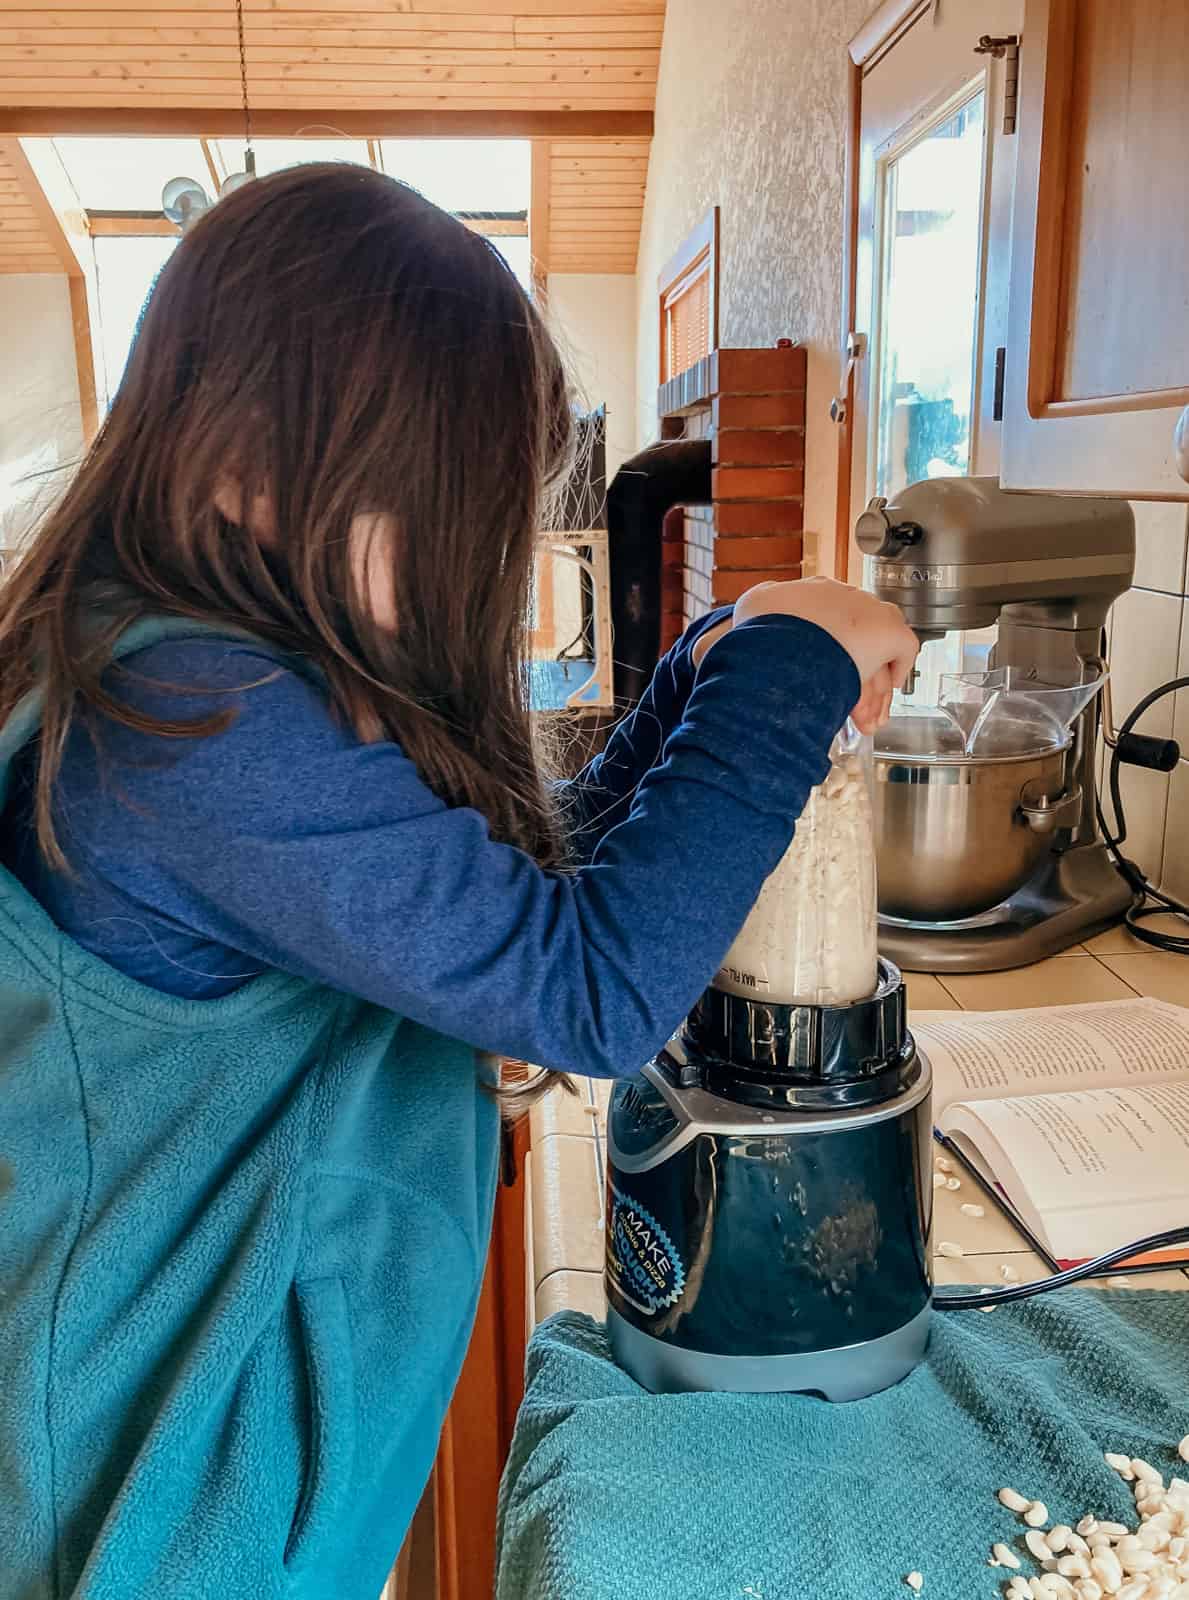
7. Blend the Black-Eyed Peas
Transfer the peas to a blender. Add some of the water and blend the black-eyed peas. You can also use a potato masher and save your water for later.
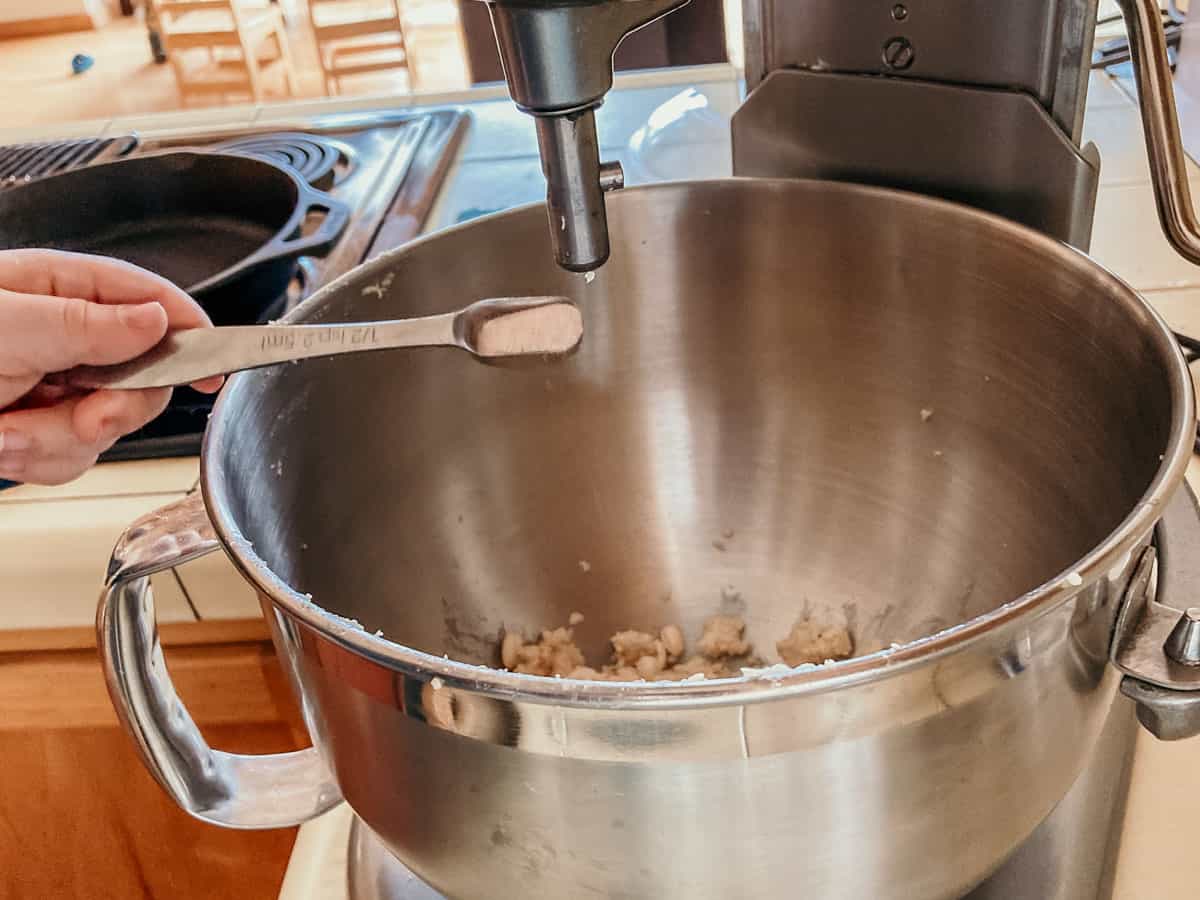
8. Add Salt to the Black-Eyed Pea Mixture
Transfer the blended black-eyed peas to the mixing bowl. Use a measuring spoon to add salt to the black-eyed pea mixture.
Here's another example of practicing fractions. Kaia is using a measuring spoon that encourages the addition of fractions in order to add the appropriate amount of salt for this recipe.
If you'd like to add baking powder, you can add that now as well.
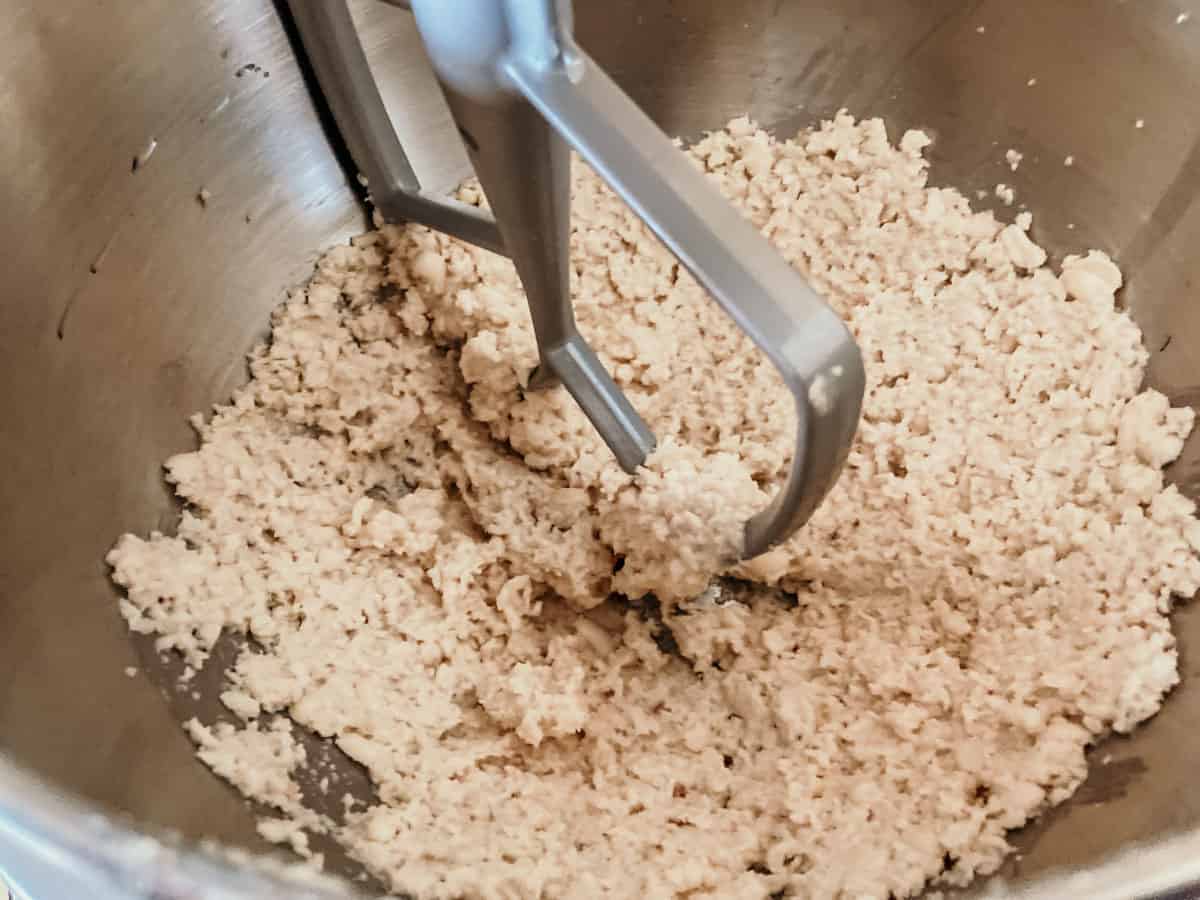
9. Add the Peppers and the Remaining Water
Using the beater attachment, blend the pea mixture. Add the peppers. Slowly add the remaining water. The pea mixture should have a fluffy consistency.
On this day, we made half with habanero and half without.
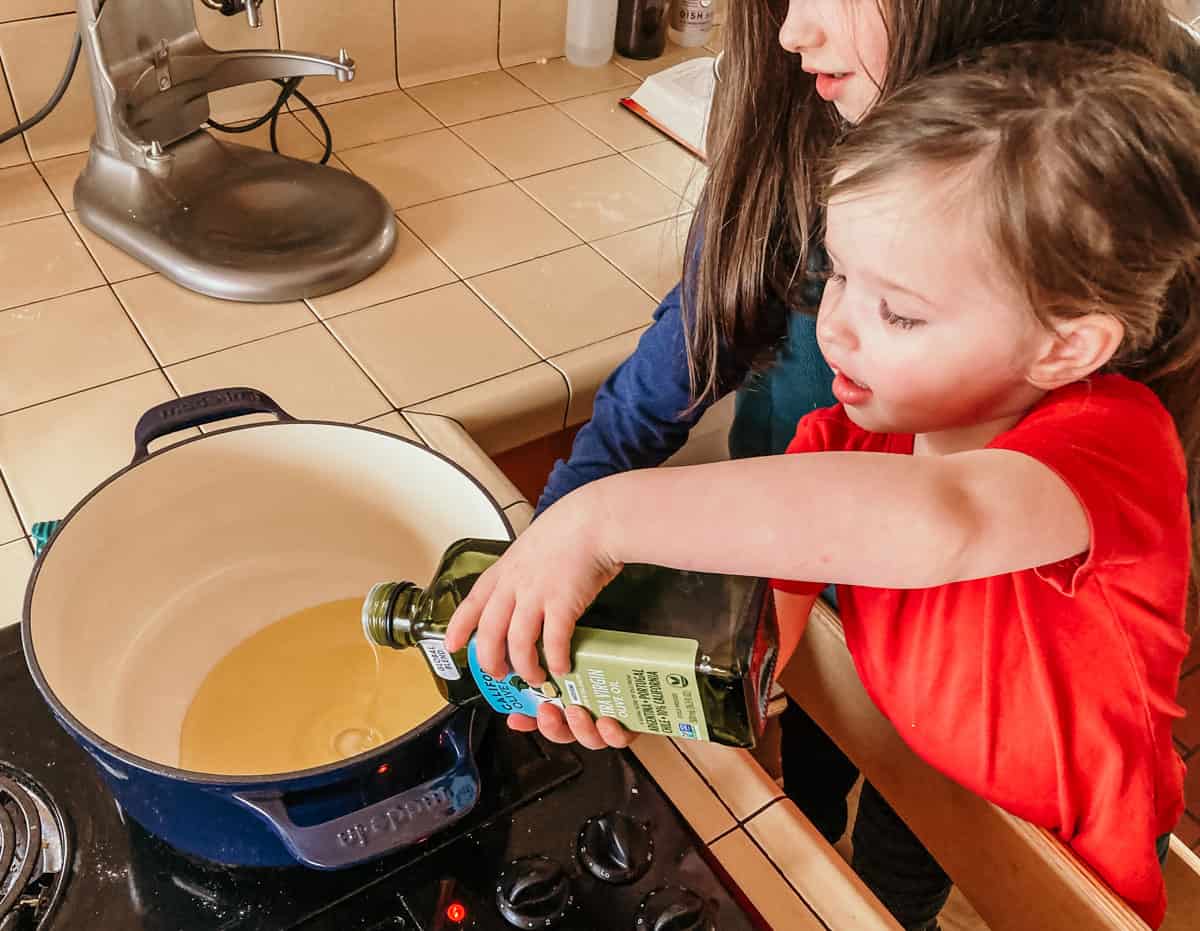
10. Heat the Oil in a Dutch Oven or Medium Pot
Pour enough oil into a Dutch oven or pot to fry the kala. Turn the stove to medium-high to heat the oil.
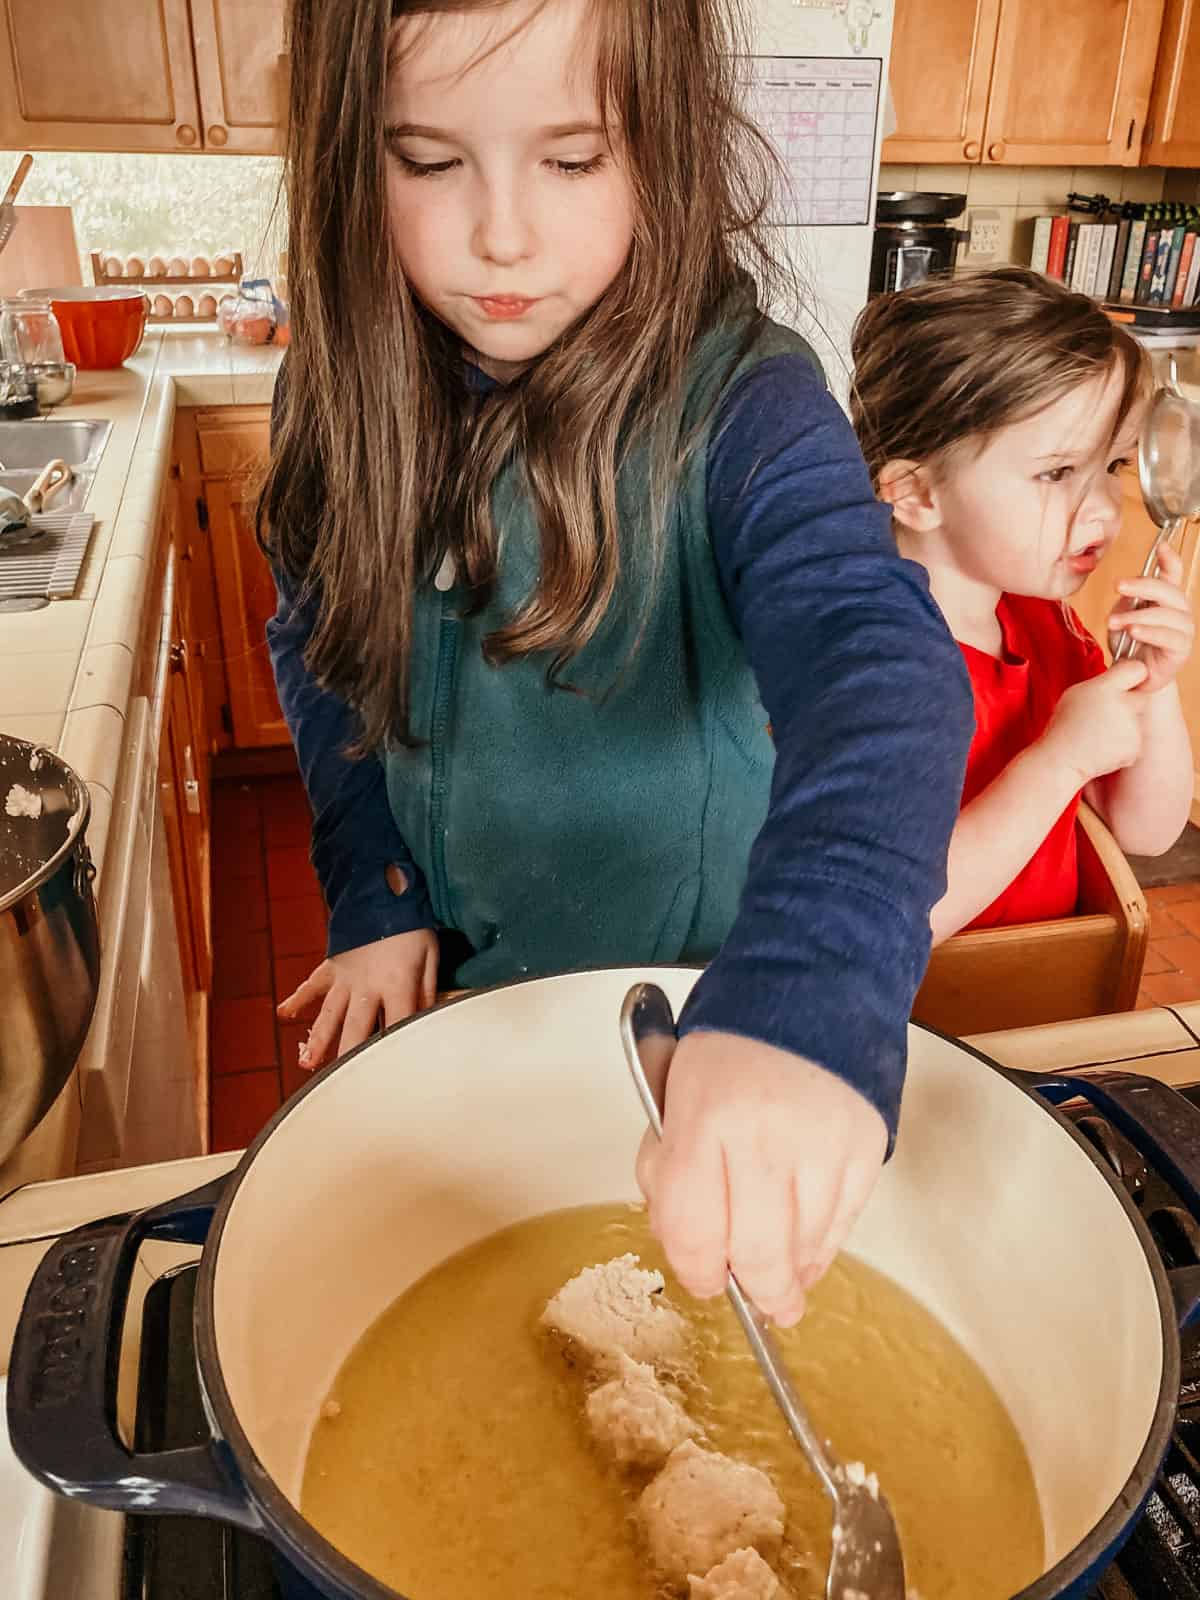
11. Fry Spoonfuls in the Dutch Oven
Transfer spoonfuls of the black-eyed pea mixture to the Dutch oven.
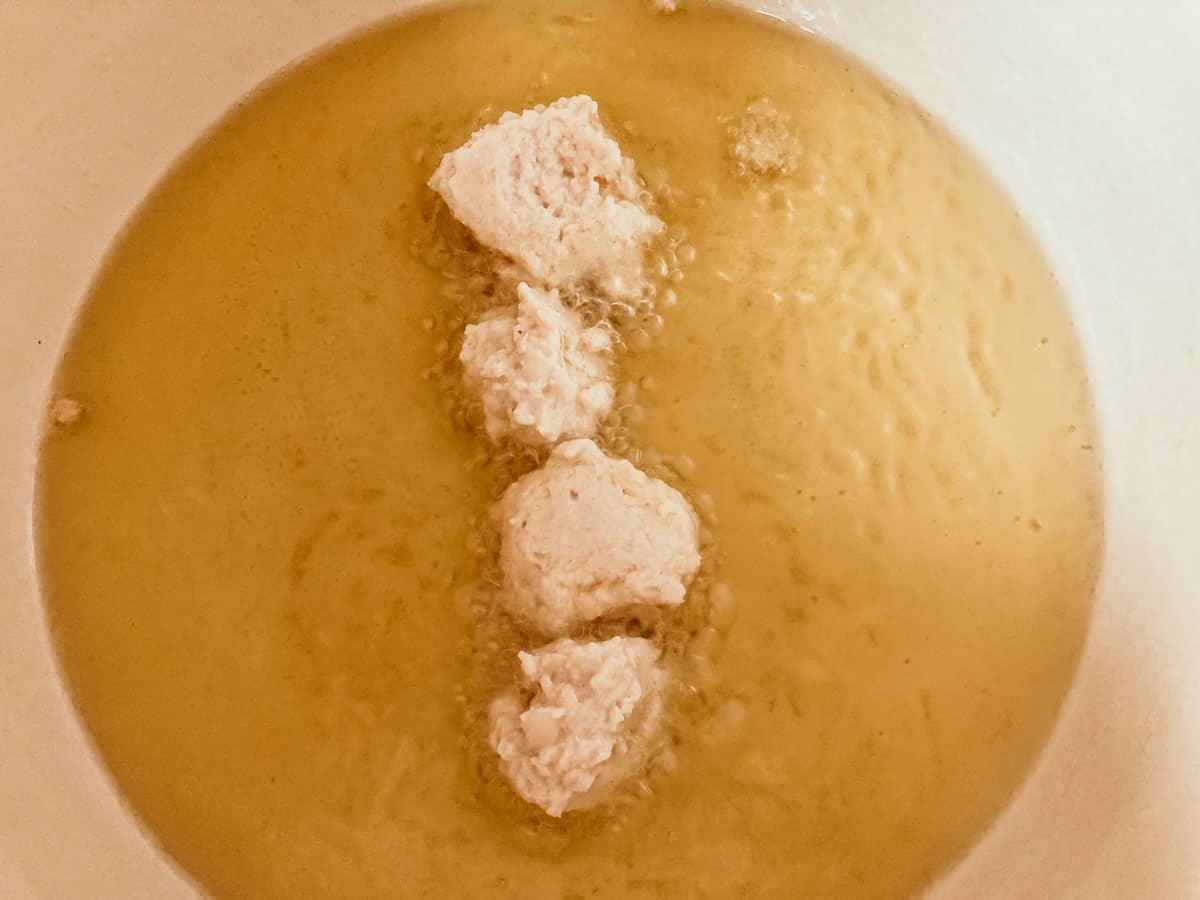
Kids can create lines or shapes as they work.
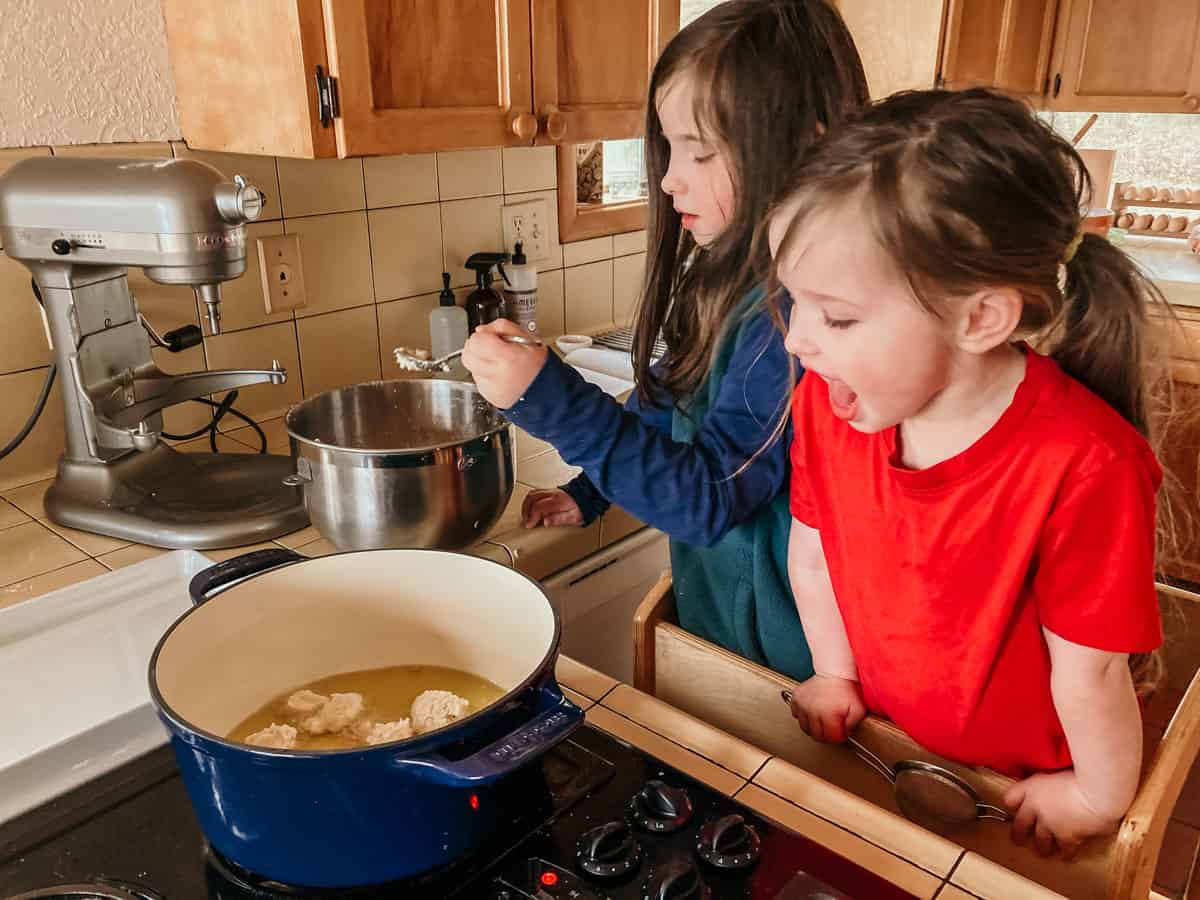
If you're working with enameled cast iron, grab a wooden spoon to turn the kala as needed.
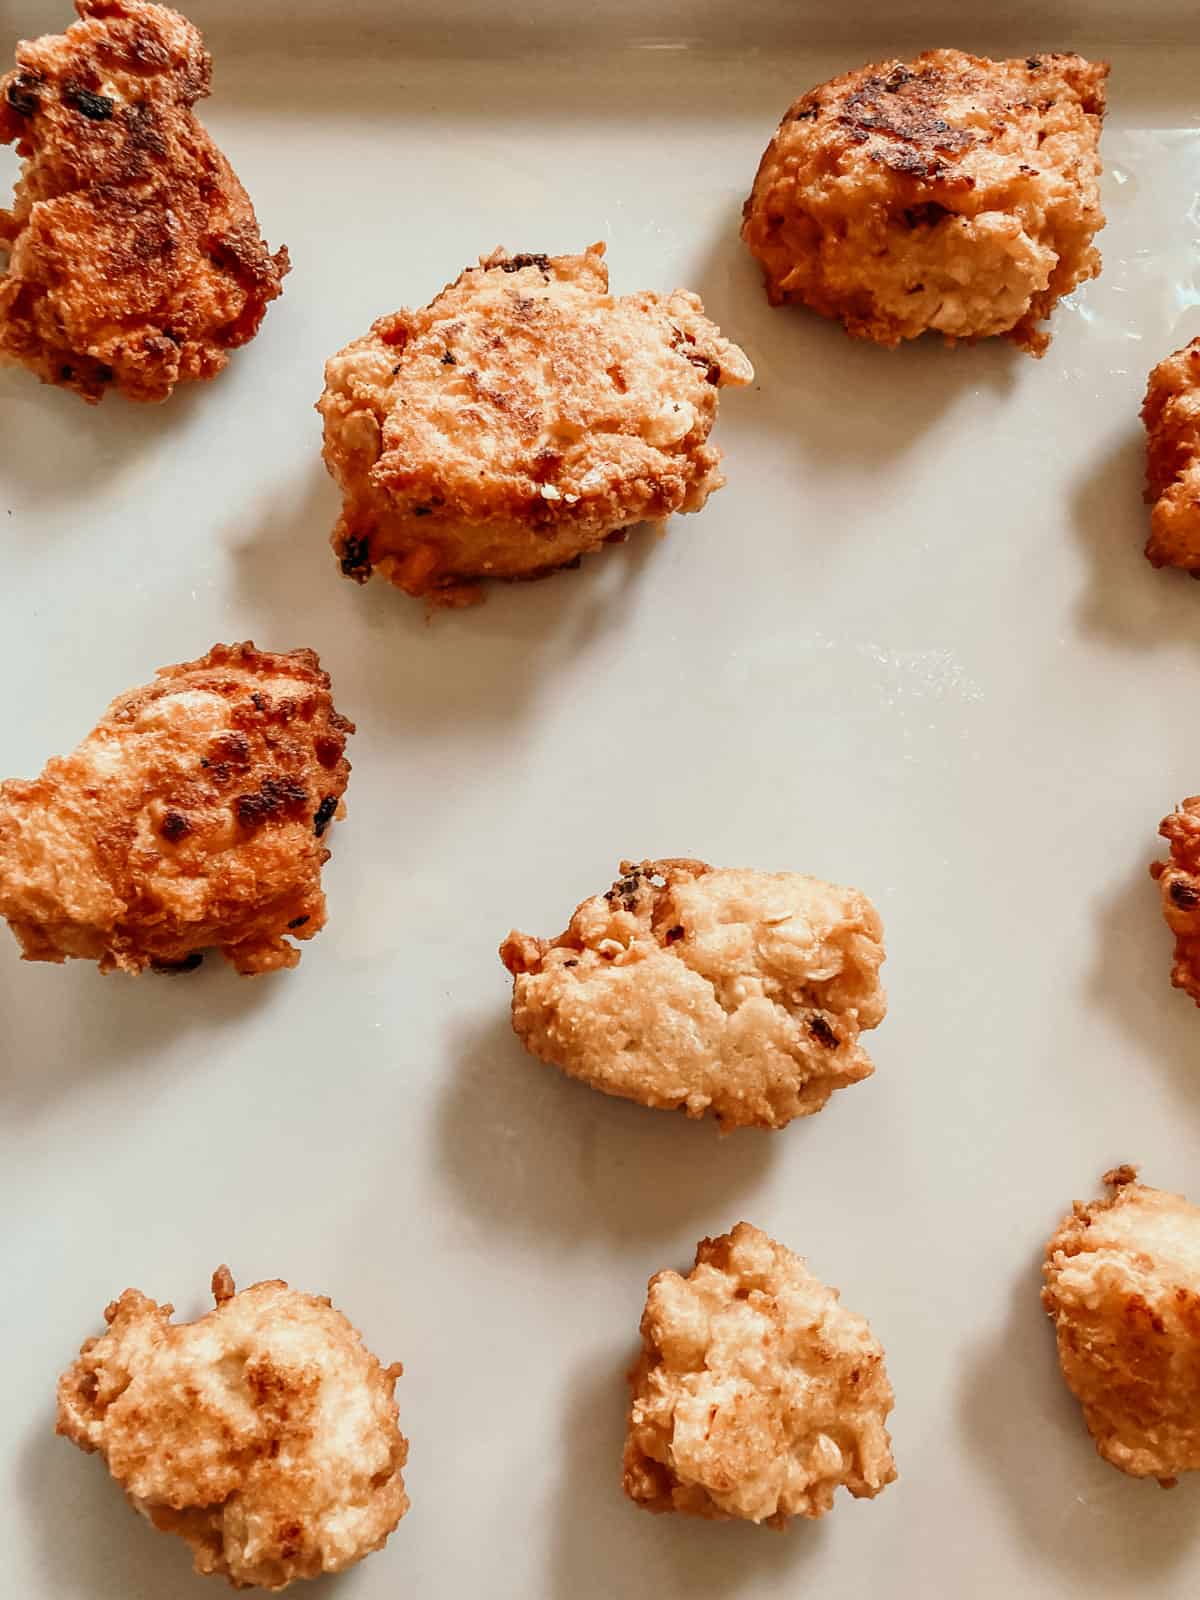
12. Remove When Golden Brown
Remove the black-eyed pea puffs when they're golden brown and crispy. Turn off the stove and place the kala on a towel to absorb the excess oil. Transfer to a serving tray.
We're officially using a baking slab as a serving tray. It adds beauty to every table and is perfect for serving bite-size snacks before heading out.
You can enjoy them as is or with your favorite dipping sauce.
Free Kala Recipe for Pre-Readers and Up
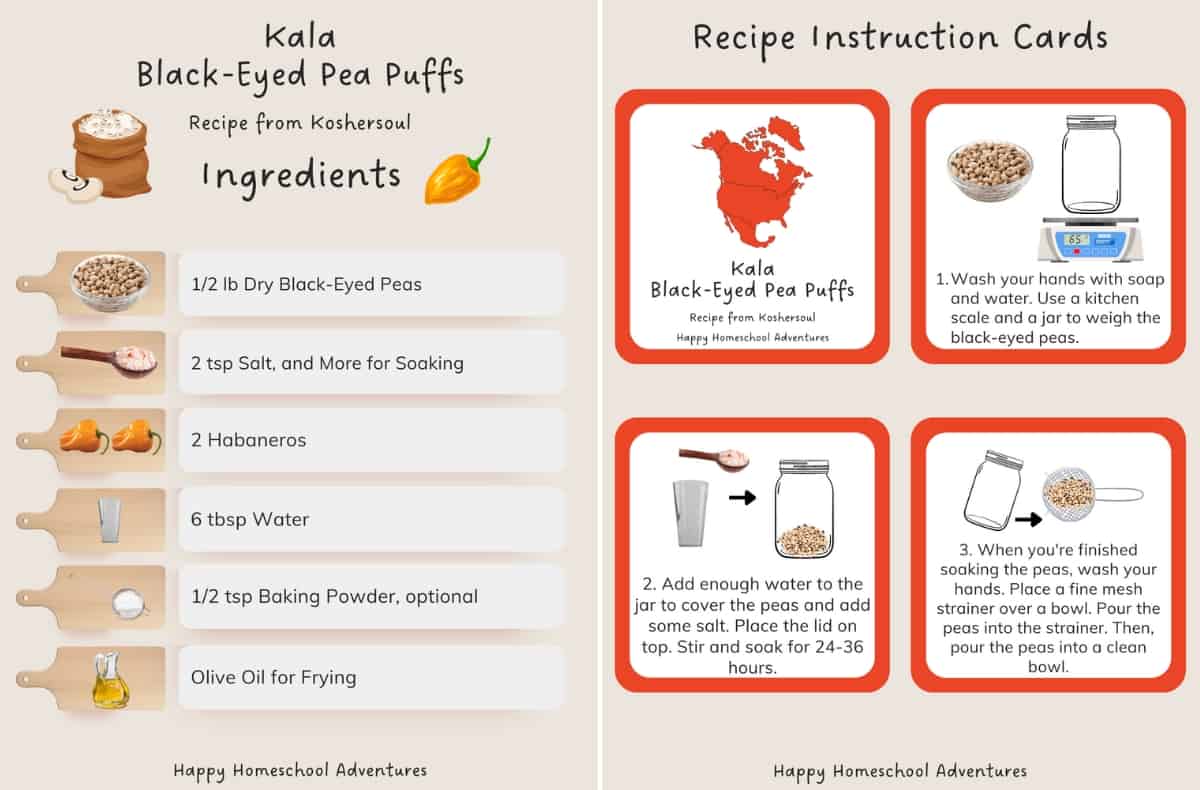
Grab your free printable recipe cards above. Kids can gather ingredients using the ingredient list, gather their equipment with the tools list, and prepare the meal using the step-by-step recipe cards, with assistance as needed.
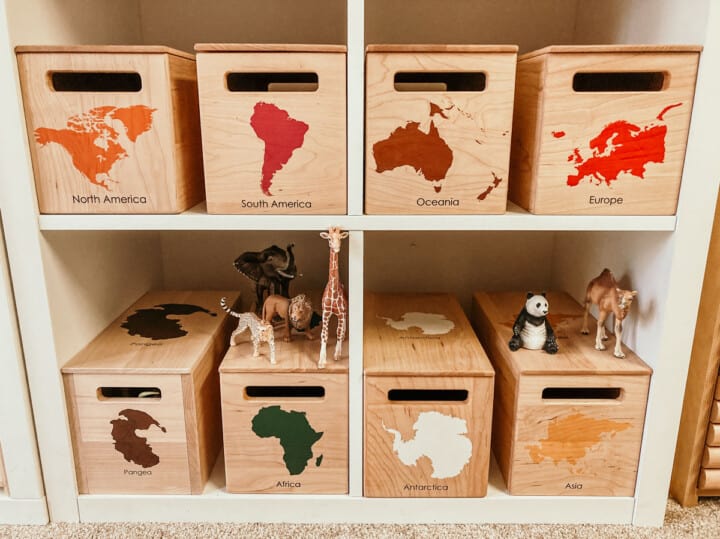
The cards are easy to use, include pictures, and encourage confidence and independence in the kitchen. They also make an excellent addition to your Montessori continent box for North America.
Montessori Continent Boxes
Explore every continent with these solid maple hardwood boxes.
Kala: Black-Eyed Pea Puffs
Equipment
- Jar with Lid
- Kitchen Towel
- Chef Knife or child-friendly knife as needed
- Butcher Block or cutting board
- Blender or potato masher
- Stand Mixer or hand mixer
- Dutch Oven or medium pot
- Baking Slab optional
- Learning Tower as needed
Ingredients
- ½ lb black-eyed peas
- 2 teaspoon salt more for soaking
- 2 habanero peppers or peppers of choice
- 6 tablespoon water
- ½ teaspoon baking powder optional
- Olive Oil for frying
Instructions
- Wash your hands with soap and water. Use a kitchen scale and a jar to weigh the black-eyed peas. Demonstrate or assist with tasks such as zeroing the scale as needed.
- Add enough water to the jar to cover the peas and add some salt. Place the lid on top. Stir and soak the black-eyed peas for 24-36 hours. Check on them periodically and add water as needed.
- When you're finished soaking the black-eyed peas, wash your hands with soap and water. Place a fine mesh strainer over a medium-sized bowl. Pour the contents of the jar into the strainer. We gave ours a quick rinse. You can save the water and add it to your compost or garden. Afterward, transfer the peas to a clean bowl.
- Peel the black-eyed peas. To remove the skin, slightly squeeze an edge and then peel the skin off.
- When you're finished peeling, pour the bowl of peas onto a kitchen towel and dry them. The skins can be added to your compost.
- Chop the habanero peppers. Transfer them to a prep bowl and set aside. You can substitute bell pepper for the habaneros if you'd like to avoid the heat.
- Transfer the peas to a blender. Add some of the water and blend the black-eyed peas. You can also use a potato masher and save your water for later.
- Transfer the blended black-eyed peas to the mixing bowl. Use a measuring spoon to add salt to the black-eyed pea mixture. If you'd like to add baking powder, you can add that now as well.
- Using the beater attachment, blend the pea mixture. Add the peppers. Slowly add the remaining water. The pea mixture should have a fluffy consistency.
- Pour enough oil into a Dutch oven or pot to fry the kala. Turn the stove to medium-high to heat the oil.
- Transfer spoonfuls of the black-eyed pea mixture to the Dutch oven. Use a spoon to turn them as needed.
- Remove the black-eyed pea puffs when they're golden brown and crispy. Turn off the stove and place the kala on a towel to absorb the excess oil. Transfer to a serving tray. Enjoy them as is or with your favorite dipping sauce.
Notes
- You can substitute bell pepper for the habaneros if you prefer a mild alternative
- Never leave cooking food unattended
- Use oils with high smoking point to avoid harmful compounds
- Always have good ventilation when using a gas stove
- See more guidelines at USDA.gov.
- Full Lesson Info and Pictures at: https://happyhomeschooladventures.com/black-eyed-pea
Nutrition
Estimated nutrition information is provided as a courtesy and is not guaranteed.



Leave a Reply