
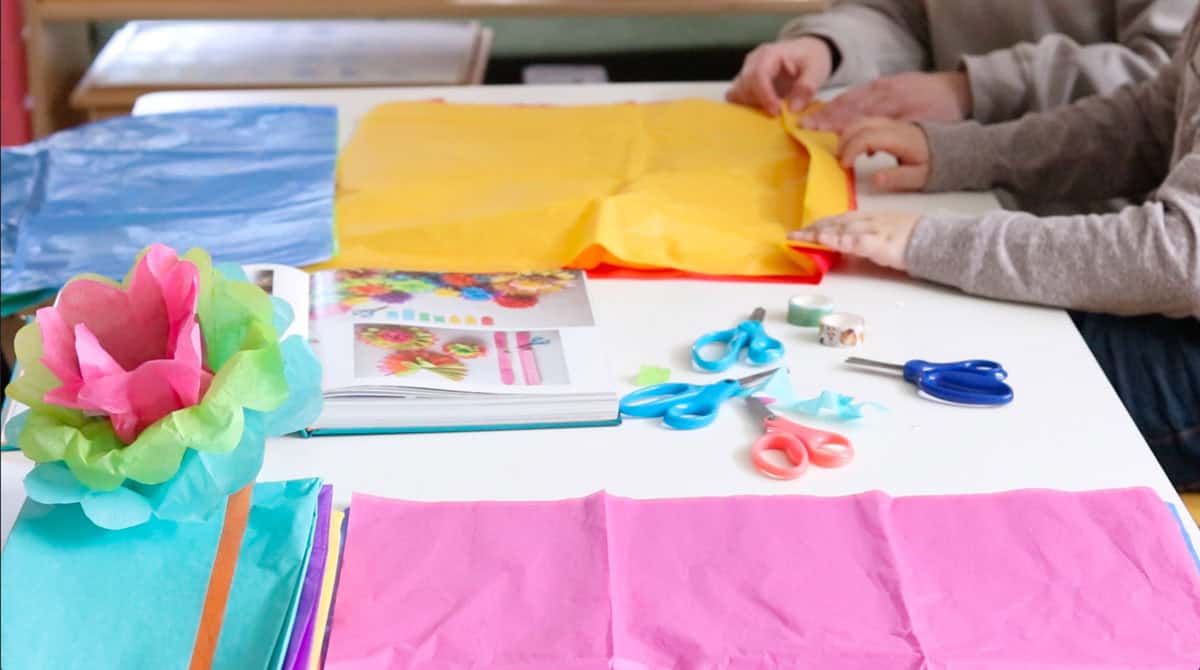
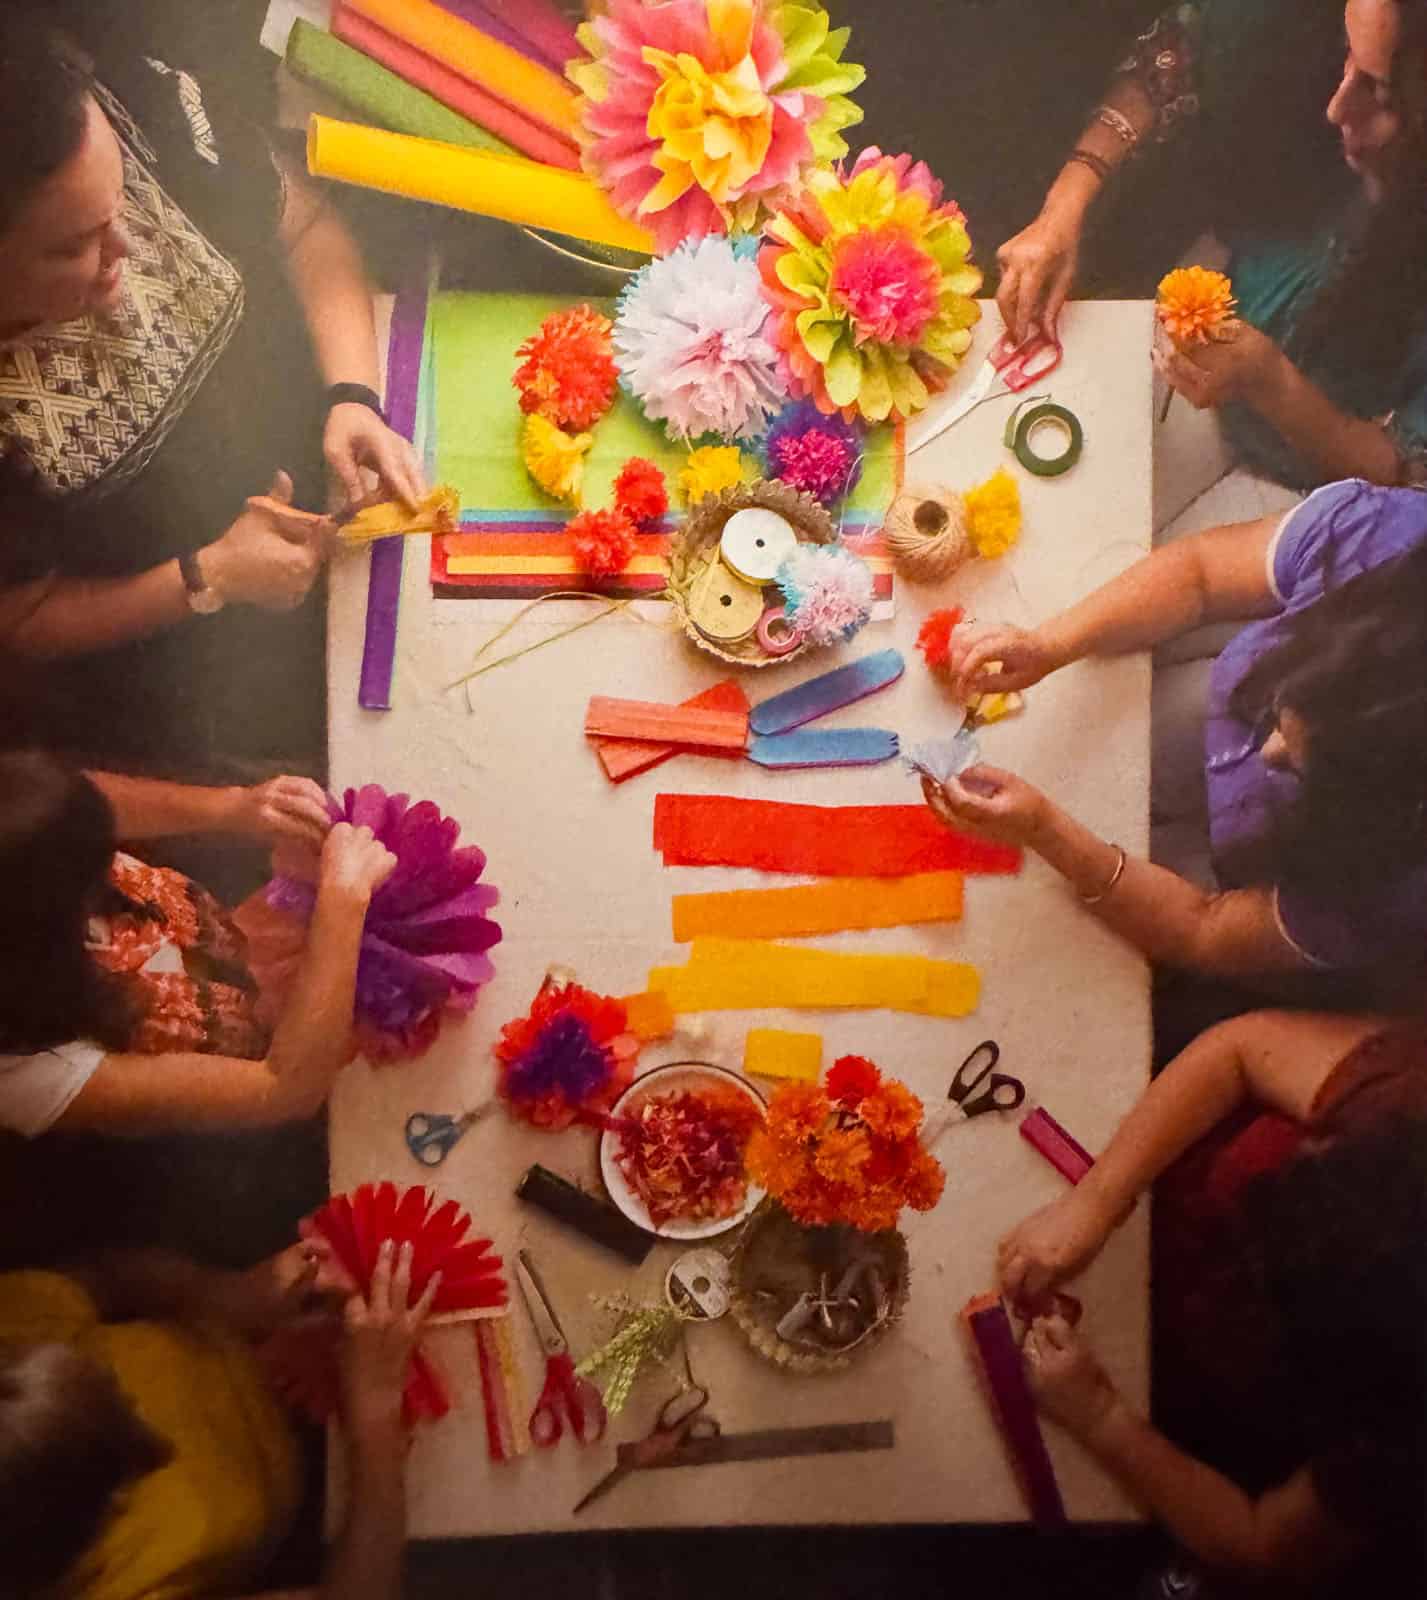
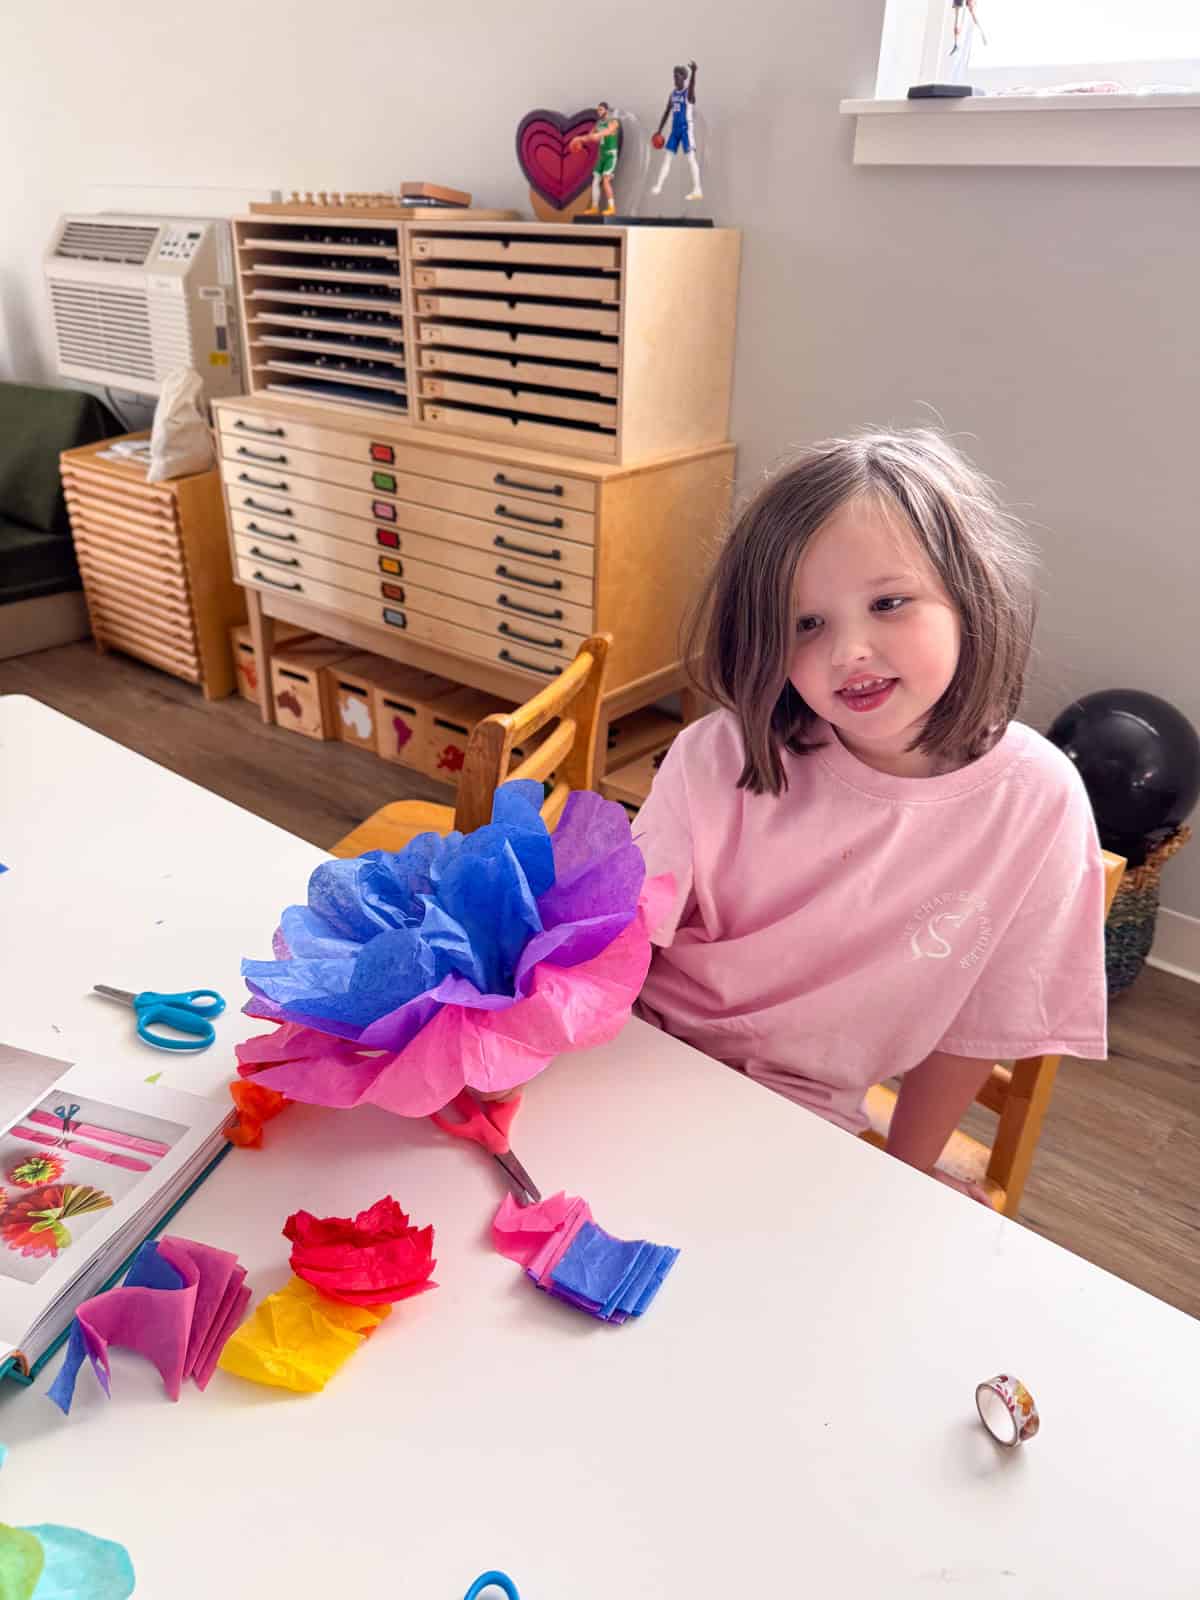
"The flowers are fun to make and in some of the simpler steps you can encourage your children to help out. Involving the entire family can be entertaining, and in a couple hours you can have a good number of flowers..."
- Mariana Nuño Ruiz
Arts & Crafts are the perfect way to explore different cultures with preschool and elementary learners and have fun while you're doing it. Have you ever made Day of the Dead decorations?
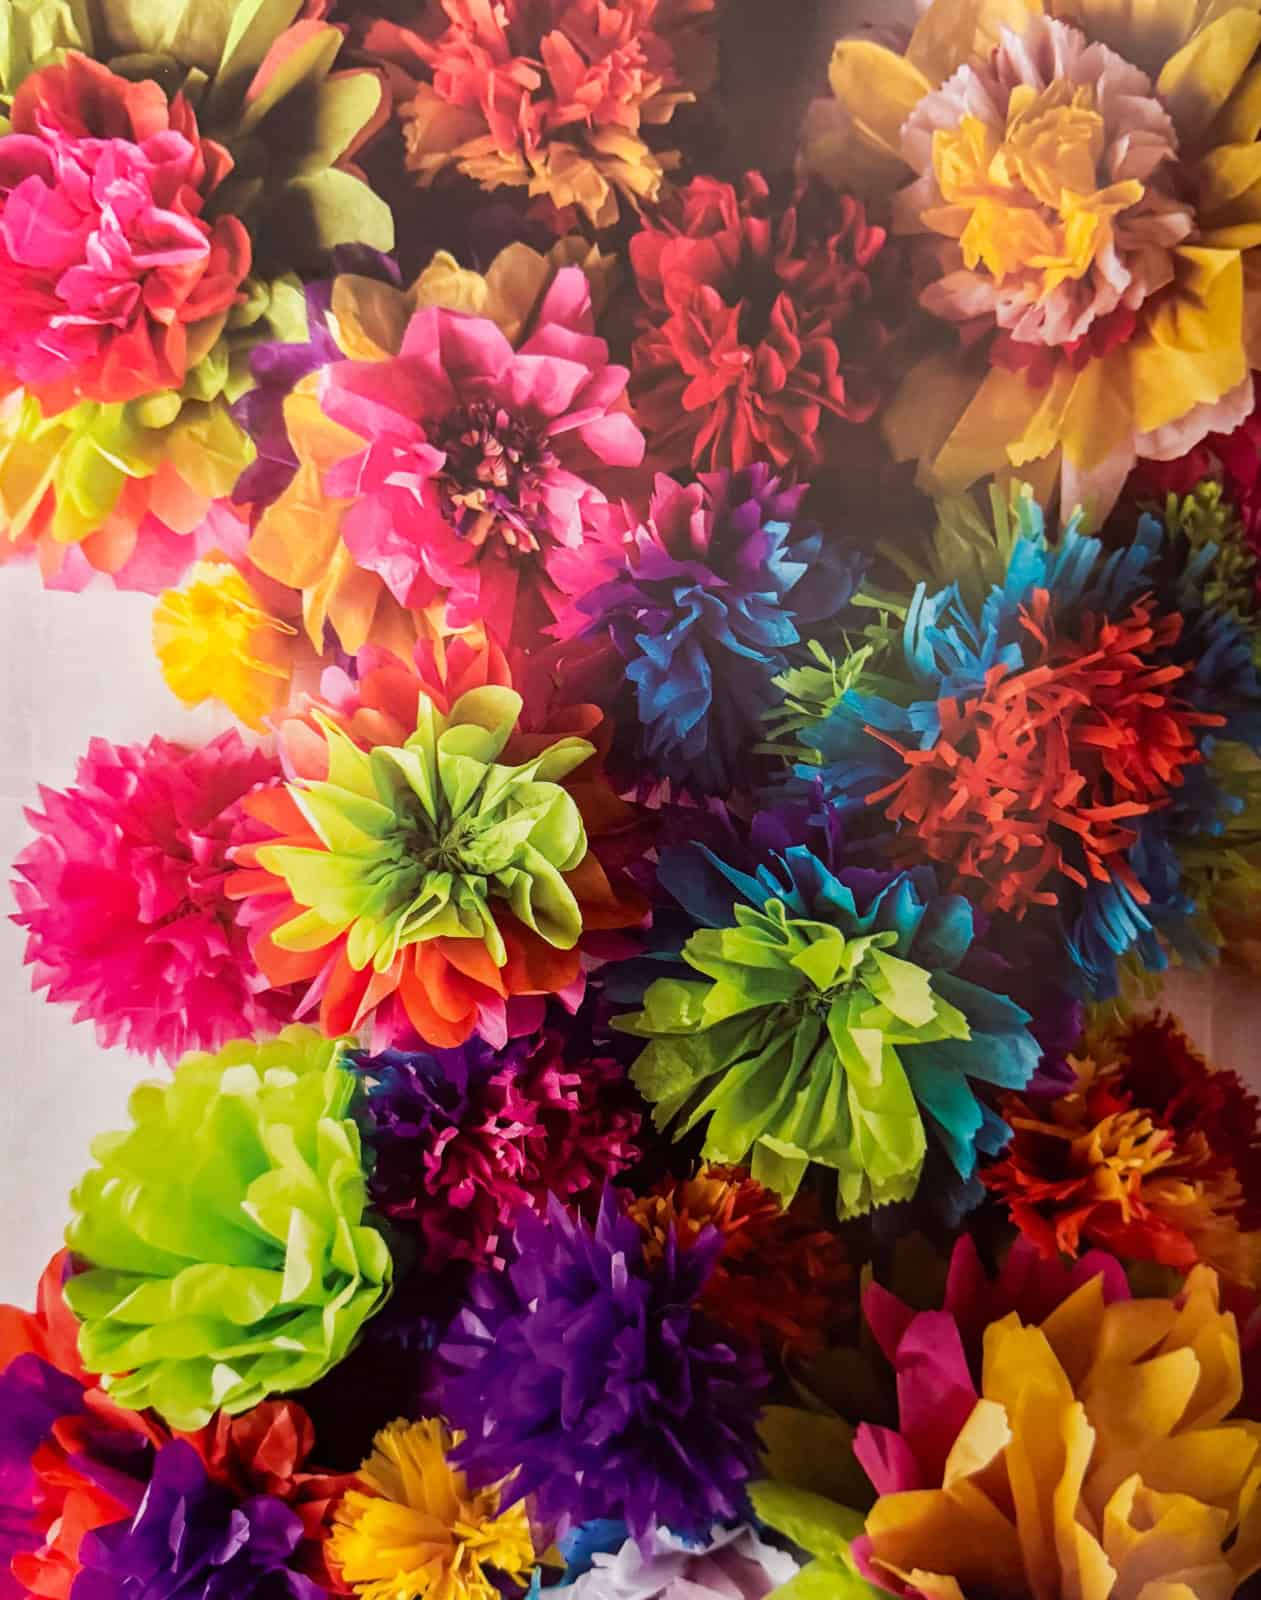
These tissue paper flowers are bright and colorful, adding beauty wherever they're displayed. Make them for Día de los Muertos or anytime you want to share flowers with a friend.
Jump to:

Dining with the Dead
These Day of the Dead decorations come from Dining with the Dead: A Feast for the Souls on Day of the Dead by Mariana Nuño Ruiz and Ian McEnroe.


related content!
Bilingual Books
Bilingual English-Spanish books for all ages to enjoy.
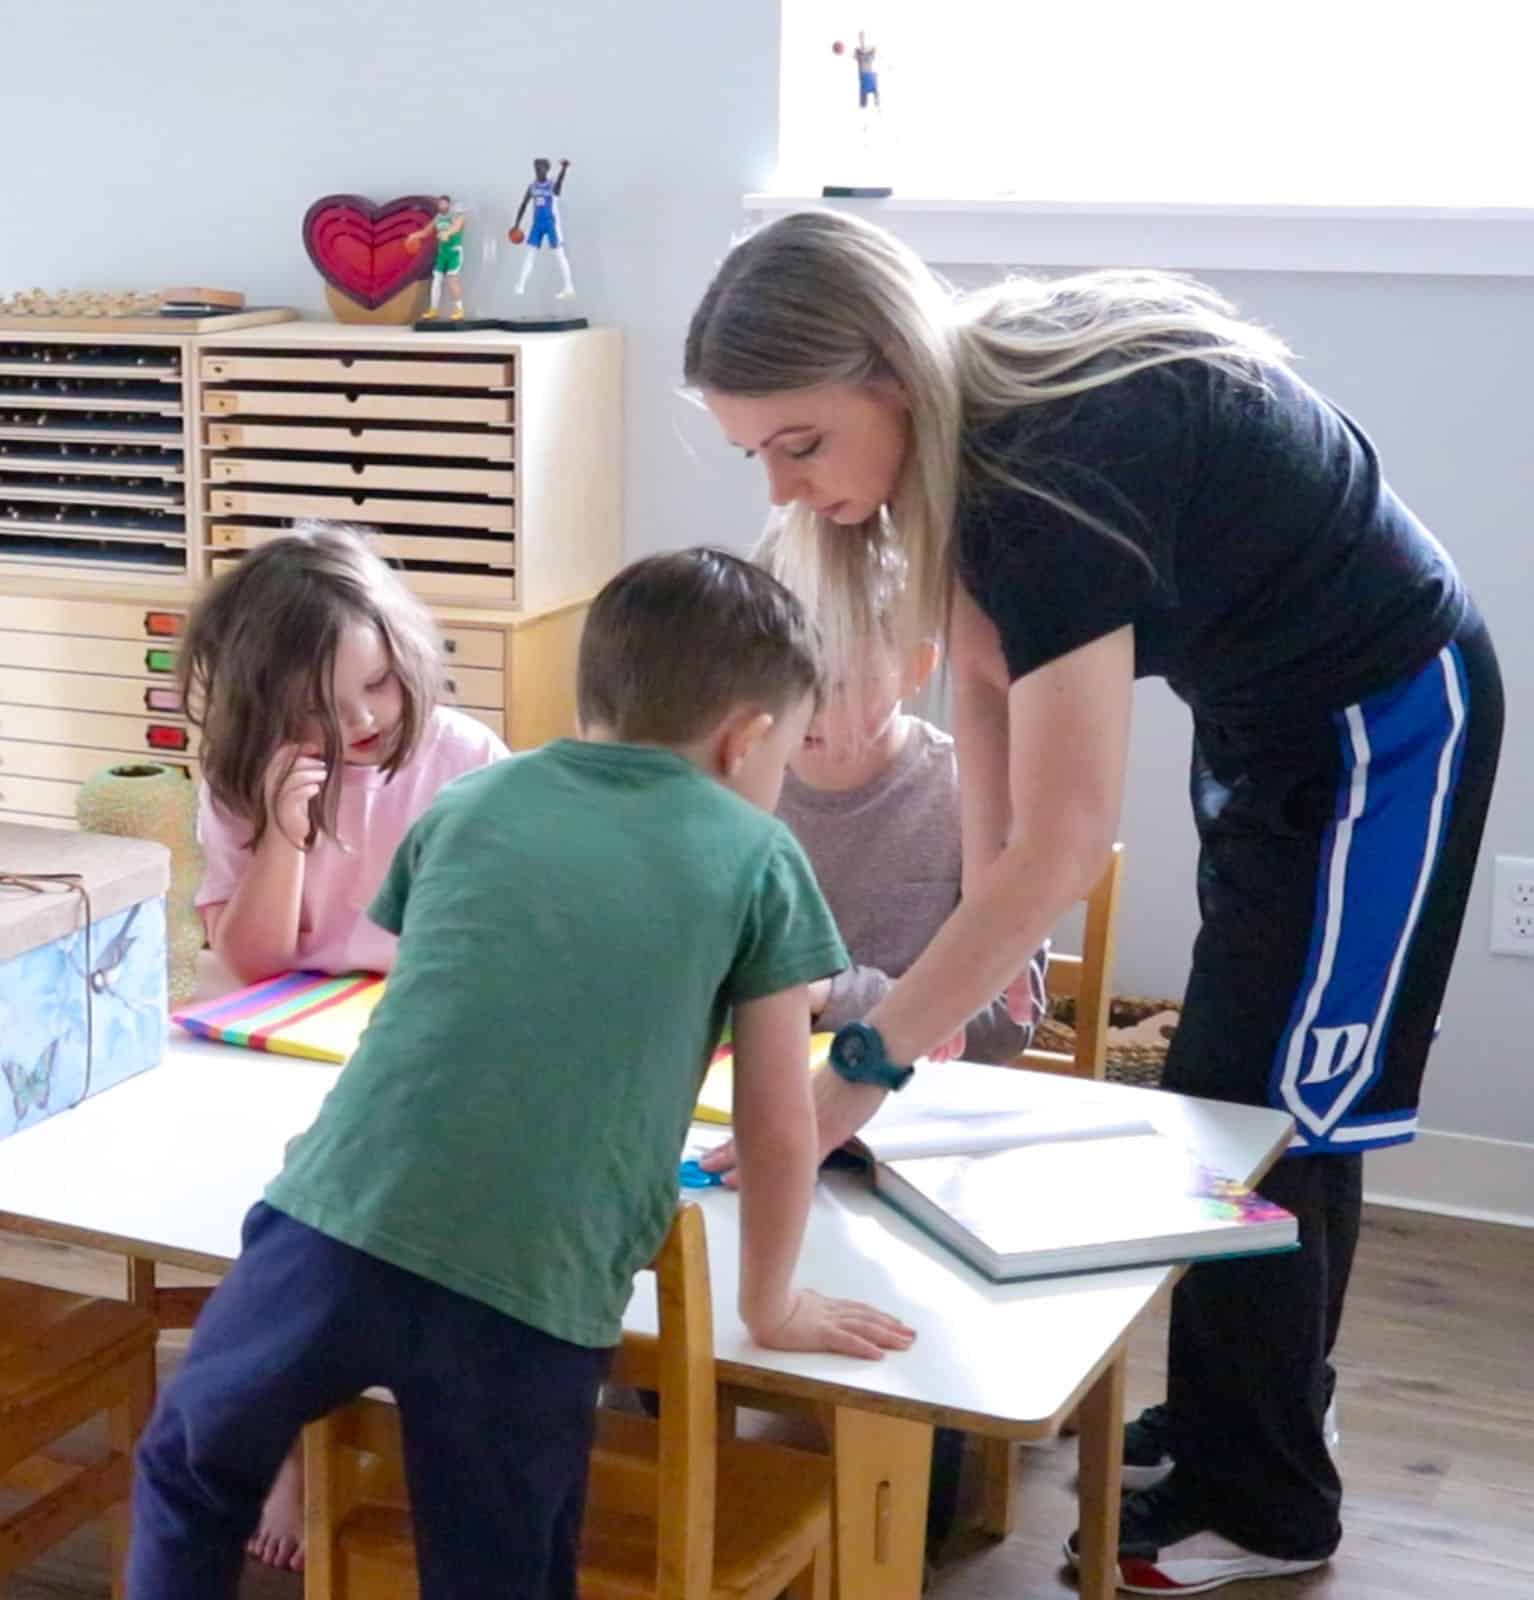
How to Homeschool Elementary
A Family-Style Approach to the Montessori Great Lessons
Free Montessori Great Lessons Series
Do you want assistance with planning your year? We've put together a FREE series on the Great Lessons for elementary and family-style learning that will take the overwhelm out of the beginning of your school year and keep you moving with ease all the way to spring.
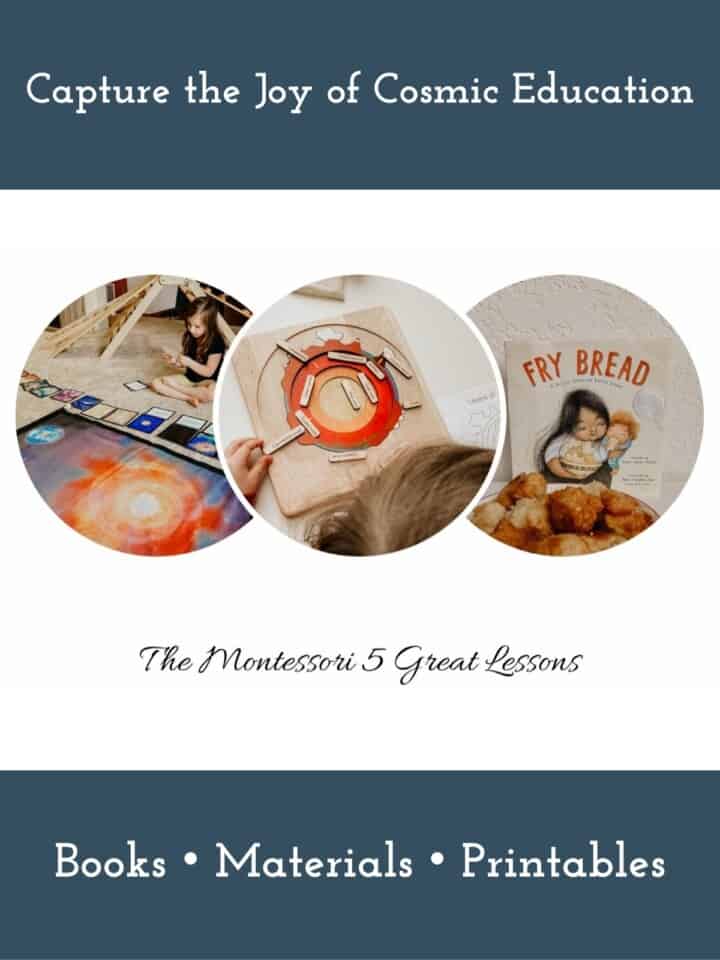
Explore the Montessori Great Lessons, the introduction to the Cosmic Curriculum, traditionally given to Elementary students near the beginning of the school year. This free 5-part weekly email series will help you tell the story of how our universe began all the way to the origins of language and numbers.
Montessori's Five Great Lessons provide children with a contextual understanding of who they are, where they come from, and their unique purpose or cosmic task. Sounds like a big undertaking, right? Well, it doesn't have to be.
Learn more about this elementary homeschool course.

How to Make Tissue Paper Flowers

Materials
- tissue paper - 3 sheets of colorful 20 x 20 inch tissue paper is all you need to make 3 small tissue paper flowers, but the more the merrier
- scissors
- zigzag scissors (optional)
- stapler
- tape - use clear tape if you don't want it to show or colorful paper tape if you prefer
- 30g floral wire or nylon thread (optional)
Line up 3 Sheets of Tissue Paper
Pick out 3 pieces of tissue paper to use for the tissue paper flowers. You can use more than 3 sheets, but 3 is the suggested minimum. Line up the sheets on top of each other.
Accordion Fold
Fold up the bottom edge about 1 ½ to 2 inches and make a crease along the fold using your fingers. Flip the tissue paper stack over so that the folded edge is still along the bottom but hidden from view.
Repeat the fold from the bottom so that the previous fold is now sitting directly on top of the new fold. Make a crease with your fingers along the bottom edge. You should now have two folds in your tissue paper stack.
Flip the tissue paper stack over and repeat the folding process until you have created an accordion fold using all the tissue paper.

Cut to Size
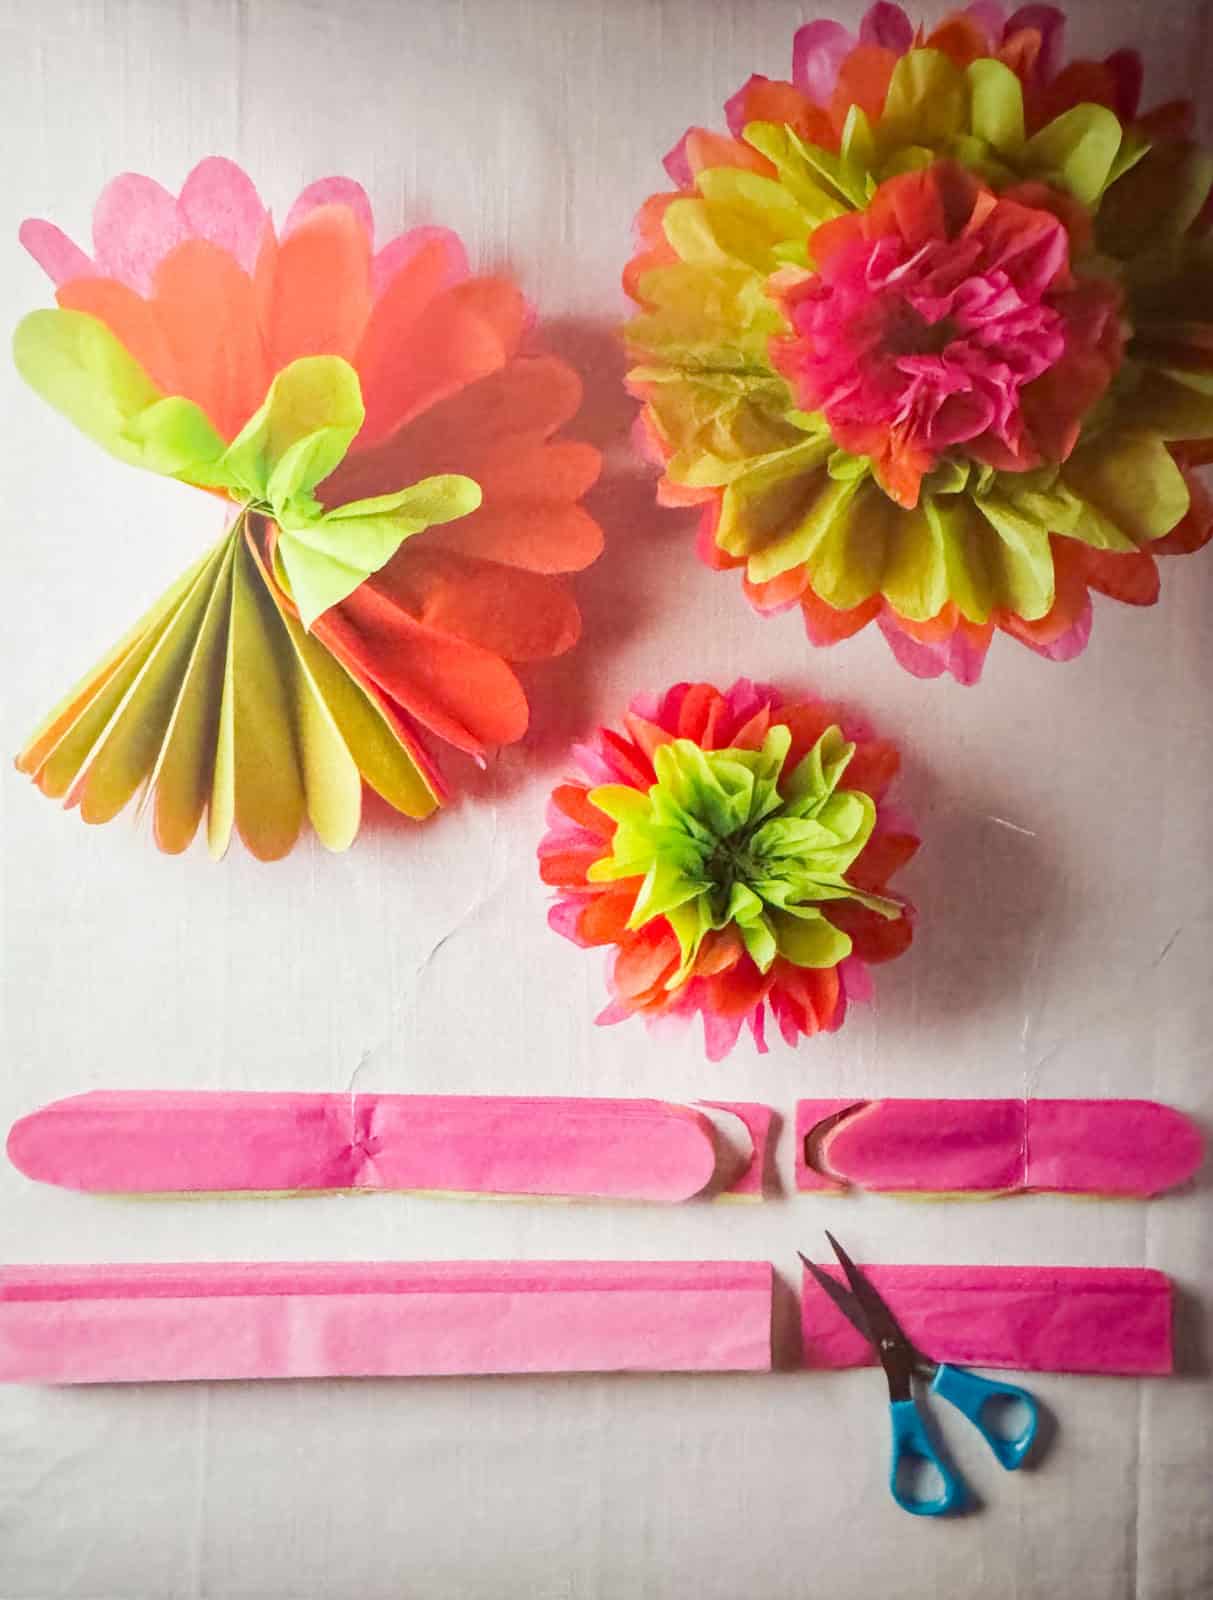
Cut the folded tissue paper according to the size of the flowers you would like to create. Cut it in half for 2 medium flowers. Cut at ⅔ the length of the folded tissue paper to create 1 large and 1 small flower. Cut the strip at ⅓ and ⅔ to create 3 small flowers.
Staple & Attach the Floral Wire
Use a stapler to staple in the center of each strip that has been cut. If you're using a floral wire, wrap a piece of wire around the center of each strip. For each strip, make a loop and twist it around the center.
We opted out of the floral wire. Our flowers held up fine and can be hung using tape.
Decide which exterior color in the accordion strip will be the center layer of petals for your flower and position the wire so it hangs down the opposite side.
Katalina wanted a blue center to her flower, and Noah chose red for his.
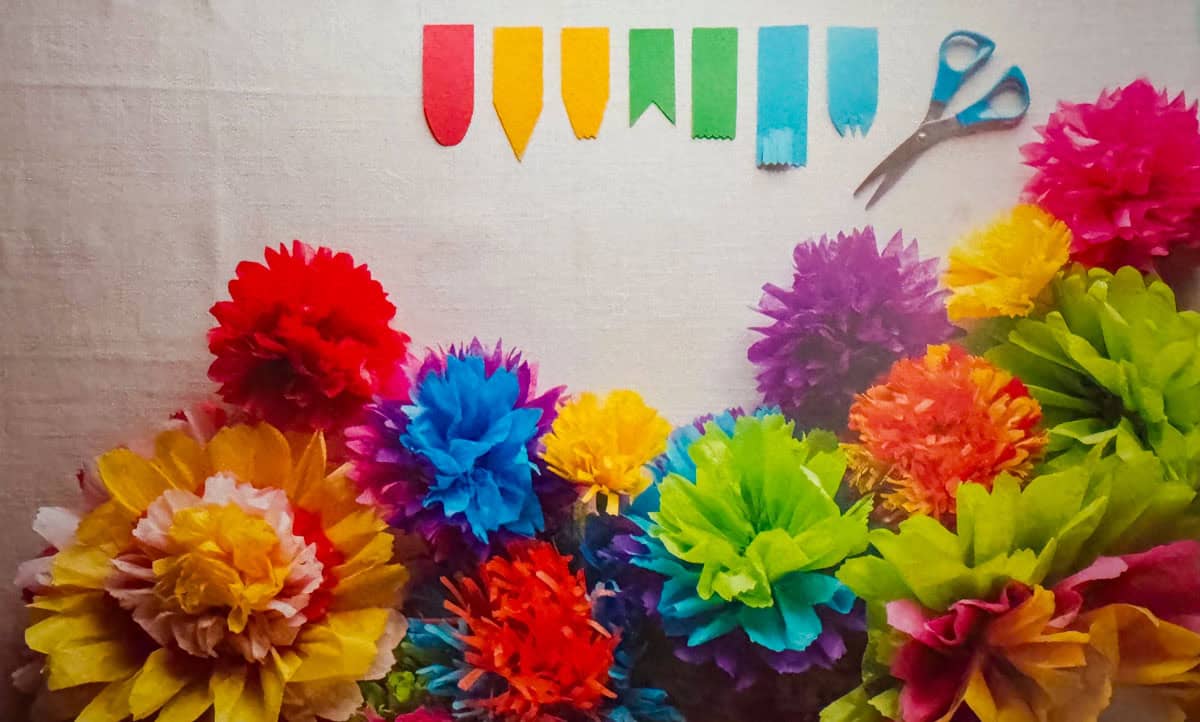
Trim & the Tissue Paper Ends
Use a pair of scissors to trim the ends of the tissue paper strip. The cut will determine the shape of the petals. We chose round for a daisy-like appearance. Pointy petals can look like a zinnia, and thin strips can look like a marigold.
Repeat for each accordion strip.
Spread Apart the Layers
Open an accordion strip and tape 2 of the side ends together to begin shaping the flower. Unfold the tissue paper layers in the same direction to form a circle. Lift each layer up toward the center to create some seperation between each layer.
Go back and reestablish the creases as needed. Repeat the process for each accordion strip.
Secure
Tape the other 2 tissue paper ends together to secure the shape and close the circle.
If you made 1 big and 1 small flower, you can attach the small flower to the center of the large flower and pass the wires in between the center fold. Twist the wires to secure. Refluff the petals as needed.
Repeat for all the flowers and hang as desired.

Day of the Dead Decorations
These bright, beautiful tissue paper flowers are fun to make in groups.
How to Make Tissue Paper Flowers

These Day of the Dead decorations are bright and colorful, adding beauty wherever they're displayed. Make them for Día de los Muertos or anytime you want to share flowers with a friend.
Materials
- Multi-Colored Tissue Paper
- Scissors
- Zigzag Scissors (optional)
- Stapler
- Tape
- 30 gauge Floral Wire (optional)
Instructions
- Pick out 3 pieces of tissue paper to use for the tissue paper flowers. You can use more than 3 sheets, but 3 is the suggested minimum. Line up the sheets on top of each other.
- Fold up the bottom edge about 1 ½ to 2 inches and make a crease along the fold using your fingers. Flip the tissue paper stack over so that the folded edge is still along the bottom but hidden from view. Repeat the fold from the bottom so that the previous fold is now sitting directly on top of the new fold. Make a crease with your fingers along the bottom edge. You should now have two folds in your tissue paper stack. Flip the tissue paper stack over and repeat the folding process until you have created an accordion fold using all the tissue paper.
- Cut the folded tissue paper according to the size of the flowers you would like to create. Cut it in half for 2 medium flowers. Cut at ⅔ the length of the folded tissue paper to create 1 large and 1 small flower. Cut the strip at ⅓ and ⅔ to create 3 small flowers.
- Use a stapler to staple in the center of each strip that has been cut. If you're using a floral wire, wrap a piece of wire around the center of each strip. For each strip, make a loop and twist it around the center. We opted out of the floral wire. Our flowers held up fine and can be hung using tape. Decide which exterior color in the accordion strip will be the center layer of petals for your flower and position the wire so it hangs down the opposite side.
- Use a pair of scissors to trim the ends of the tissue paper strip. The cut will determine the shape of the petals. We chose round for a daisy-like appearance. Pointy petals can look like a zinnia, and thin strips can look like a marigold. Repeat for each accordion strip.
- Open an accordion strip and tape 2 of the side ends together to begin shaping the flower. Unfold the tissue paper layers in the same direction to form a circle. Lift each layer up toward the center to create some seperation between each layer. Go back and reestablish the creases as needed. Repeat the process for each accordion strip.
- Tape the other 2 tissue paper ends together to secure the shape and close the circle. If you made 1 big and 1 small flower, you can attach the small flower to the center of the large flower and pass the wires in between the center fold. Twist the wires to secure. Refluff the petals as needed. Repeat for all the flowers and hang as desired.
Notes
For images and full tutorial go to: https://happyhomeschooladventures.com/day-of-the-dead-decorations


Leave a Reply