
"A computer will do what you tell it to, but it may not always be what you had in mind."
- Joseph Weizenbaum
Are you or someone you love a wanna be YouTuber? We'll show you how to make YouTube videos that are fun and professional-looking. Create attractive and meaningful content to post on YouTube using this same tutorial that I used with my 8 and 10-year-old YouTubers.
I learned about creating content for YouTube from Lisa over at Farmhouse on Boone. She has a website and YouTube channel dedicated to sourdough, recipes, and homesteading life.
Jump to:
Kaia created a helpful tutorial for anyone learning how to use Final Cut Pro video editing software.
See what else we've been up to.
AI Snake Oil
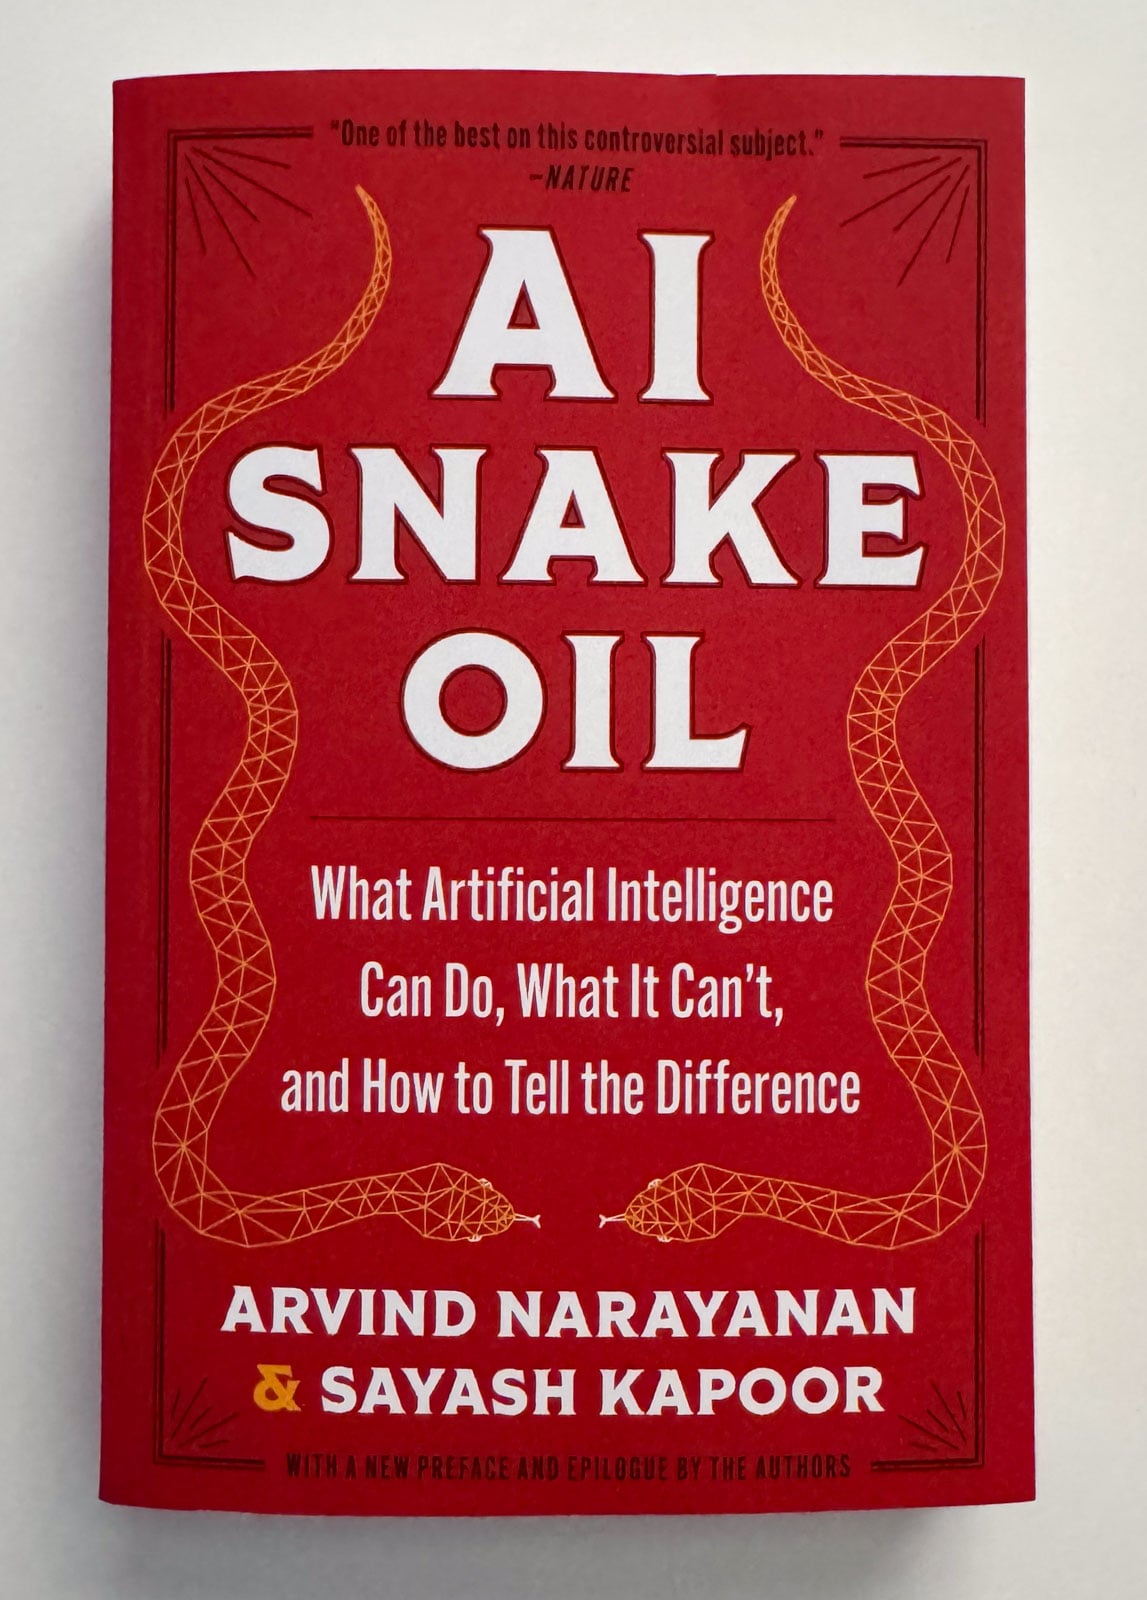
If you're interested in software and technology, you may like AI Snake Oil: What Artificial Intelligence Can Do, What it Can't, and How to Tell the Difference. There are many instances of AI use in apps and tools for content creators.
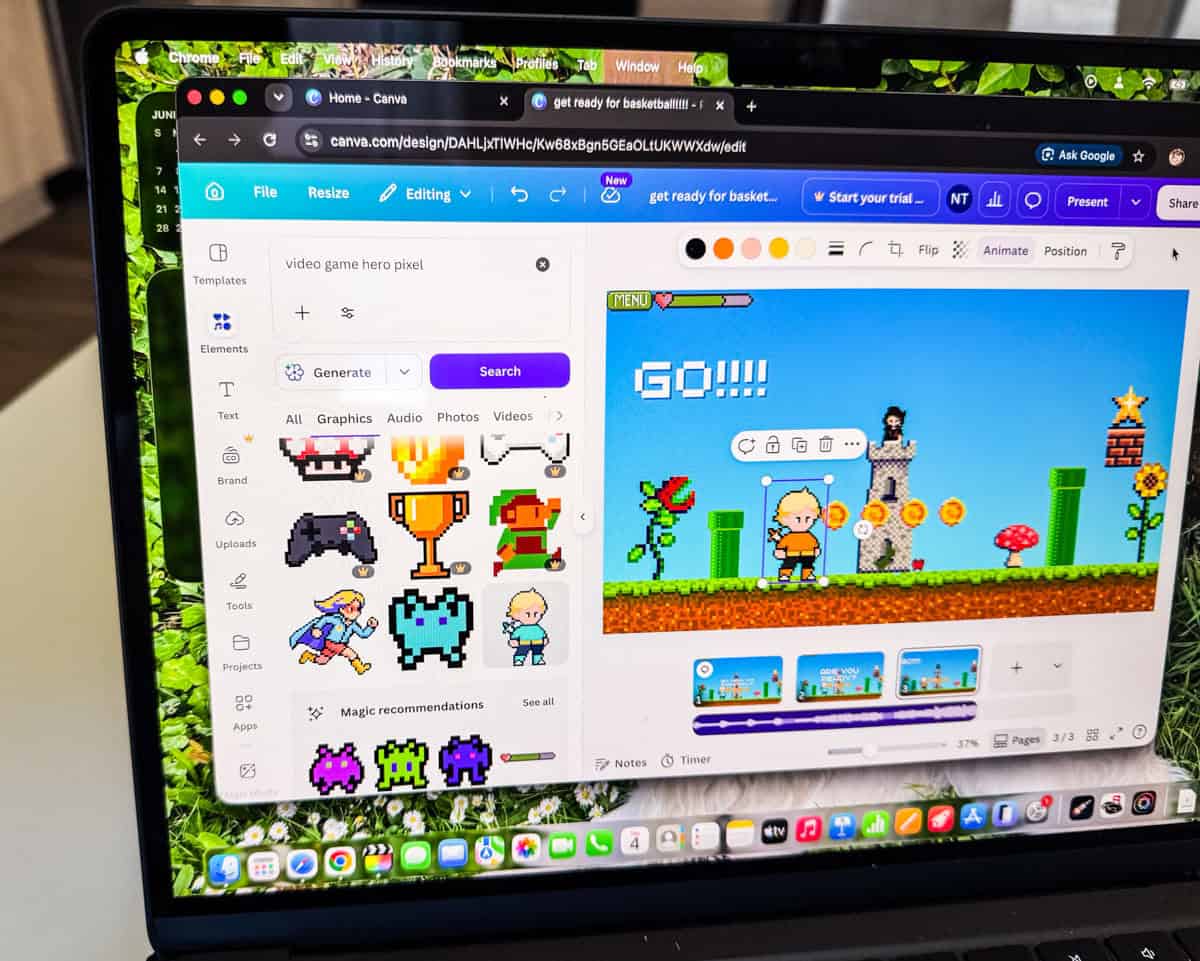
Canva uses CanvaAI to help users create more meaningful content for their projects.
it's all related!
How to Tie Your Laces
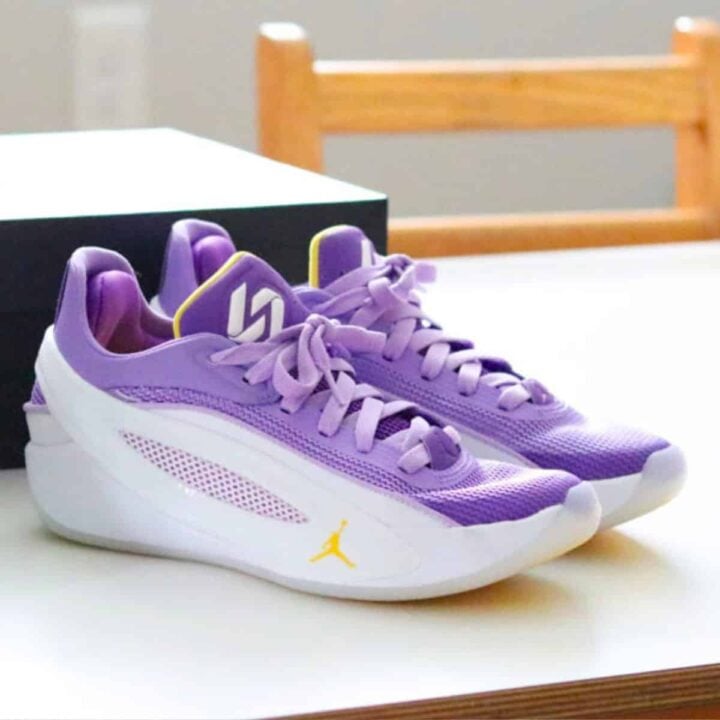
Grab your favorite kicks, because we're gonna show you how to tie your shoelaces. Use the practice to score points in more than 1 subject.

How to Homeschool Elementary
A Family-Style Approach to the Montessori Great Lessons
Free Montessori Great Lessons Series
Do you want assistance with planning your year? We've put together a FREE series on the Great Lessons for elementary and family-style learning that will take the overwhelm out of the beginning of your school year and keep you moving with ease all the way to spring.
Explore the Montessori Great Lessons, the introduction to the Cosmic Curriculum, traditionally given to Elementary students near the beginning of the school year. This free 5-part weekly email series will help you tell the story of how our universe began all the way to the origins of language and numbers.
Montessori's Five Great Lessons provide children with a contextual understanding of who they are, where they come from, and their unique purpose or cosmic task. Sounds like a big undertaking, right? Well, it doesn't have to be.
Learn more about this elementary homeschool course.
How to Make YouTube Videos
Hardware/Equipment
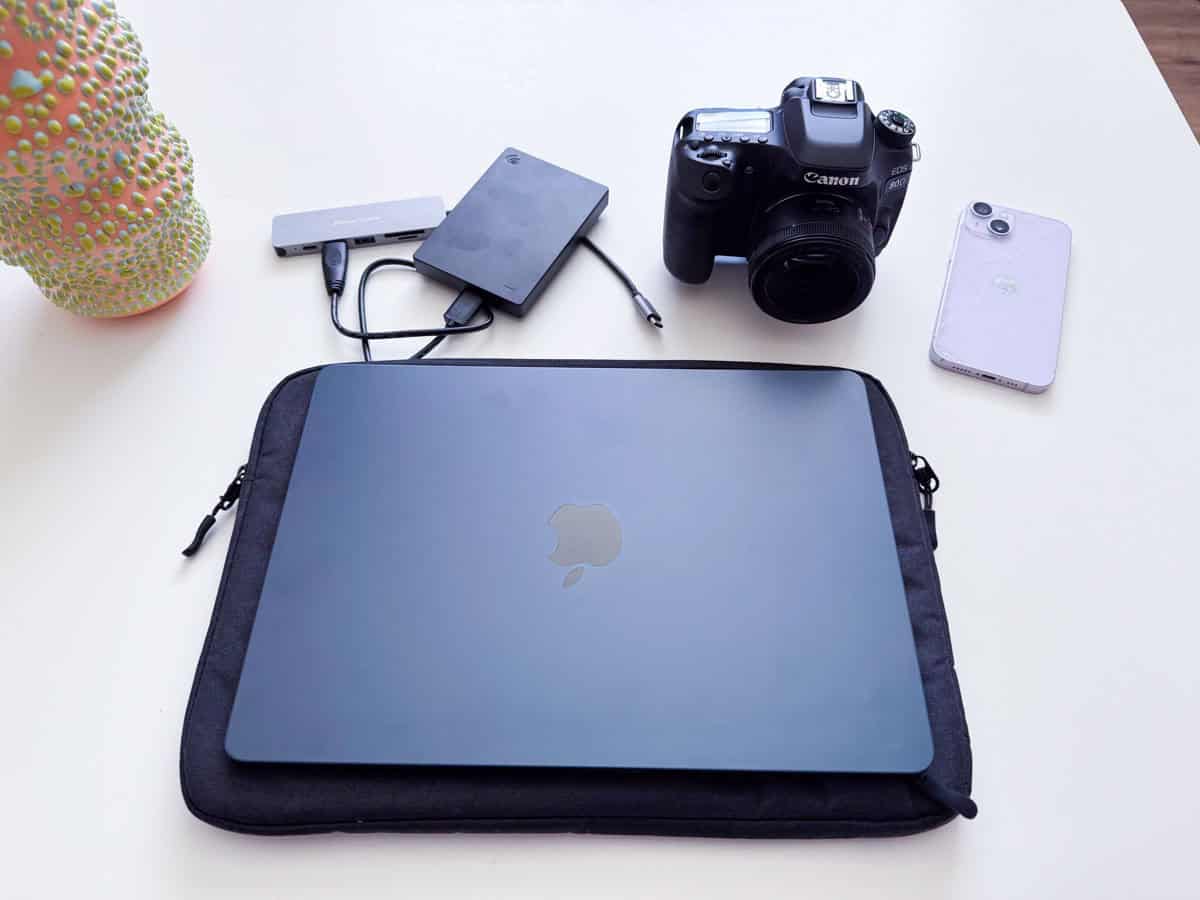
- Standard MacBook Air - they use a laptop sleeve for protection. Use a computer that pairs well with your editing software
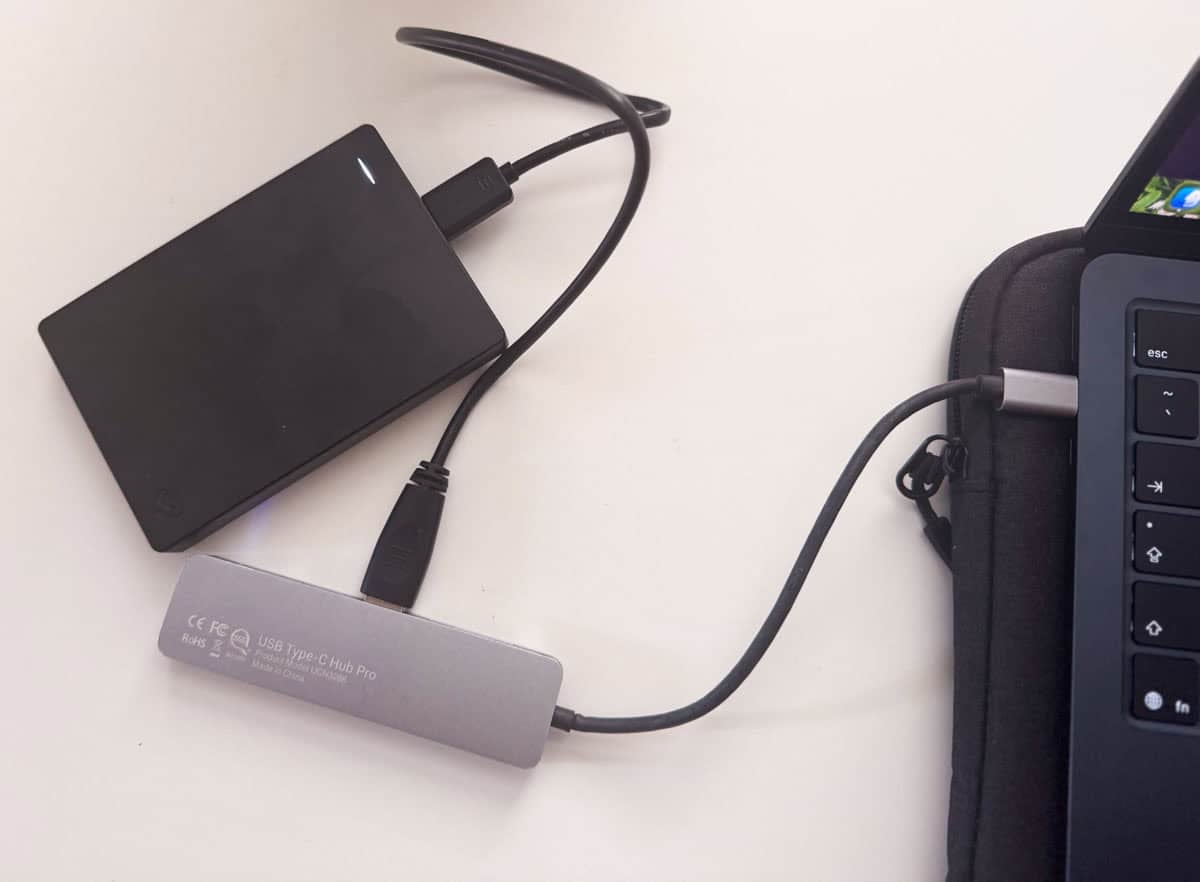
- External Hard Drive - for storing raw video footage (do not store it on your laptop, or you will run out of storage quickly)
- Adapter (optional) - used to connect the hard drive or SD cards to the computer
- iPhone - helpful if you're learning how to make YouTube shorts
- Canon 80D - a quality camera is recommended for making standard YouTube videos, but not required
- SD Card - memory card if using a pro-type camera, you can upload the videos to your computer using the adapter
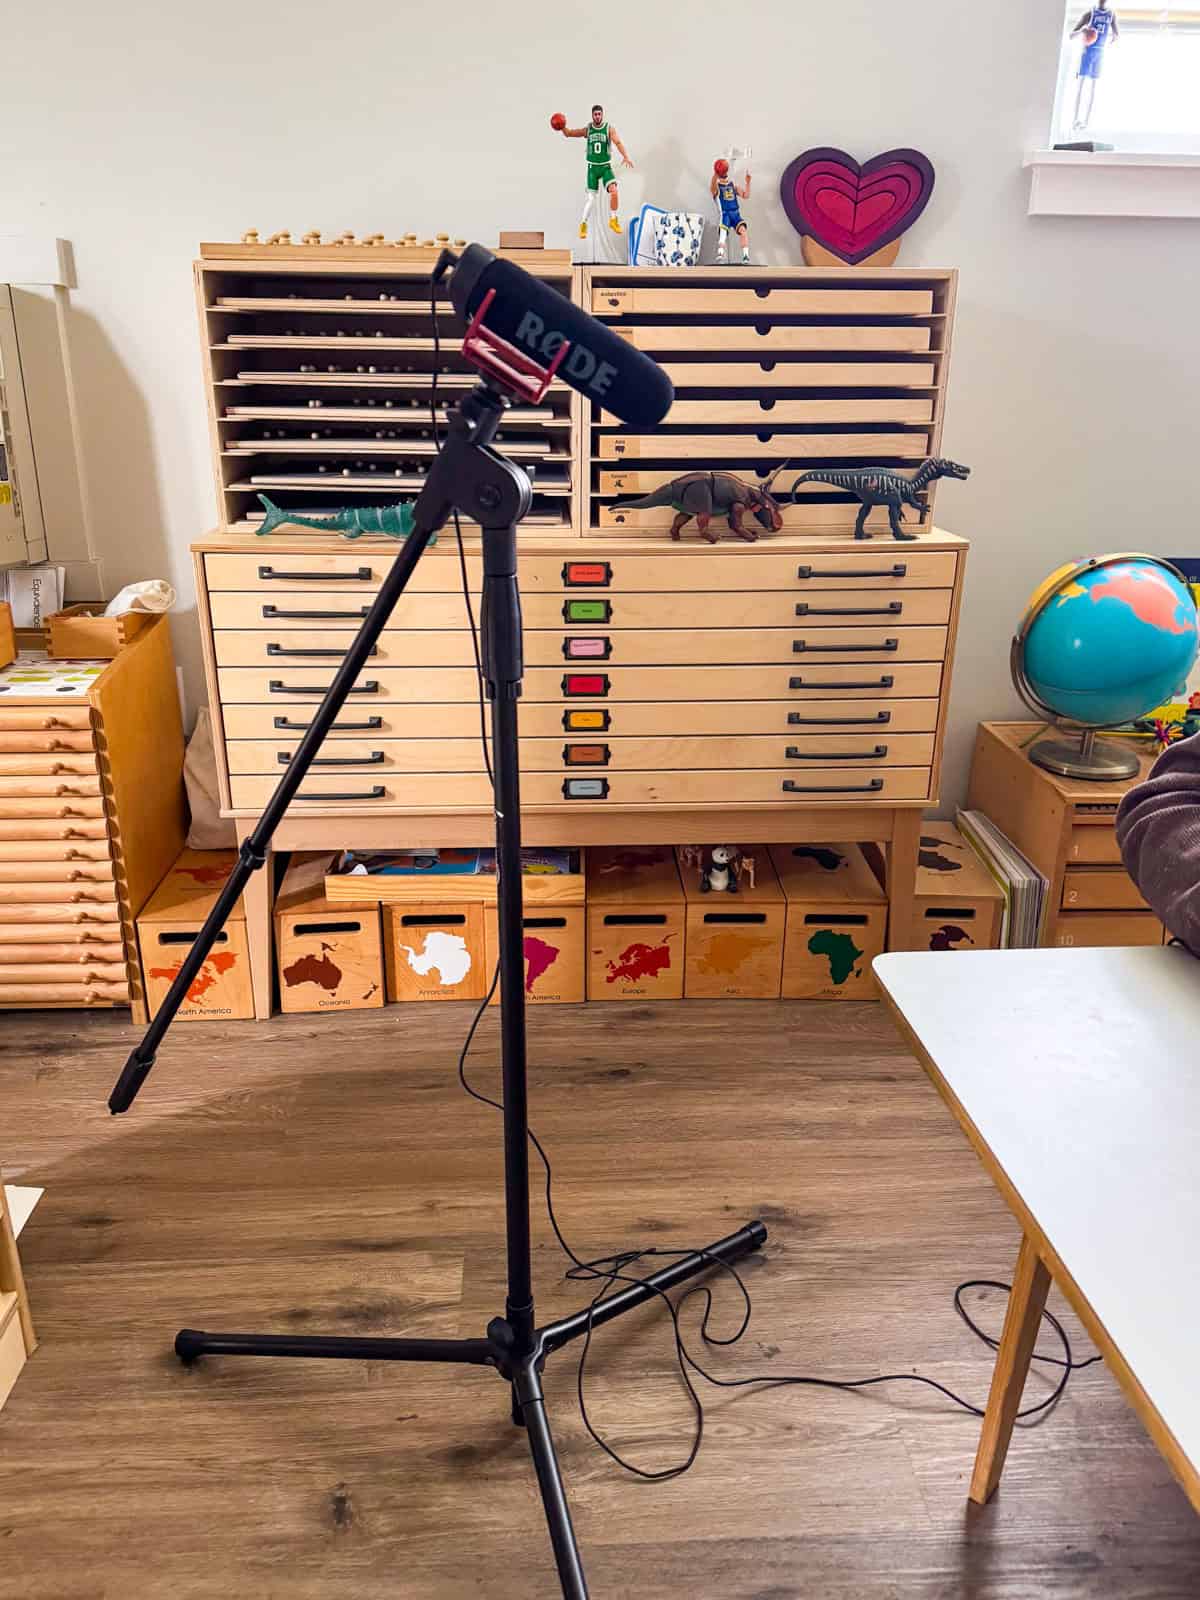
- Rode VideoMic GO On-Camera Shotgun Microphone - you can connect the mic to your camera for clearer audio or use it to record voiceover during the editing process
- Microphone Stand - (optional) helpful for hands-free recording and consistent sound quality
- Tripod - helpful for capturing clear and steady footage with your camera. You also purchase a mini tripod for a phone.
- Softbox Lighting Kit - (optional) for better lighting if you shoot indoors
Software/Tools
- Final Cut Pro - software for editing videos
- Canva - free to create an account. Upgrade to CanvaPro to unlock more features
- HandBrake - converts video files to a YouTube-friendly format
Get Familiar With Your Hardware
If you're not already, familiarize yourself with the equipment you'll be using to make videos. This includes something to record videos, such as a camera or phone, a laptop for editing, an external hard drive for storing the raw video files, the project as it is edited, and the finished video for YouTube, as well as any additional files you may decide to include, such as music, intros, or thumbnails.
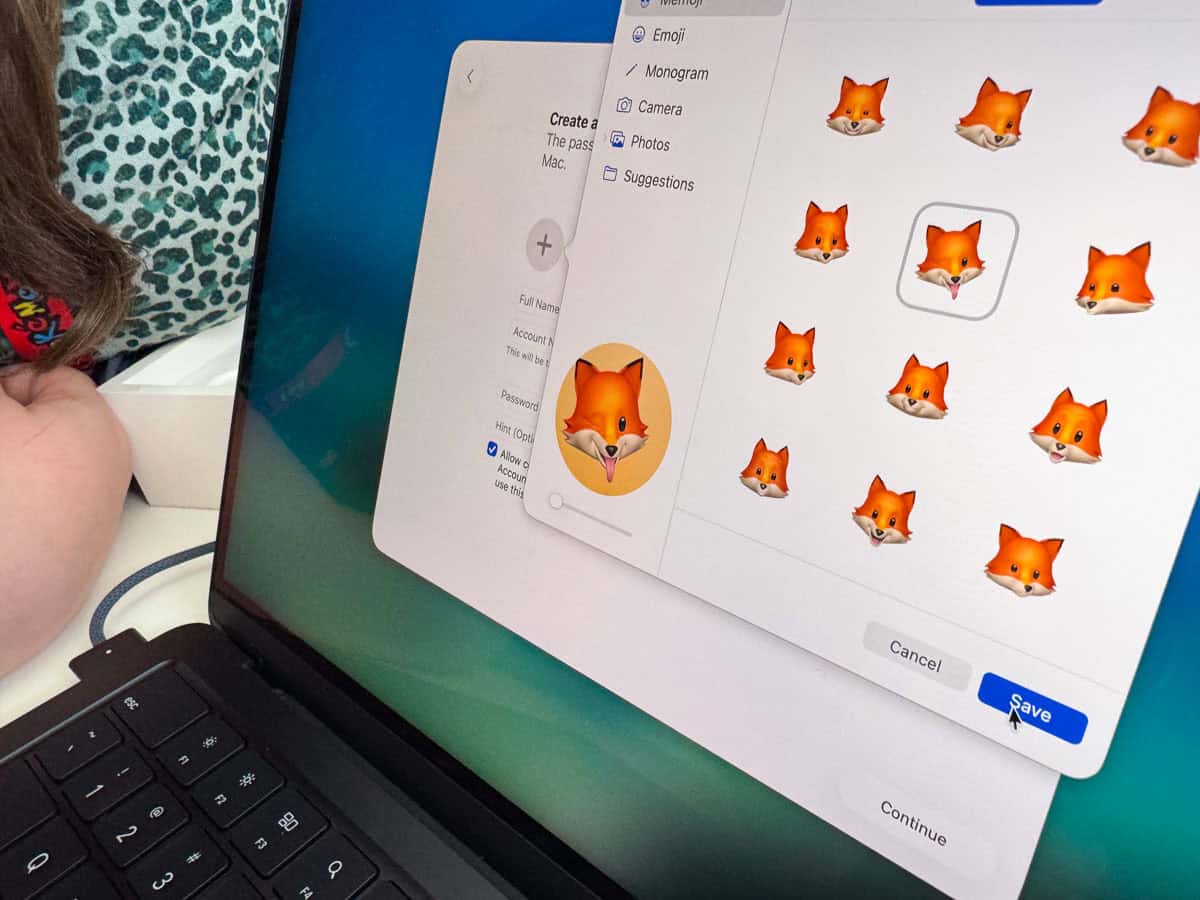
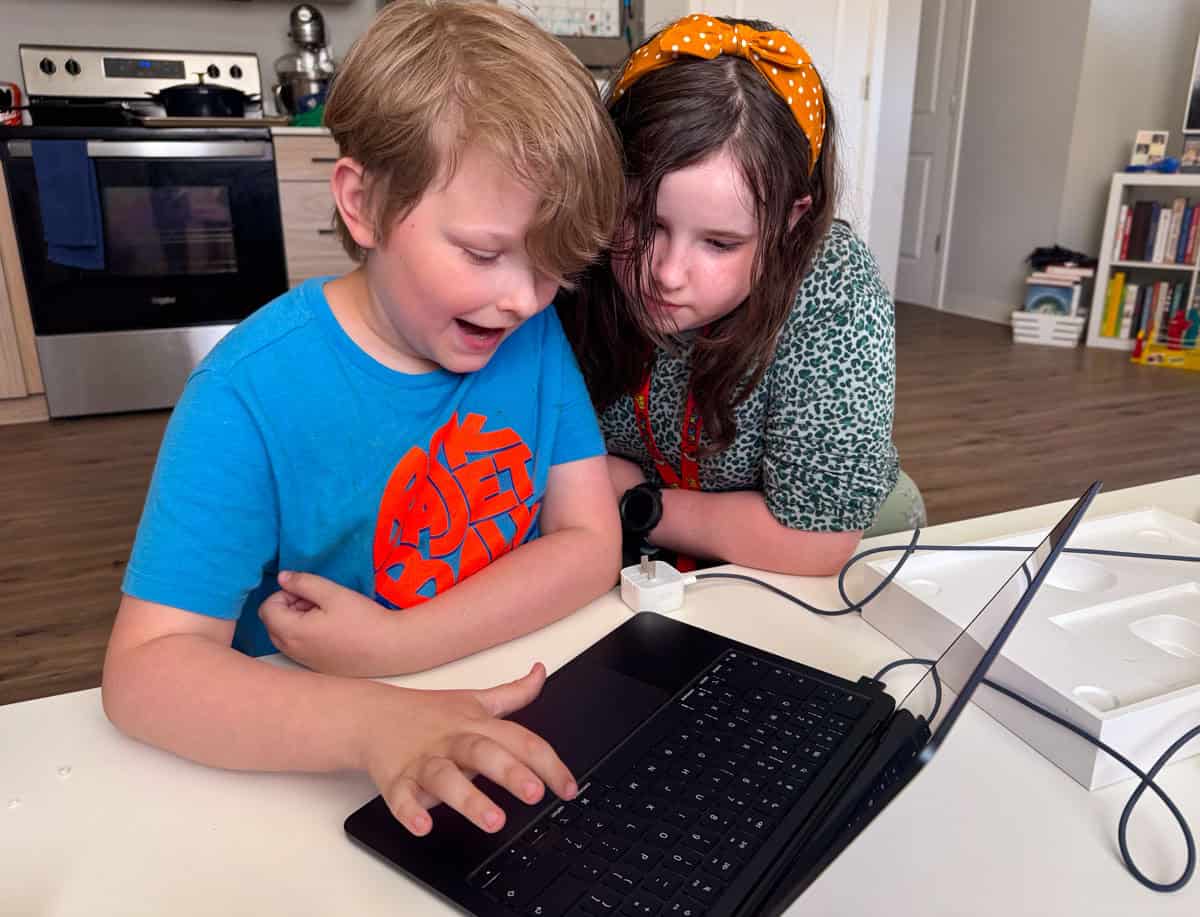
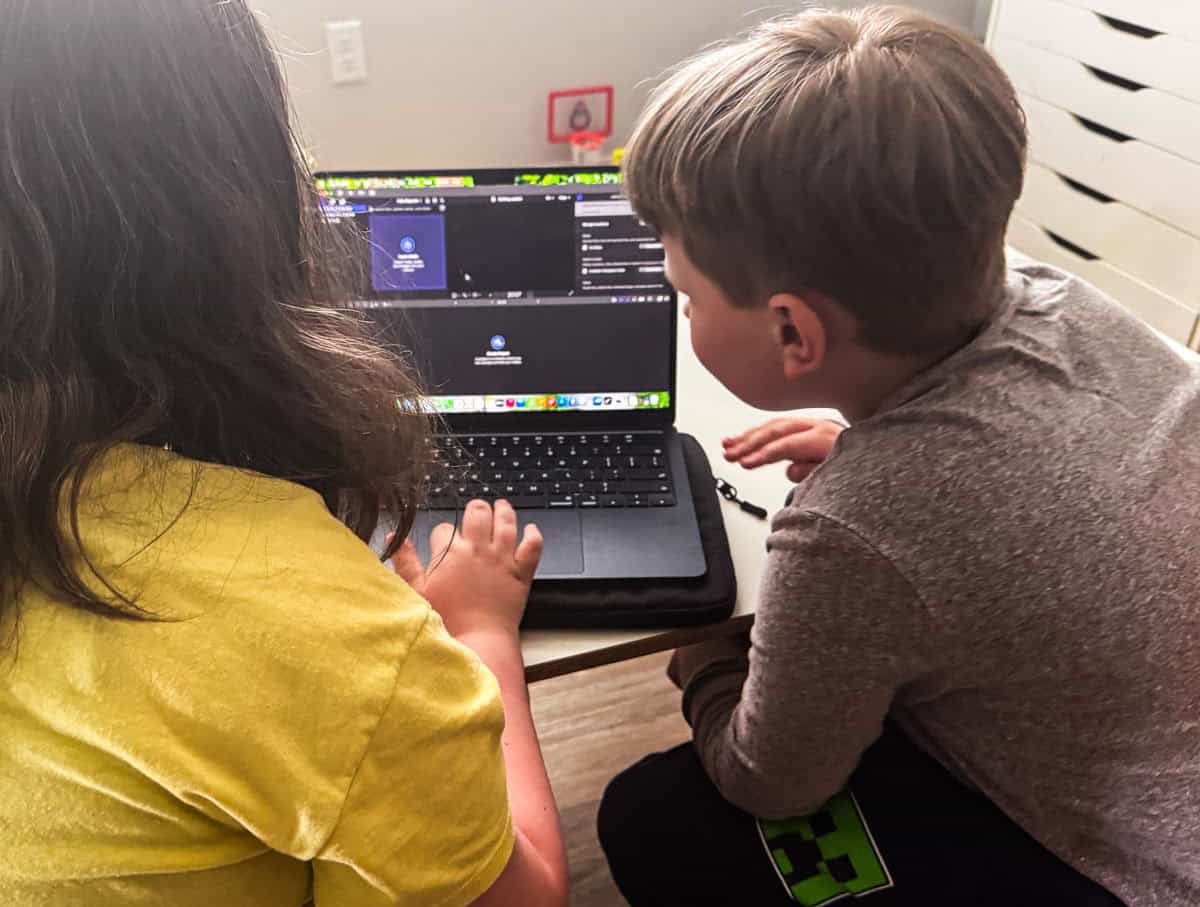
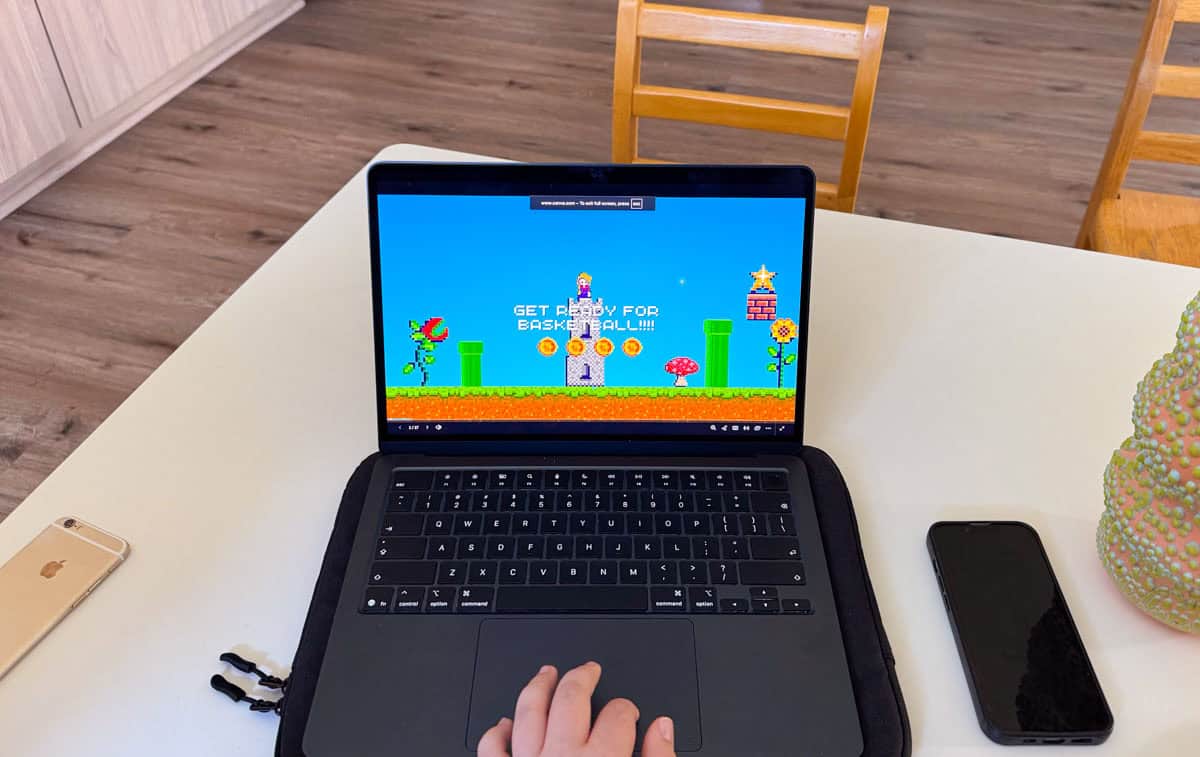
Kaia and Noah setup a new MacBook Air in order to get started, so it was beneficial for them to get oriented to the laptop before starting the editing process.
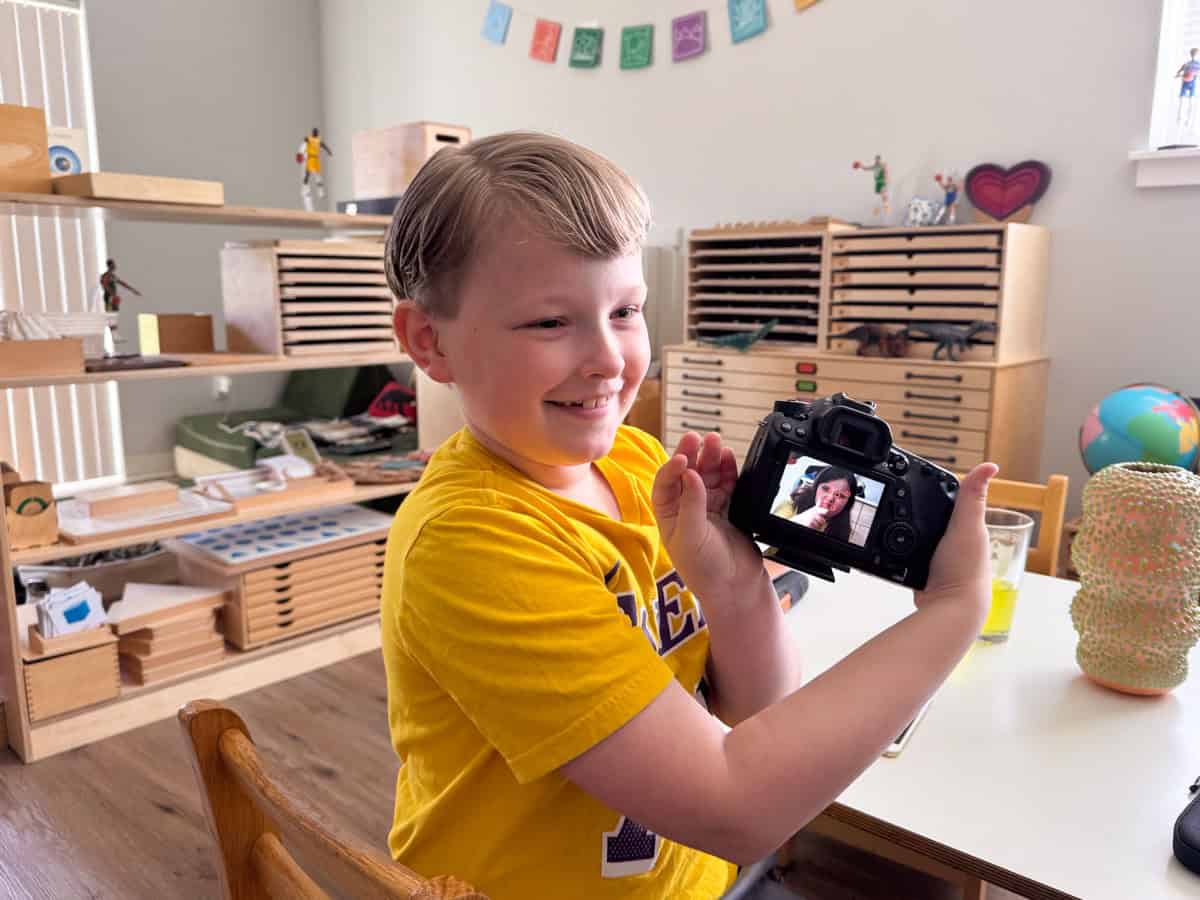
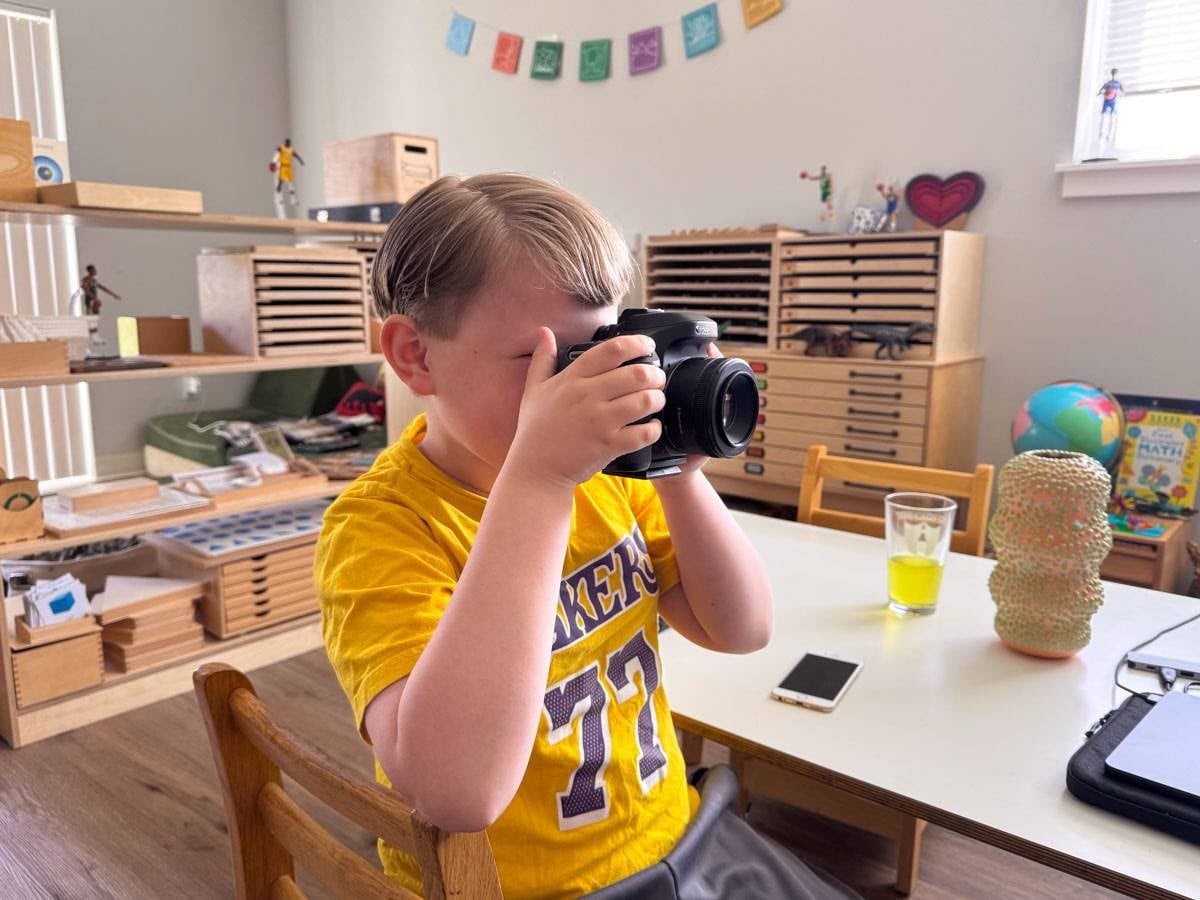
They had minimal experience using a regular camera, so they also practiced turning on and off the camera, recording videos, and adjusting the brightness. They also practiced inserting and removing the SD card needed to store the video files.
Explore the Software You'll Be Using
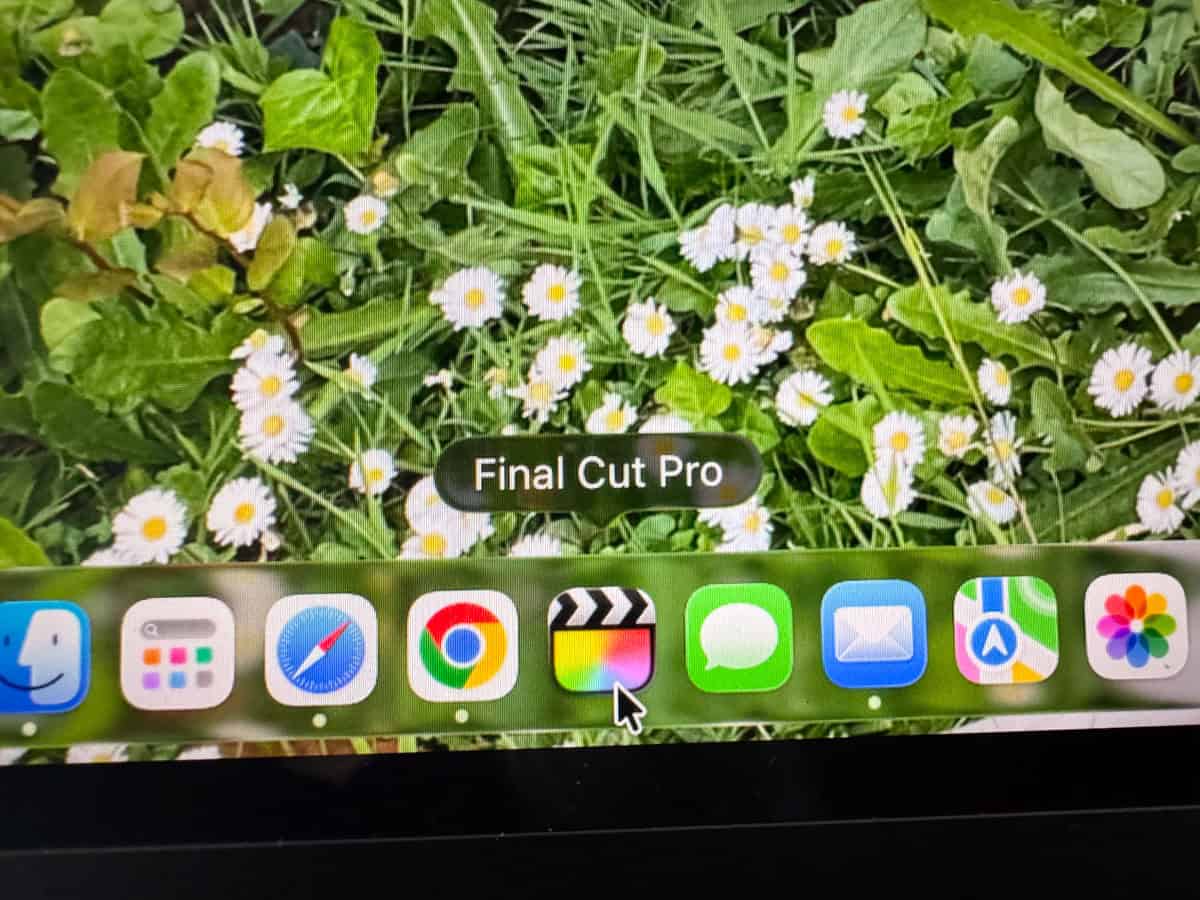
We use Final Cut Pro to edit the videos on the laptop. You can purchase it separately, and it's also an optional add-on if you decide to purchase a computer from Apple.
Kaia and Noah learned how to create a library and project in FCP using the menu bar at the top, as well as how and where the associated files are stored.
When you create a project, you can choose where to store the project files. You can find them using the Finder window. You'll see below it looks like a square icon with stars in it.
They also learned how to import files into FCP by selecting Import Media and how to safely close out of their project when they're done by selecting File -> Close Library from the menu bar at the top.
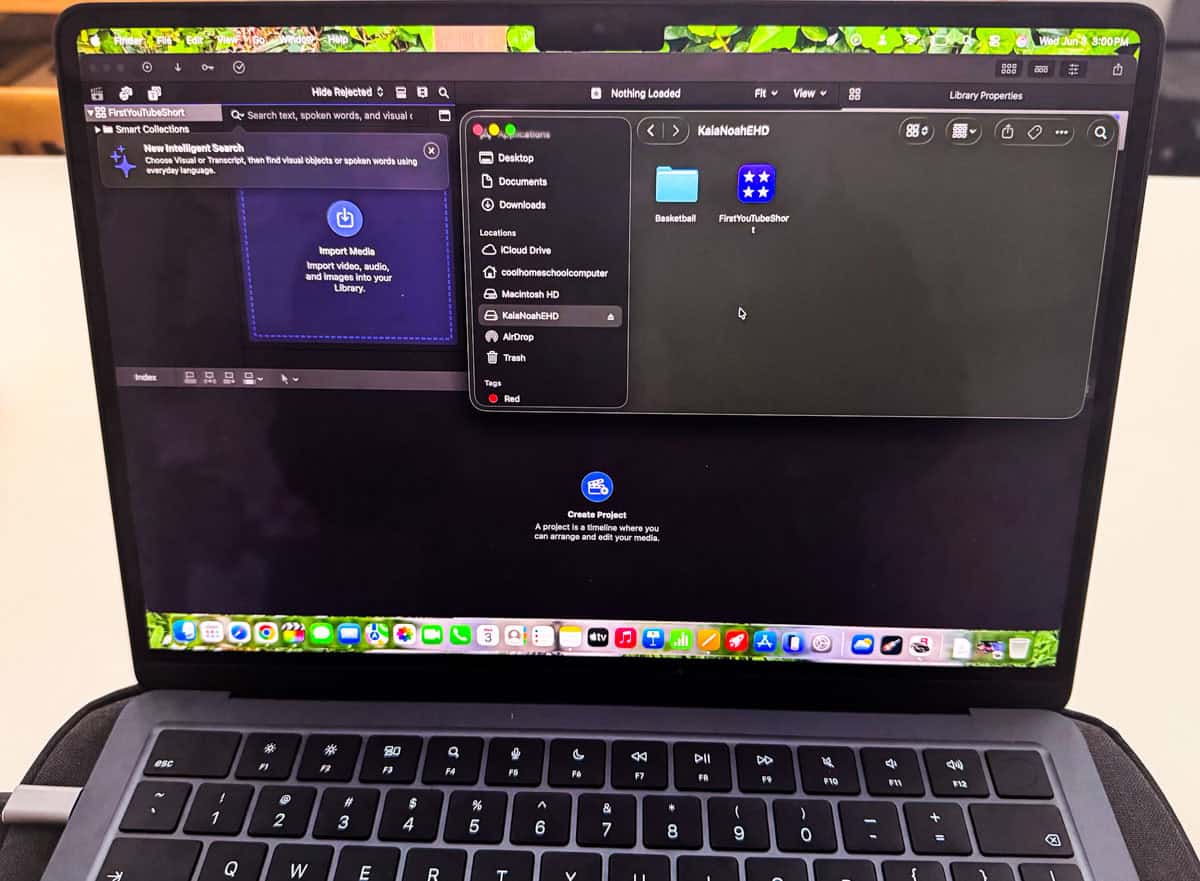
They also learned how to eject their external hard drive after each session using the Finder by selecting the drive in the Finder window and then selecting Eject.
If you leave the project open in Final Cut Pro, you may get a pop-up letting you know that you need to close out of the programs that are using the hard drive.
Playing around with Final Cut Pro and Canva is really fun and, in my opinion, an essential part of the learning process for anyone who wants to be a YouTuber.
Don't wait until you're on an uploading schedule. Invest time in them during the learning process. There's so much to explore!
Get comfortable with Canva in order to download music and create thumbnails and intros.
Record Content
In order to edit some footage, you're going to need to record something. Brainstorm ideas for a video you'd like to create. We decided to learn how to make YouTube shorts to keep the editing process as simple as possible when getting started. Then we branched out into longer videos.
YouTube shorts can be up to 3 minutes and you can use your phone to record the video footage. Be sure to hold the phone or position it so that the video is captured in a portrait format. If making a video longer than 3 minutes, you can use landscape format.
Upload It to the Editing Software (Final Cut Pro)
Once you've got your video files, import them into Final Cut Pro as mentioned in Step 2. A few things to keep in mind as you work on your project:
- Read the Menu options when performing a task. They're there for a reason.
- Keep your laptop plugged in/pay attention to battery life while working.
- Even if your Final Cut Pro project doesn't work out for some reason, your raw video files should remain unharmed.
- Look at the requirements for posting videos & shorts on social media, including thumbnail dimensions (1080px x 1920px for a YouTube short and 1280px x 720px for a standard video)
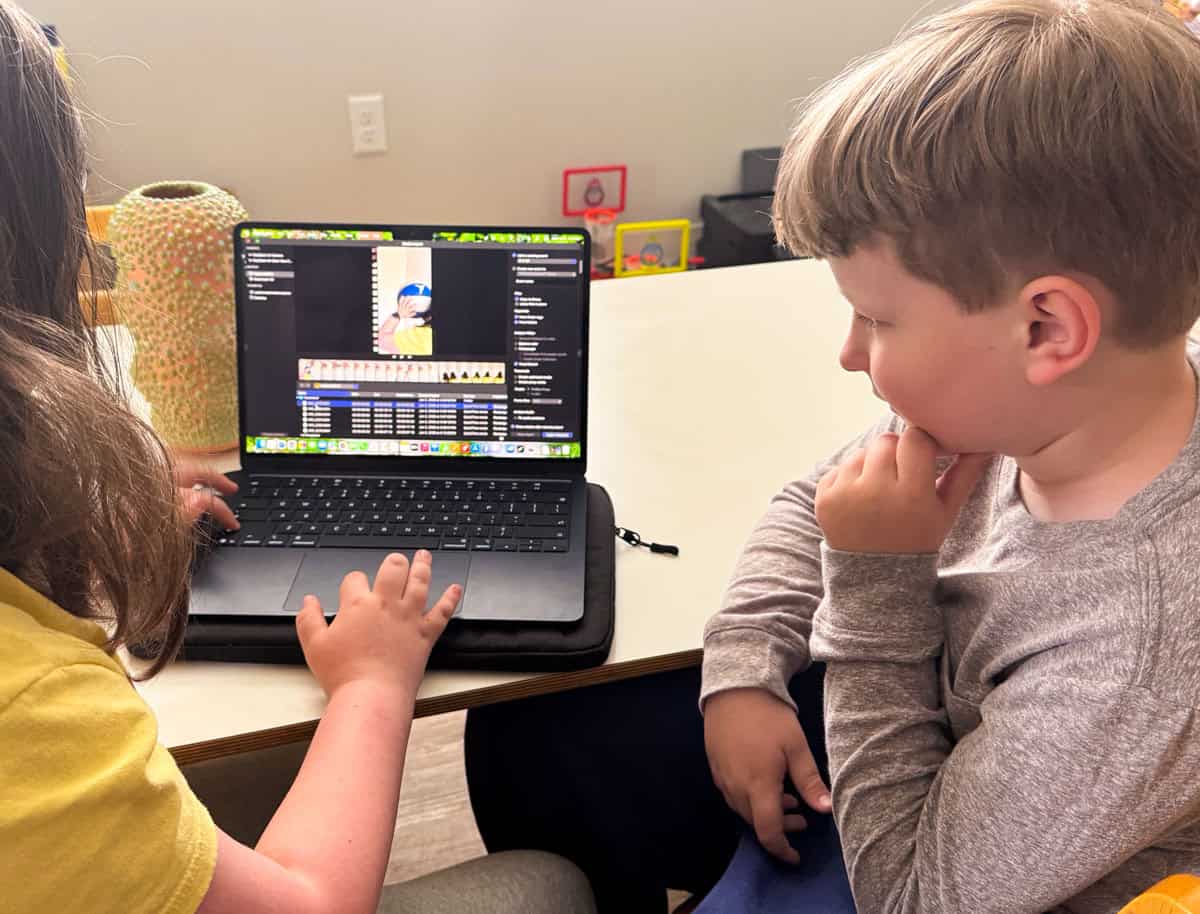
Edit the Content and Add Desired Effects
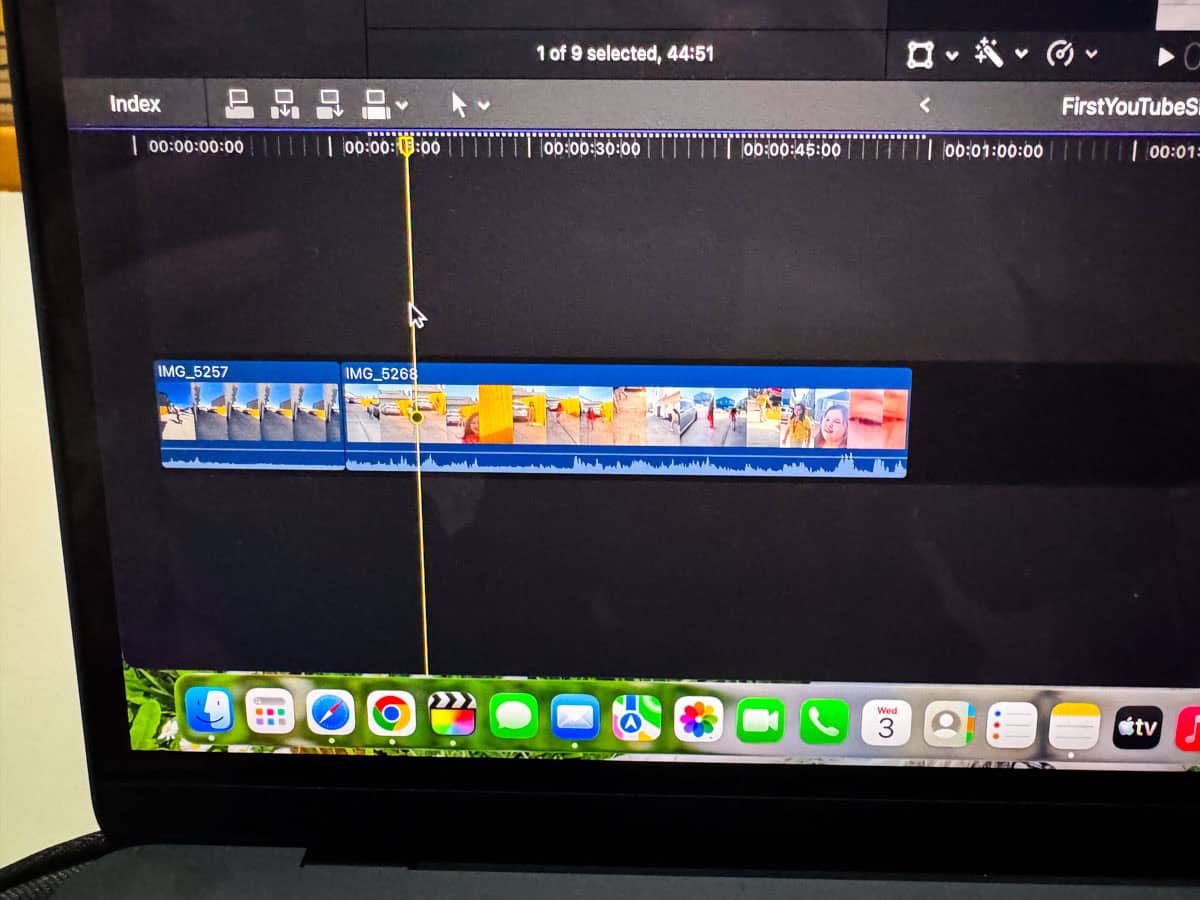
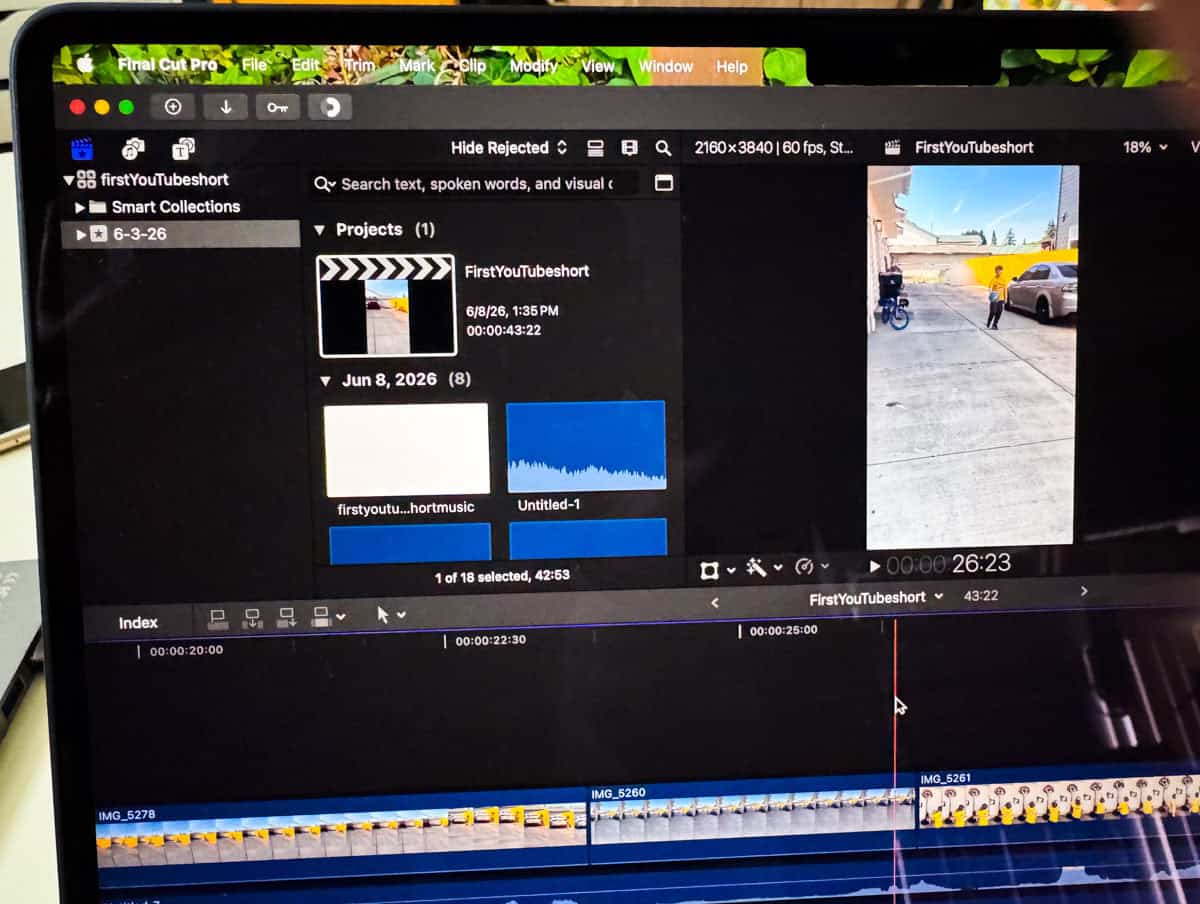
See the video at the top if you want a quick tutorial of uploading and basic editing in FCP. Command + b is a helpful keyboard shortcut for making cuts.
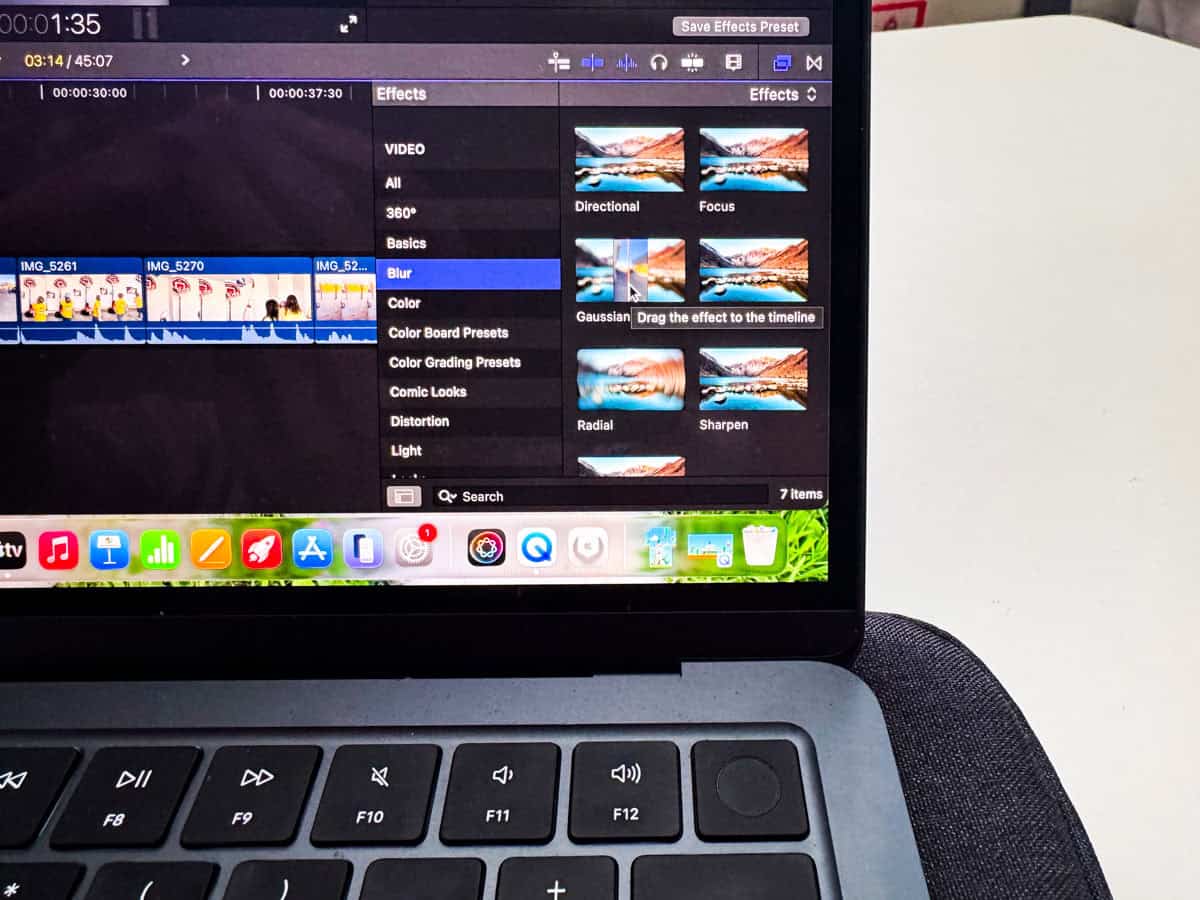
We played around with the Gaussian Blur Effect in FCP, which is used to Blur and/or Mask objects.
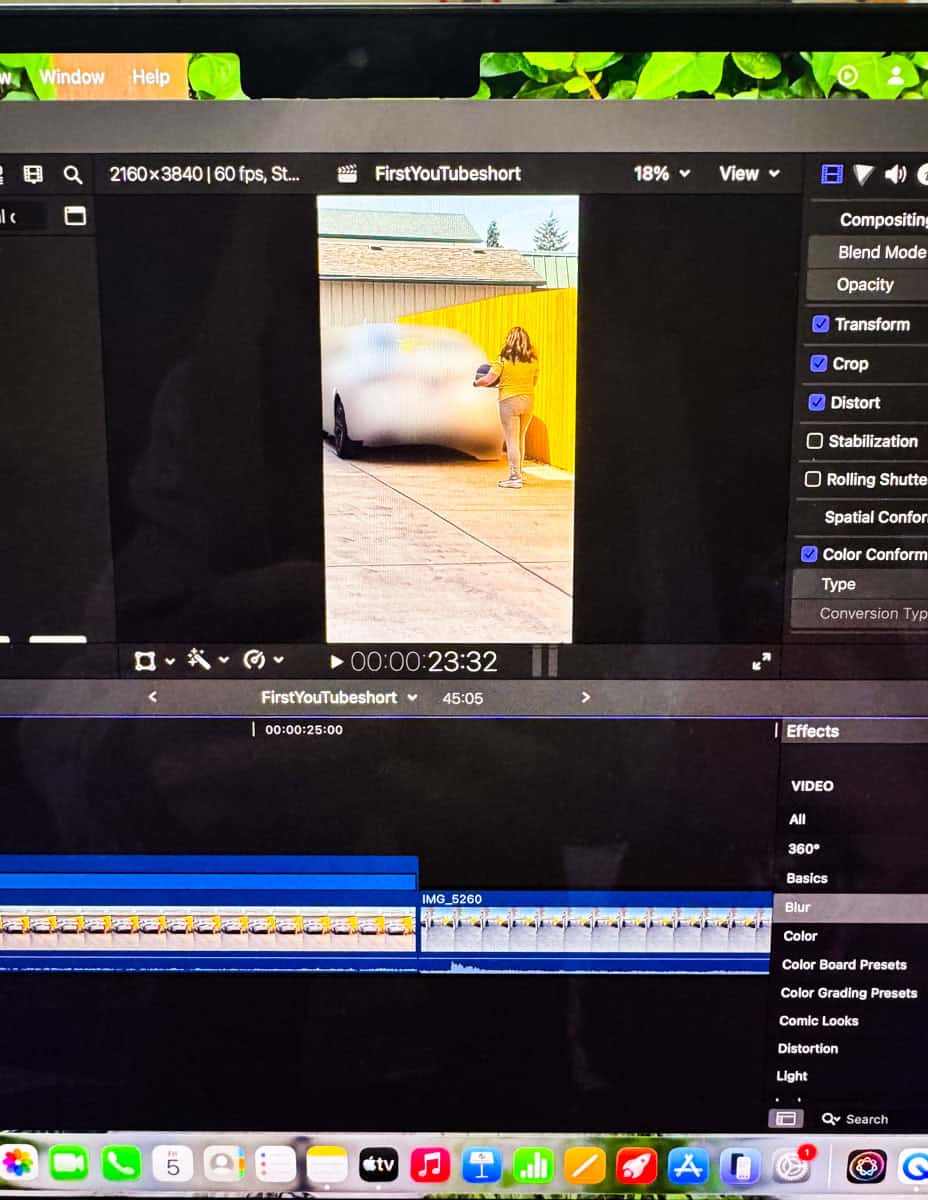
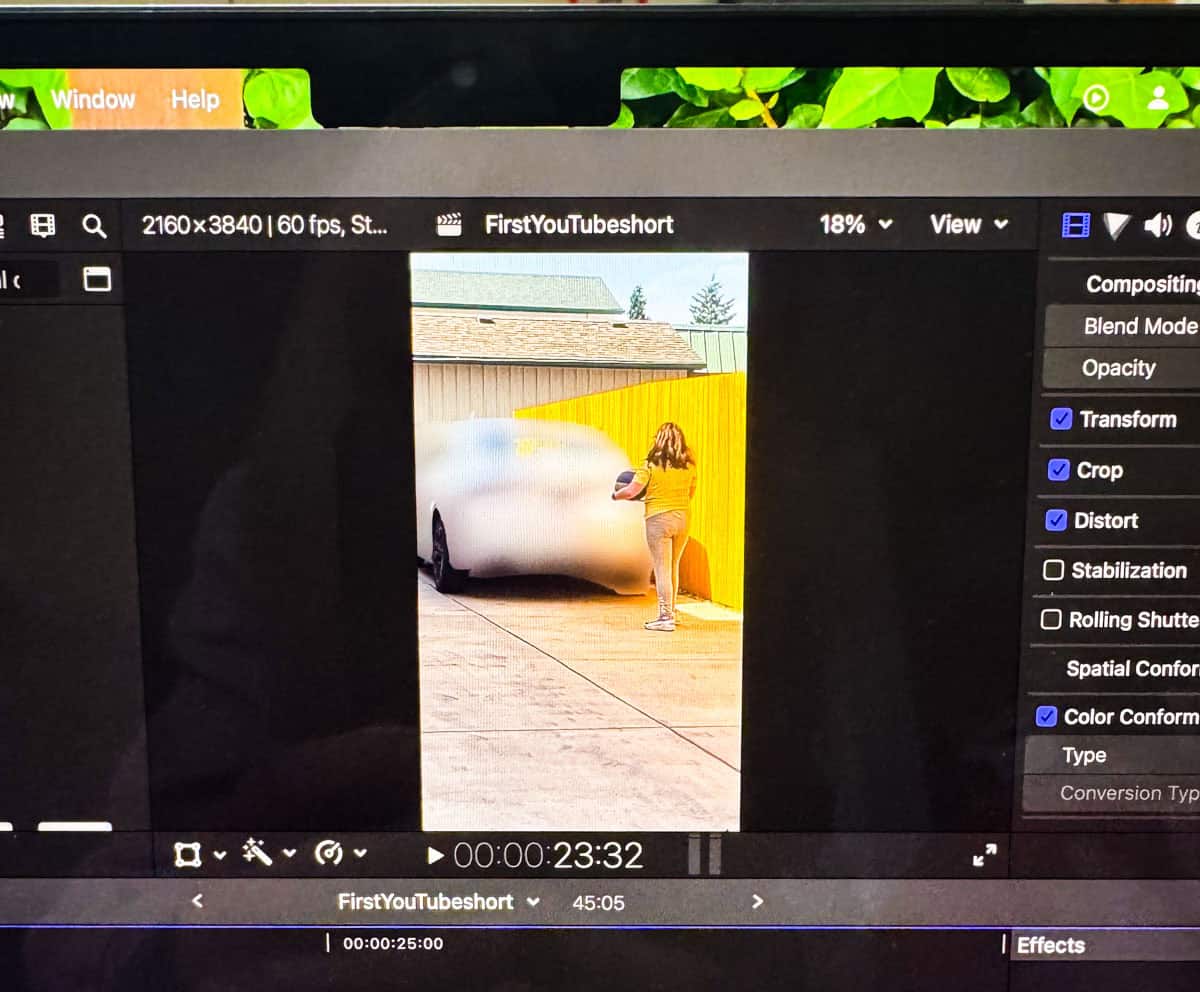
Faces, license plates, brands, Personally Identifiable Information (PII), etc., can be blurred or covered in FCP to keep you, your viewers, and your community happy.
Kaia & Noah used the Magnetic Mask feature to apply the Gaussian Blur, which automatically detects the dimensions and applies the blur. We got a lot of laughs out of it as we practiced blurring moving objects in their video.
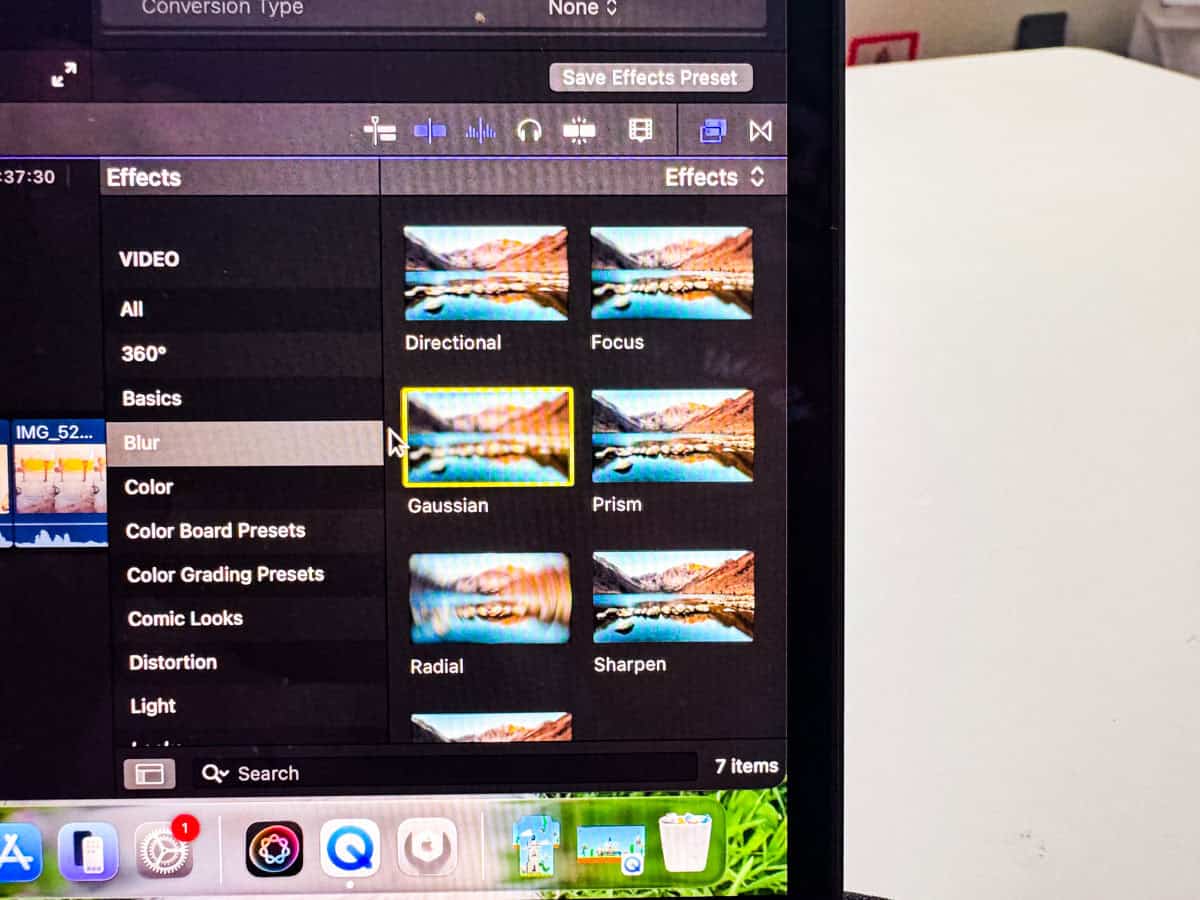
There are tons of effects and transitions inside Final Cut Pro that can be used to improve the finished product. I encourage the kids to play around with them while they're in FCP, knowing that you can always Undo using the Menu bar at the top.
Record a Voiceover (Optional)
You can add a voiceover to your video by connecting the microphone to your computer and selecting Window -> Record Voiceover from the Menu Bar.
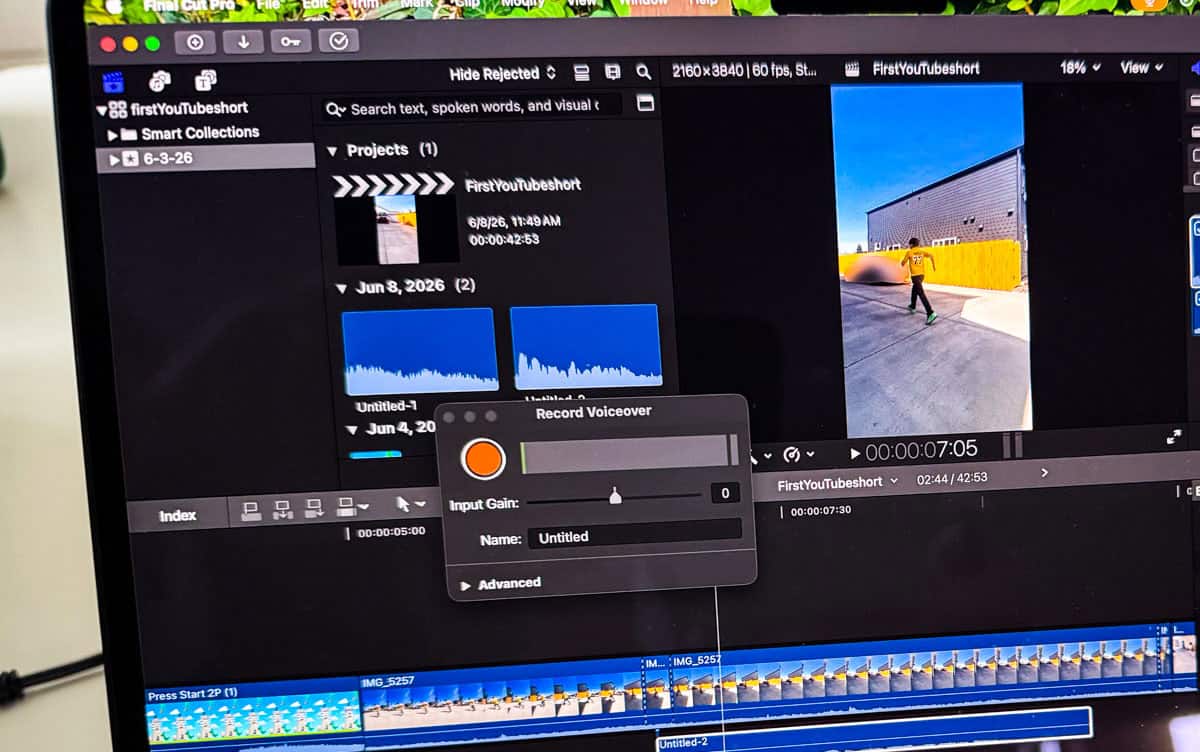
Don't like the way it turned out? Try to find a quiet space, make sure your mic is near your mouth, and let her rip! You can practice as much as you like.
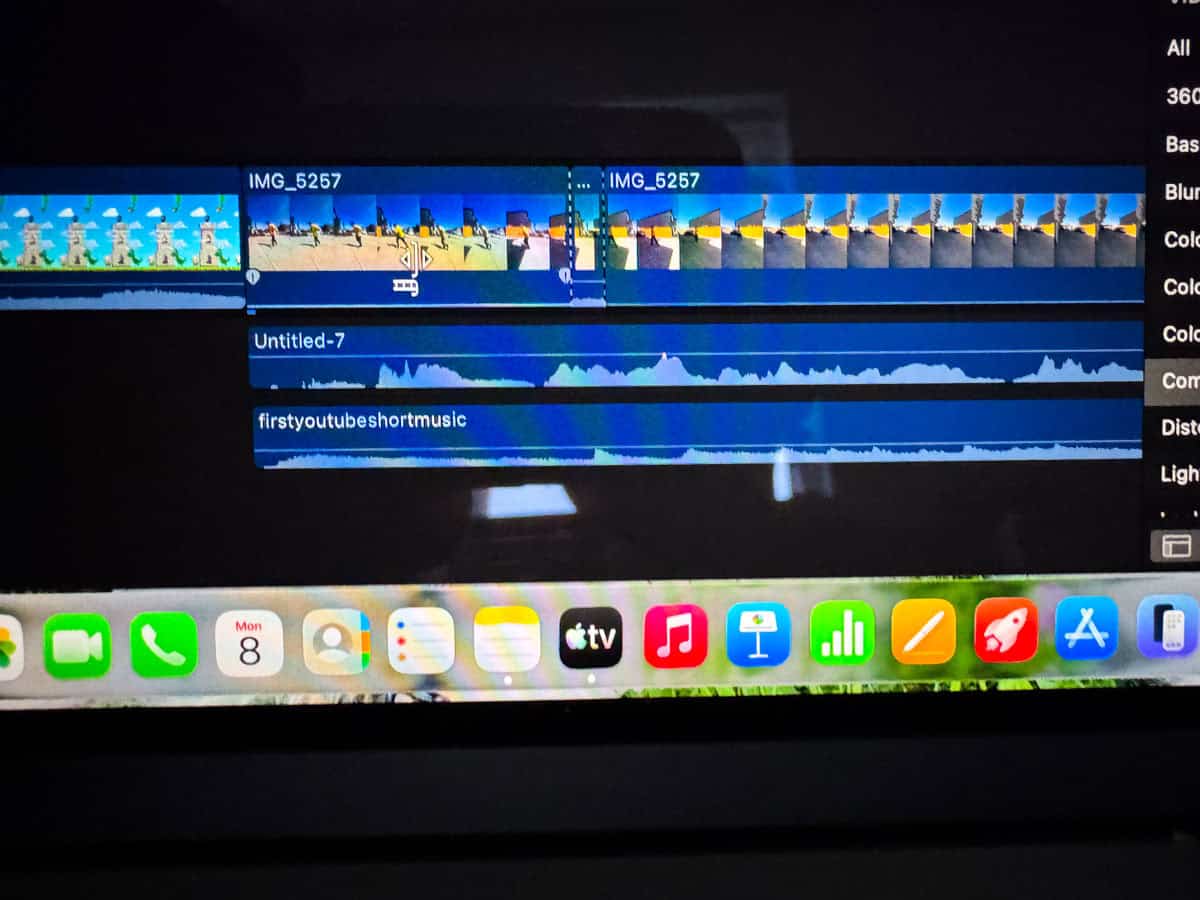
You can also change the volume, section it off, rearrange it, or remove unwanted portions by editing the audio in the timeline of your workspace.
Add Music or an Intro Using Canva
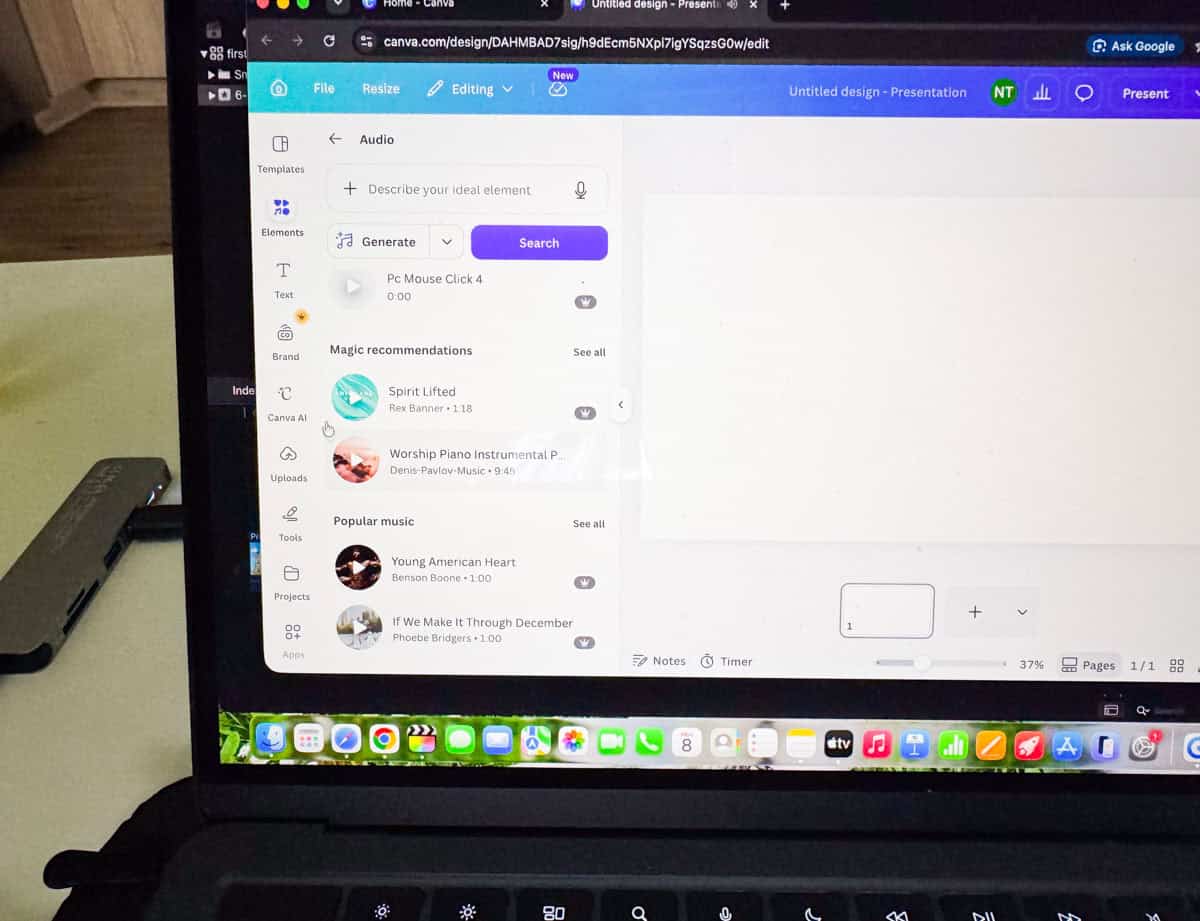
Music can be added by downloading it from Canva. Upgrading to a Canva Pro account unlocks more music choices.
To download the music, they created a Presentation in Canva, added the sample they liked to the Presentation, and downloaded by selecting Share -> Download -> MP4.
Next, they uploaded it to their Project in Final Cut Pro and dragged it into their Project Timeline, placing it in the desired spot.
They detached the audio from the Canva Presentation and deleted the blank video portion by selecting Clip -> Detach Audio.
You can adjust the music and voiceover volumes by dragging the bars up and down until they complement each other.
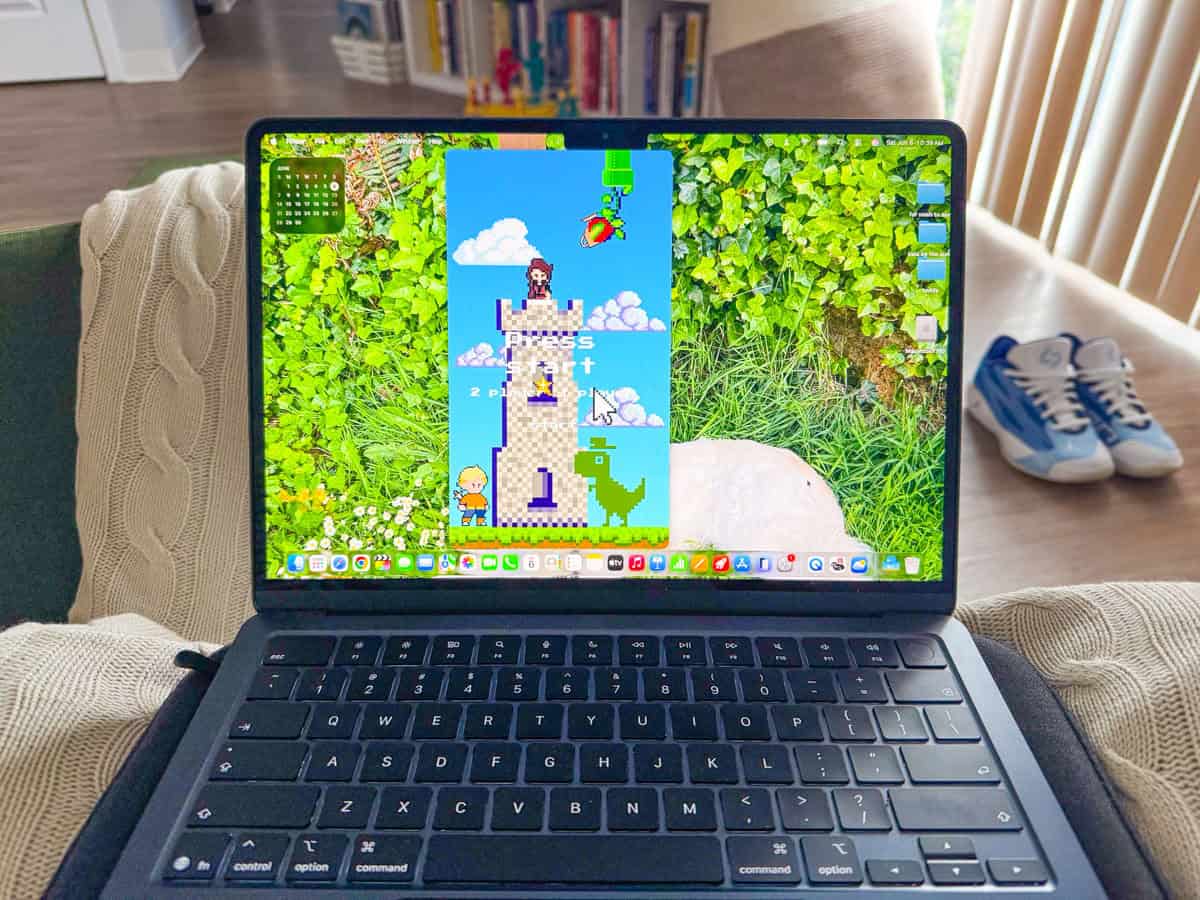
The intro follows a similar process. However, you do not detach the audio after uploading it. Drag the intro to the beginning of your timeline in your FCP project workspace.
Export it to the Hard Drive
Once finished, the project is exported by right-clicking on the project and selecting Share Project. A donut at the top of the screen fills in as Final Cut Pro exports the Project to your desired location. You will see a pop-up notification on screen when the share is complete.
Convert the Video to a YouTube-Friendly Format
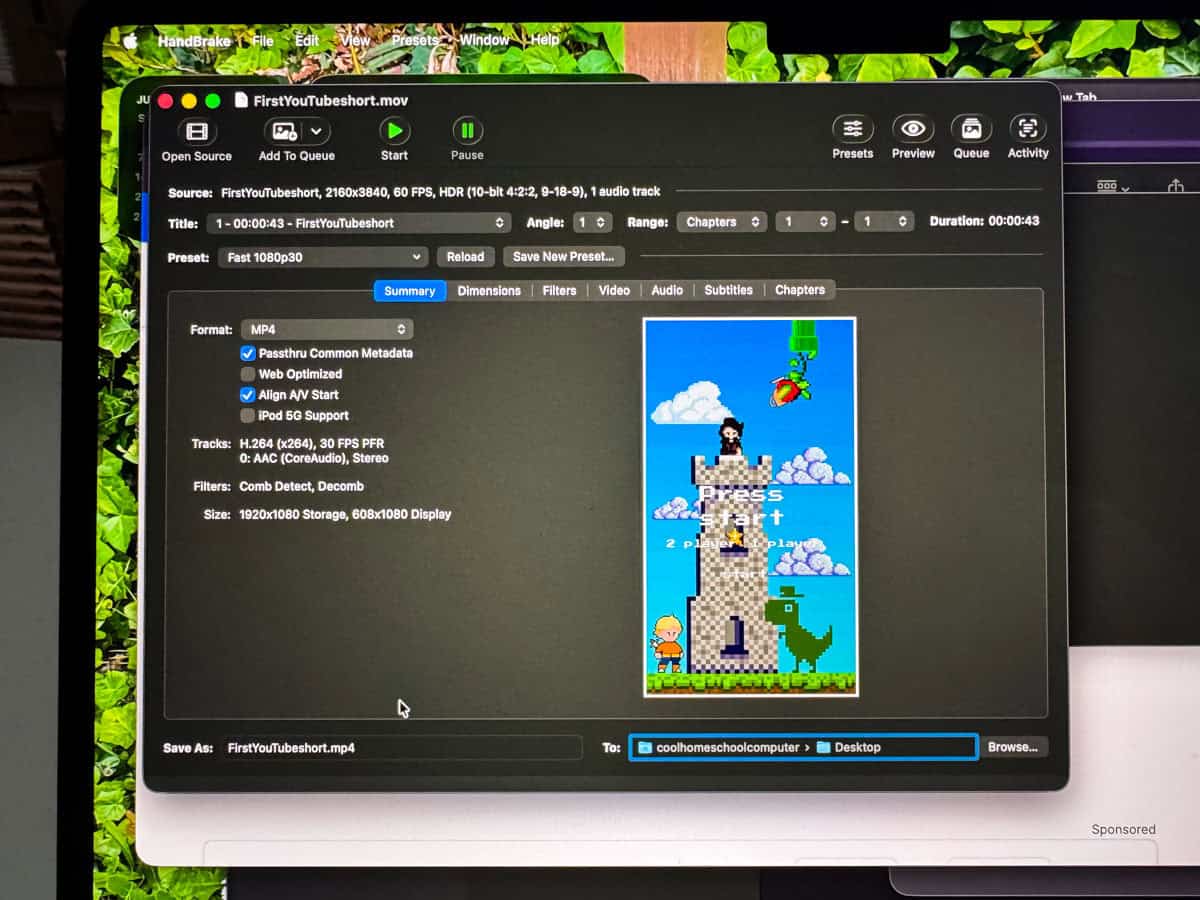
The last step before uploading, is using a tool called HandBrake to convert the video to a YouTube-friendly MP4 format. HandBrake is free and easy to use. We searched HandBrake for Mac and had no issues downloading it to the MacBook Air.
Once HandBrake opens, it prompts for the file to convert. Select it and press Start to save an mp4 of your video to the external hard drive or your desired location.
Create a YouTube Thumbnail for the Video (Optional)
You can create a thumbnail in Canva using the appropriate dimensions for a short or standard video. You can also select the thumbnail from the video itself.
Upload the Video and Thumbnail to YouTube
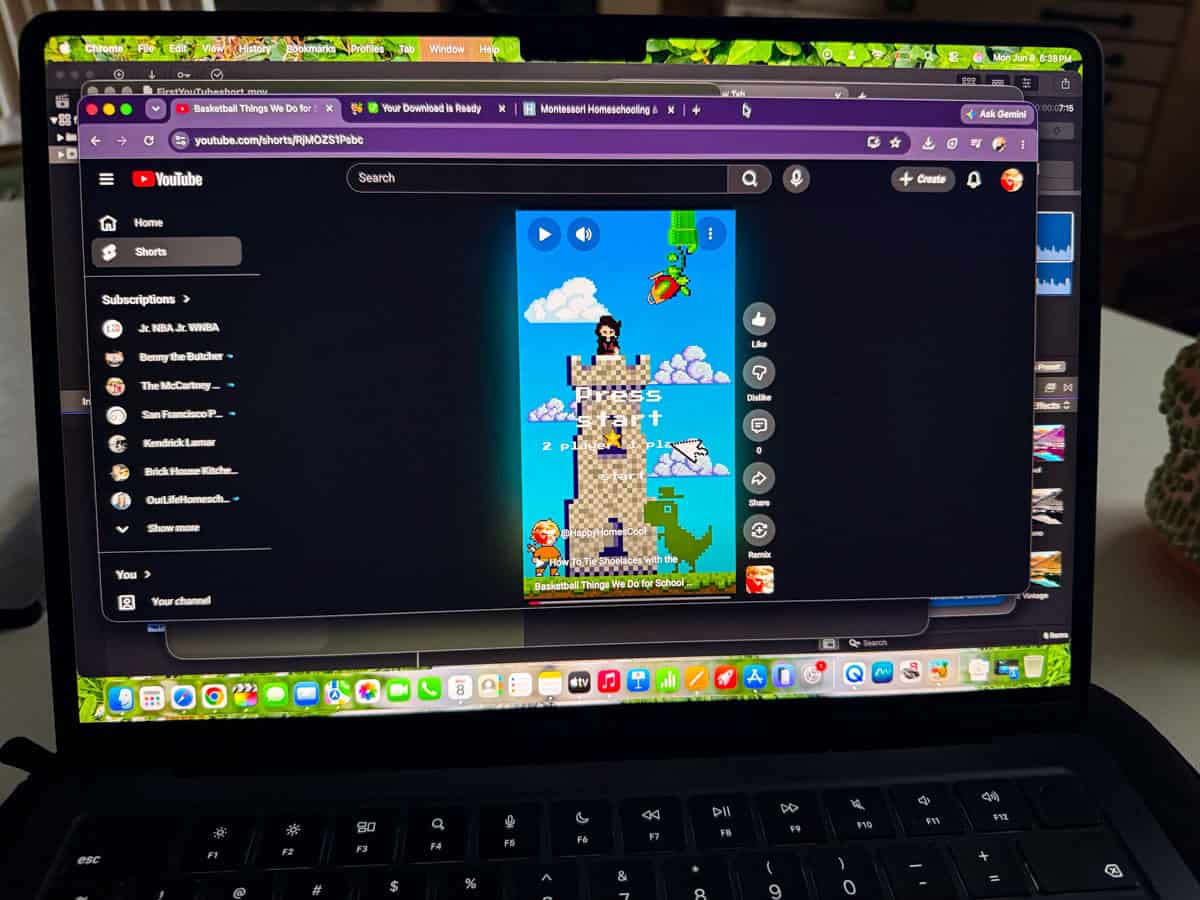
Upload the video to YouTube by navigating to your YouTube channel, selecting Create, and following the prompts. Don't forget to provide a meaningful title and description for viewers.
YouTube will automatically assign a thumbnail (image viewers see above the title as it appears on YouTube) to videos if you do not select or upload one.
How to Make YouTube Videos

Are you or someone you love a wanna be YouTuber? We'll show you how to make YouTube videos that are fun and professional-looking. Create attractive and meaningful content to post on YouTube.
Materials
Tools
- Standard MacBook Air - they use a laptop sleeve for protection. Use a computer that pairs well with your editing software
- External Hard Drive - for storing raw video footage (do not store it on your laptop, or you will run out of storage quickly)
- Adapter (optional) - used to connect the hard drive or SD cards to the computer
- iPhone - helpful if you're learning how to make YouTube shorts
- Canon 80D - a quality camera is recommended for making standard YouTube videos, but not required
- SD Card - memory card if using a pro-type camera, you can upload the videos to your computer using the adapter
- Rode VideoMic GO On-Camera Shotgun Microphone - you can connect the mic to your camera for clearer audio or use it to record voiceover during the editing process
- Microphone Stand - (optional) helpful for hands-free recording and consistent sound quality
- Tripod - helpful for capturing clear and steady footage with your camera. You also purchase a mini tripod for a phone.
- Softbox Lighting Kit - (optional) for better lighting if you shoot indoors
- Final Cut Pro - software for editing videos
- Canva - free to create an account. Upgrade to CanvaPro to unlock more features
- HandBrake - converts video files to a YouTube-friendly format
Instructions
1. Get Familiar With Your Hardware
If you're not already, familiarize yourself with the equipment you'll be using to make videos. This includes something to record videos, such as a camera or phone, a laptop for editing, an external hard drive for storing the raw video files, the project as it is edited, and the finished video for YouTube, as well as any additional files you may decide to include, such as music, intros, or thumbnails.
2. Explore the Software You'll Be Using
We use Final Cut Pro to edit the videos on the laptop. You can purchase it separately, and it's also an optional add-on if you decide to purchase a computer from Apple.
Kaia and Noah learned how to create a library and project in FCP using the menu bar at the top, as well as how and where the associated files are stored.
When you create a project, you can choose where to store the project files. You can find them using the Finder window. You'll see below it looks like a square icon with stars in it.
They also learned how to import files into FCP by selecting Import Media and how to safely close out of their project when they're done by selecting File -> Close Library from the menu bar at the top.
They also learned how to eject their external hard drive after each session using the Finder by selecting the drive in the Finder window and then selecting Eject.
If you leave the project open in Final Cut Pro, you may get a pop-up letting you know that you need to close out of the programs that are using the hard drive.
Get comfortable with Canva in order to download music and create thumbnails and intros.
3. Record Content
In order to edit some footage, you're going to need to record something. Brainstorm ideas for a video you'd like to create. We decided to learn how to make YouTube shorts to keep the editing process as simple as possible when getting started. Then we branched out into longer videos.
YouTube shorts can be up to 3 minutes and you can use your phone to record the video footage. Be sure to hold the phone or position it so that the video is captured in a portrait format. If making a video longer than 3 minutes, you can use landscape format.
4. Upload It to the Editing Software (Final Cut Pro)
Once you've got your video files, import them into Final Cut Pro as mentioned in Step 2. A few things to keep in mind as you work on your project:
- Read the Menu options when performing a task. They're there for a reason.
- Keep your laptop plugged in/pay attention to battery life while working.
- Even if your Final Cut Pro project doesn't work out for some reason, your raw video files should remain unharmed.
- Look at the requirements for posting videos & shorts on social media, including thumbnail dimensions (1080px x 1920px for a YouTube short and 1280px x 720px for a standard video)
5. Edit the Content and Add Desired Effects
See the video at the top if you want a quick tutorial of uploading and basic editing in FCP. Command + b is a helpful keyboard shortcut for making cuts.
We played around with the Gaussian Blur Effect in FCP, which is used to Blur and/or Mask objects.
6. Record a Voiceover (Optional)
You can add a voiceover to your video by connecting the microphone to your computer and selecting Window -> Record Voiceover from the Menu Bar. Don't like the way it turned out? Try to find a quiet space, make sure your mic is near your mouth, and let her rip! You can practice as much as you like.
You can also change the volume, section it off, rearrange it, or remove unwanted portions by editing the audio in the timeline of your workspace.
7. Add Music or an Intro Using Canva
Music can be added by downloading it from Canva. Upgrading to a Canva Pro account unlocks more music choices.
To download the music, they created a Presentation in Canva, added the sample they liked to the Presentation, and downloaded by selecting Share -> Download -> MP4.
Next, they uploaded it to their Project in Final Cut Pro and dragged it into their Project Timeline, placing it in the desired spot.
They detached the audio from the Canva Presentation and deleted the blank video portion by selecting Clip -> Detach Audio.
You can adjust the music and voiceover volumes by dragging the bars up and down until they complement each other.
The intro follows a similar process. However, you do not detach the audio after uploading it. Drag the intro to the beginning of your timeline in your FCP project workspace.
8. Export it to the Hard Drive
Once finished, the project is exported by right-clicking on the project and selecting Share Project. A donut at the top of the screen fills in as Final Cut Pro exports the Project to your desired location. You will see a pop-up notification on screen when the share is complete.
9. Convert the Video to a YouTube-Friendly Format
The last step before uploading is using a tool called HandBrake to convert the video to a YouTube-friendly MP4 format. HandBrake is free and easy to use. We searched HandBrake for Mac and had no issues downloading it to the MacBook Air.
Once HandBrake opens, it prompts for the file to convert. Select it and press Start to save an mp4 of your video to the external hard drive or your desired location.
10. Create a YouTube Thumbnail for the Video (Optional)
You can create a thumbnail in Canva using the appropriate dimensions for a short or standard video. You can also select the thumbnail from the video itself.
11. Upload the Video and Thumbnail to YouTube
Upload the video to YouTube by navigating to your YouTube channel, selecting Create, and following the prompts. Don't forget to provide a meaningful title and description for viewers.
YouTube will automatically assign a thumbnail (image viewers see above the title as it appears on YouTube) to videos if you do not select or upload one.
Notes
For more info and pictures visit us at:
https://happyhomeschooladventures.com/how-to-make-youtube-videos


Leave a Reply