

"Making sugar skulls for Day of the Dead is a lot of fun. Mexicans often decorate them alongside family and friends. It's an opportunity to remember loved ones with lighthearted stories from the past and plenty of laughing and joking. You can pipe the name of the lost loved one right on the skull."
- Mariana Nuño Ruiz and Ian McEnroe
If you've ever spent time around families celebrating Día de los Muertos or Day of the Dead, chances are you felt like you were missing out on something special. The elaborate altars and traditions can leave you feeling stuck on the sidelines while others are dancing, eating, and celebrating.
Well, we're here to tell you, now is the time to learn about Day of the Dead and have the time of your life while doing it. Don't let the opportunity pass you by. Seize the day with this Mexican sugar skulls recipe.
Jump to:
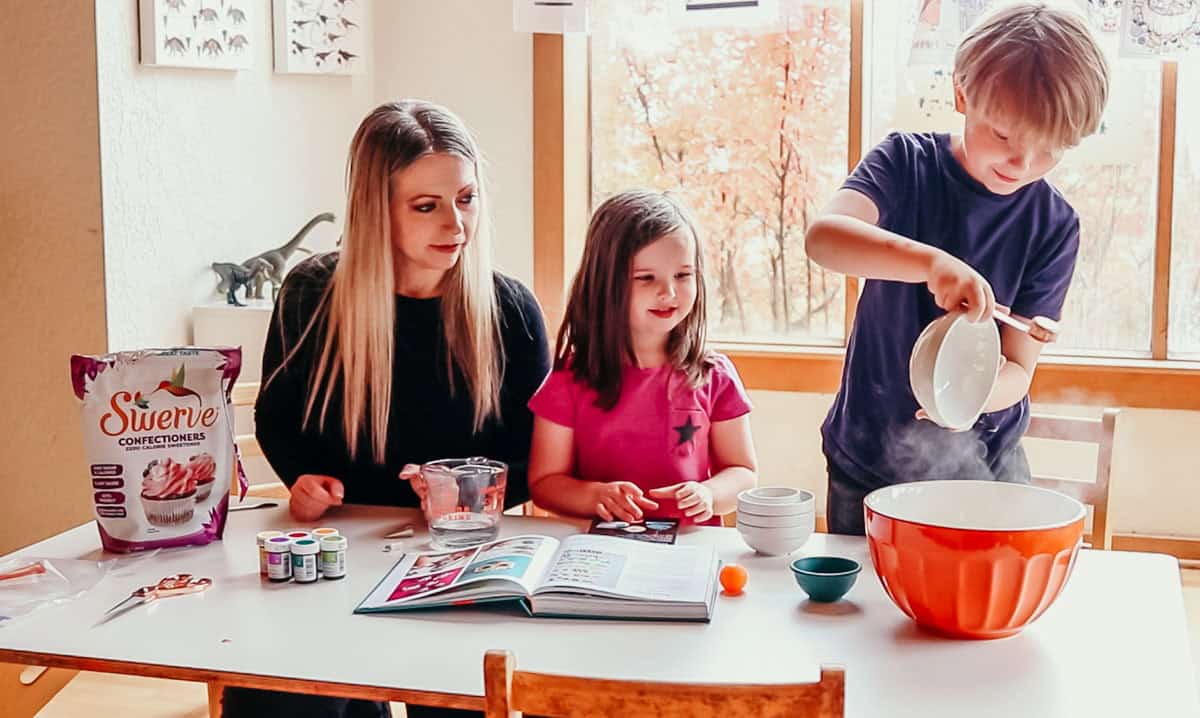
Learn more about cooking with kids.

Dining with the Dead
This Mexican sugar skulls recipe comes from Dining with the Dead: A Feast for the Souls on Day of the Dead by Mariana Nuño Ruiz and Ian McEnroe. Everything you need to create and decorate your sugar skulls can be found at MexicanSugarSkull.com.
Día de los Muertos, Mexican Day of the Dead is an interesting holiday celebrated in the cities and countryside of central and southern Mexico during the chilly days of November 1 & 2.
Even though this coincides with the Catholic holiday called All Soul's & All Saint's Day, the Indigenous people have combined this with their own ancient beliefs of honoring their deceased loved ones.
They believe that the gates of heaven are opened at midnight on October 31 and the spirits of all deceased children, angelitos, are allowed to reunite with their families for 24 hours. On November 2, the spirits of the adults come down to enjoy the festivities that are prepared for them.
In most Indian villages, beautiful altars, ofrendas, are made in each home. They are decorated with candles, buckets of flowers, mounds of fruit, peanuts, plates of turkey mole, stacks of tortillas, and big loaves of bread, pan de muertos.
The weary spirits need lots of food, bottles of soda, hot cocoa, and water. Toys and candies are left for the angelitos, and on Nov. 2, cigarettes and shots of mezcal are offered to the adult spirits. Little folk art skeletons & sugar skulls provide the final touches.
On the afternoon of Nov. 2, the festivities are taken to the cemetery. People clean tombs, play cards, listen to the village band, & reminisce about their loved ones.
- MexicanSugarSkull.com

related recipe!
Tacos Dorados
Customize these Mexican street tacos for a deep-fried dream come true.
If you enjoy making creative holiday desserts, try the mooncakes, thumbprint cookies, putizza, and red velvet ice cream sandwiches.
start your journey!
Family & Kids Cooking Resources
Beautiful & diverse books for you!
How to Make Mexican Sugar Skulls
Top Tip
If you make these Mexican sugar skulls a few days before you decorate them, it will ensure that they are dry and firm to work with.
Ingredients
- sugar - you will need granulated sugar for the sugar skulls and sifted confectioners' sugar for the royal icing. We typically use a stevia blend when cooking but we followed the sugar skull recipe as is for the coolest possible skulls. We went with Swerve for the royal icing.
- meringue powder - meringue powder is needed for the sugar skulls as well as the royal icing used to decorate them.
- water
- orange blossom water - orange blossom water is used in making the sugar skulls. It adds a delicious floral scent that is said to help lure our faraway guests.
Food Allergy or Substitution Needed?
Click the button below to ask AI how to alter it for your diet!
Equipment
- apron
- prep bowls
- large bowl
- kitchen scale
- measuring spoons
- measuring cup
- stand mixer or hand mixer
- spatula
- spoons
Decorating Equipment
- skull molds
- cardboard or parchment paper
- gel colors
- piping bags
- decorating coupler sets
- metal piping tips
- rubber bands or twist ties
- damp kitchen towel
- edible ink markers
- edible glitter
- 4mm silver dragées and 6mm white dragées
Depending on how ornate you'd like your skulls, you can pick and choose which decorating items you'd like to include. We chose edible ink markers and gel colors for colorful royal icing. Next time, we would like to add the dragées for even more detailed skull designs.
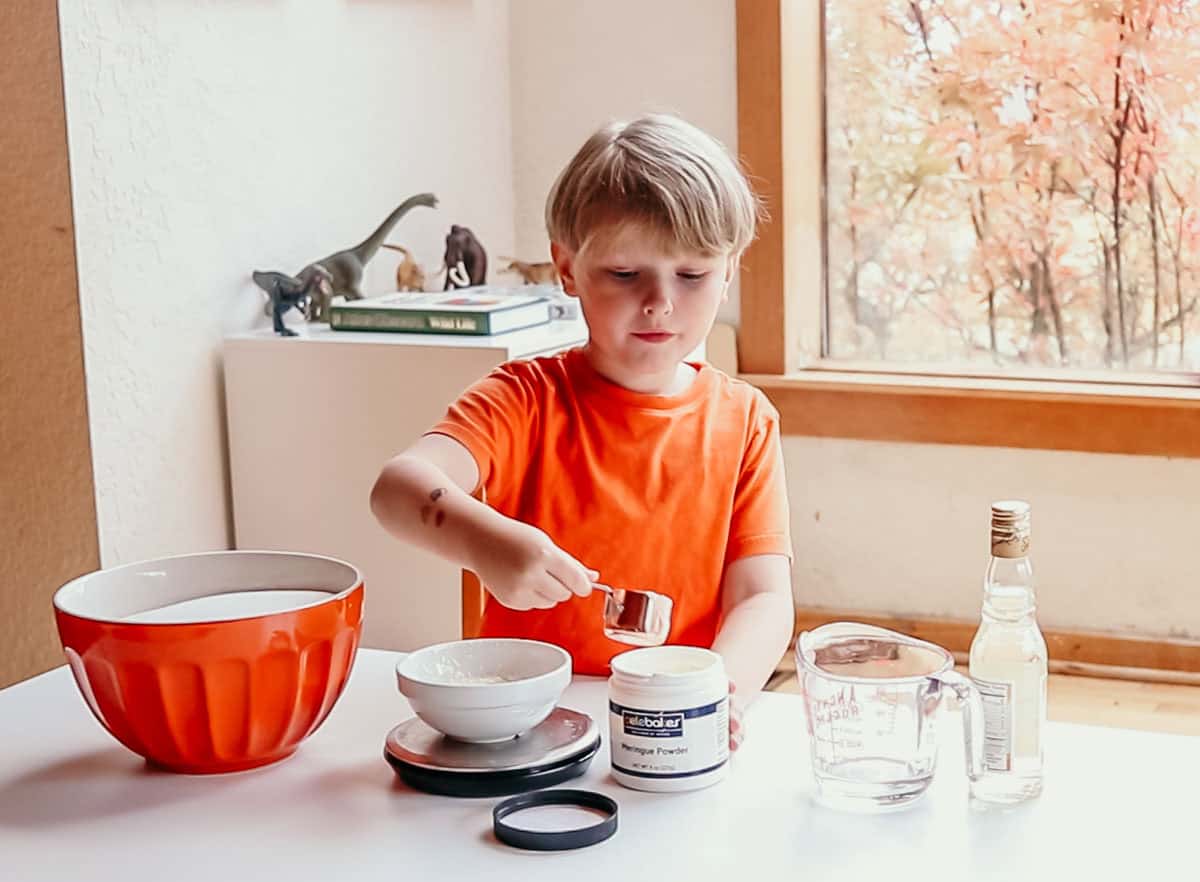
Make the Sugar Skull Mixture
Wash your hands with soap and water. Use a kitchen scale to weigh the sugar and meringue powder. Combine them in a large bowl. Use a measuring cup to measure the water and add it to the bowl. Use a measuring spoon to add the orange blossom water.
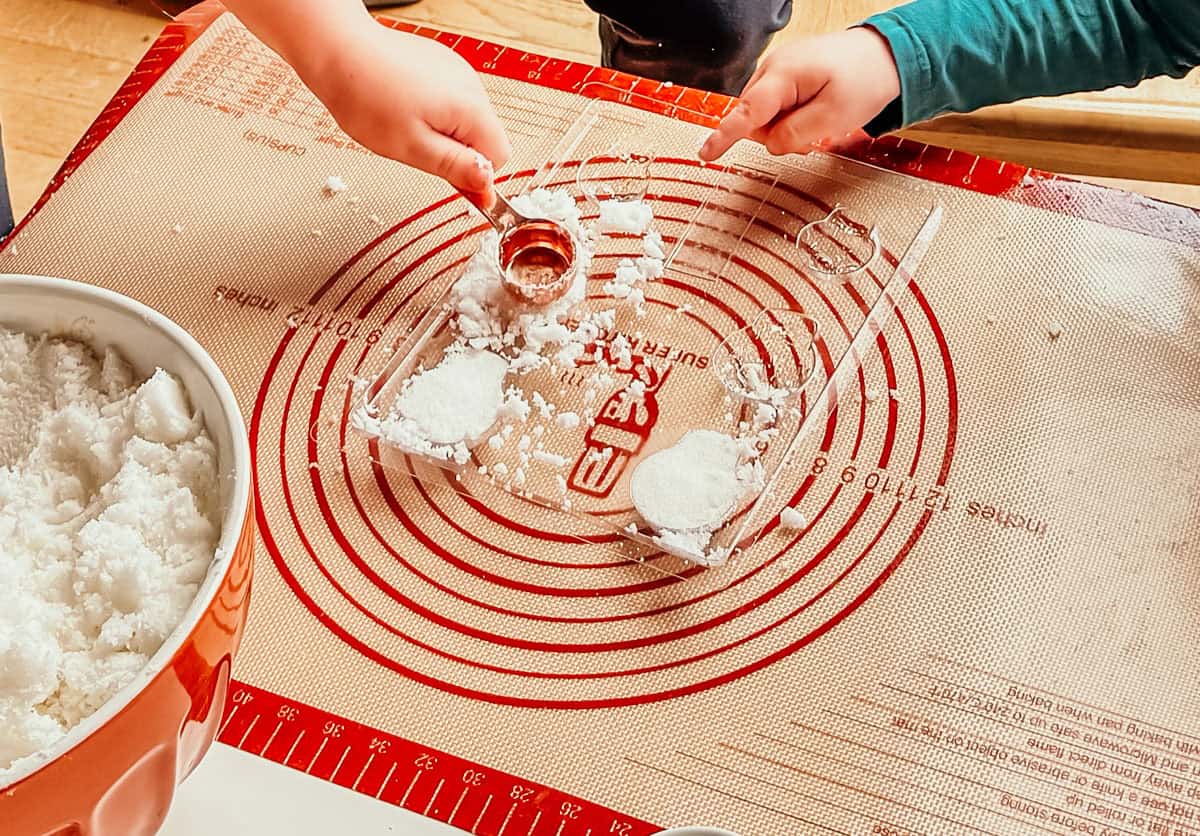
Mix it with your hands until it resembles moist sand. Grab a handful of the sugar and squeeze it in your hand. If it holds the shape of your fingers and doesn't crumble easily, it's the correct consistency.
If it doesn't hold its shape, add half a teaspoon at a time, mix with your hands and repeat the hand test until it does.
Pack the Sugar Skull Mold
Use the corner of a cloth napkin or paper towel to oil the insides of the molds. Pack the sugar skull molds and press tightly as you pack. Use a piece of cardboard or anything firm and flat to scrape and level the back of the skulls.

Release the Sugar Skulls from the Mold
Cover the back of the molds with cardboard and flip them over. Use your fingers to gently tap the eyes, forehead, and chin of the skulls until they release from the mold. Set the cardboard with the skulls aside in a warm, dry location. Use a sheet pan for added stability.
For best results, let them air dry for 48 to 72 hours.
Make the Royal Icing
Wash your hands with soap and water. Use a kitchen scale to weigh the powdered sugar and meringue powder as needed. Sift the powdered sugar and the meringue powder into a mixing bowl. (We did not do this.)
Use a Measuring cup to add the water. Use a measuring spoon to add the lemon juice. Whip in a stand mixer or with a hand mixer until there are stiff peaks.
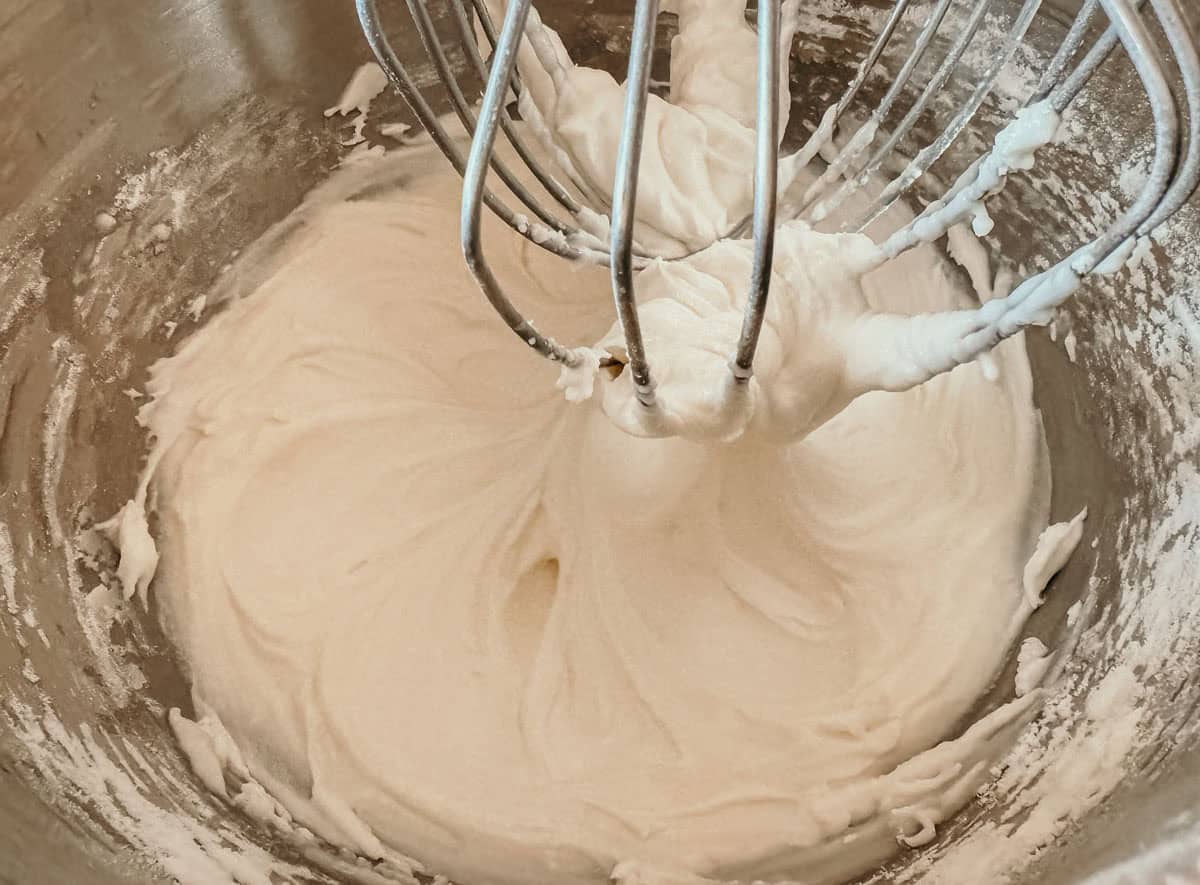
This is not stiff peaks but it's a pretty close representation of what you should be looking at when it's ready. Mariana says the icing should feel drier than toothpaste.
Scrape the sides of the bowl with a spatula and gather the icing to the center. Cover the bowl with a damp cotton towel. Keep the icing covered or it will dry out.

Mix the Gel Colors with the Royal Icing
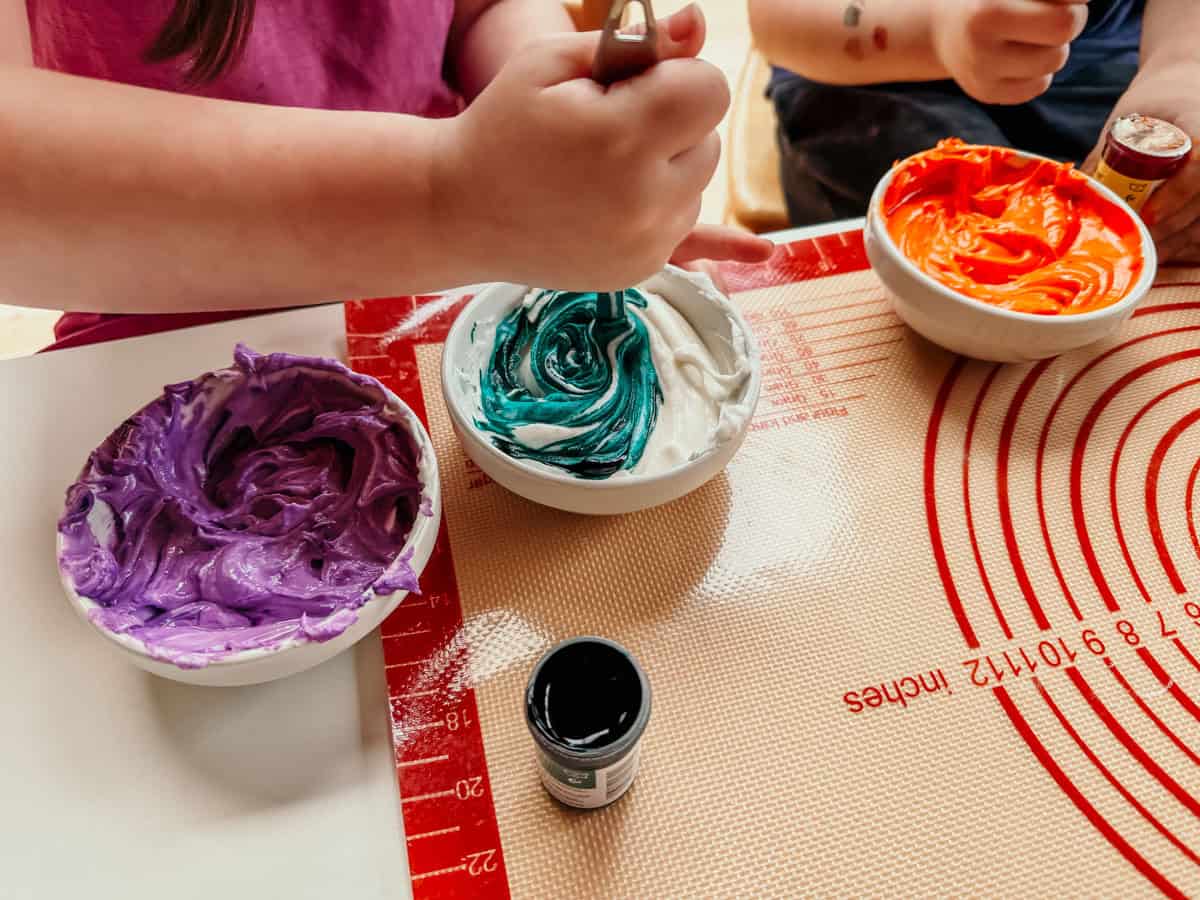
When you're ready to make colored icing, transfer about ½ cup of royal icing to however many bowls you need for your chosen colors. Add a small amount of gel color to each bowl and mix.
We used a ⅛ measuring spoon and our colors turned out bright and beautiful as you can see.

Fill the Piping Bags
Assemble your piping bag and transfer the icing to each bag, securing with a rubberband or twist tie as you go. You're now ready to party!


Decorate the Mexican Sugar Skulls
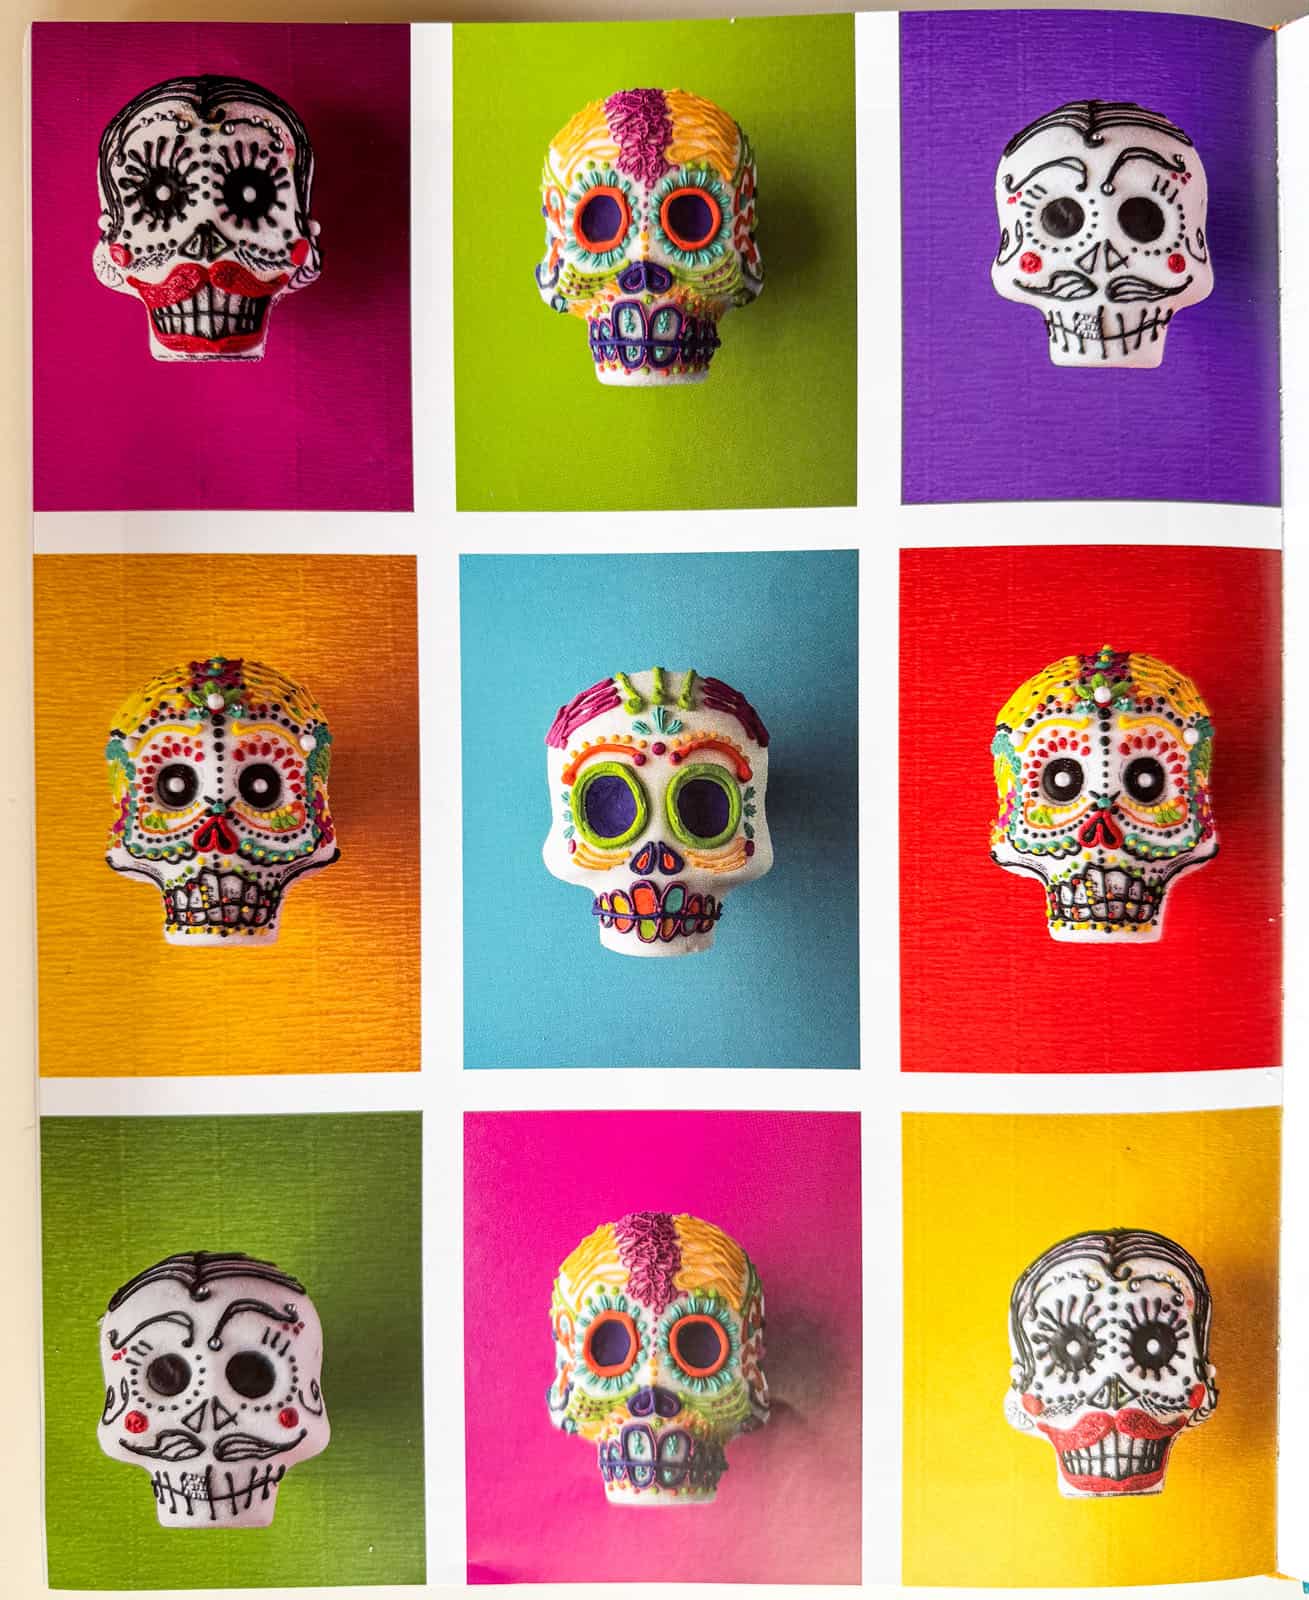
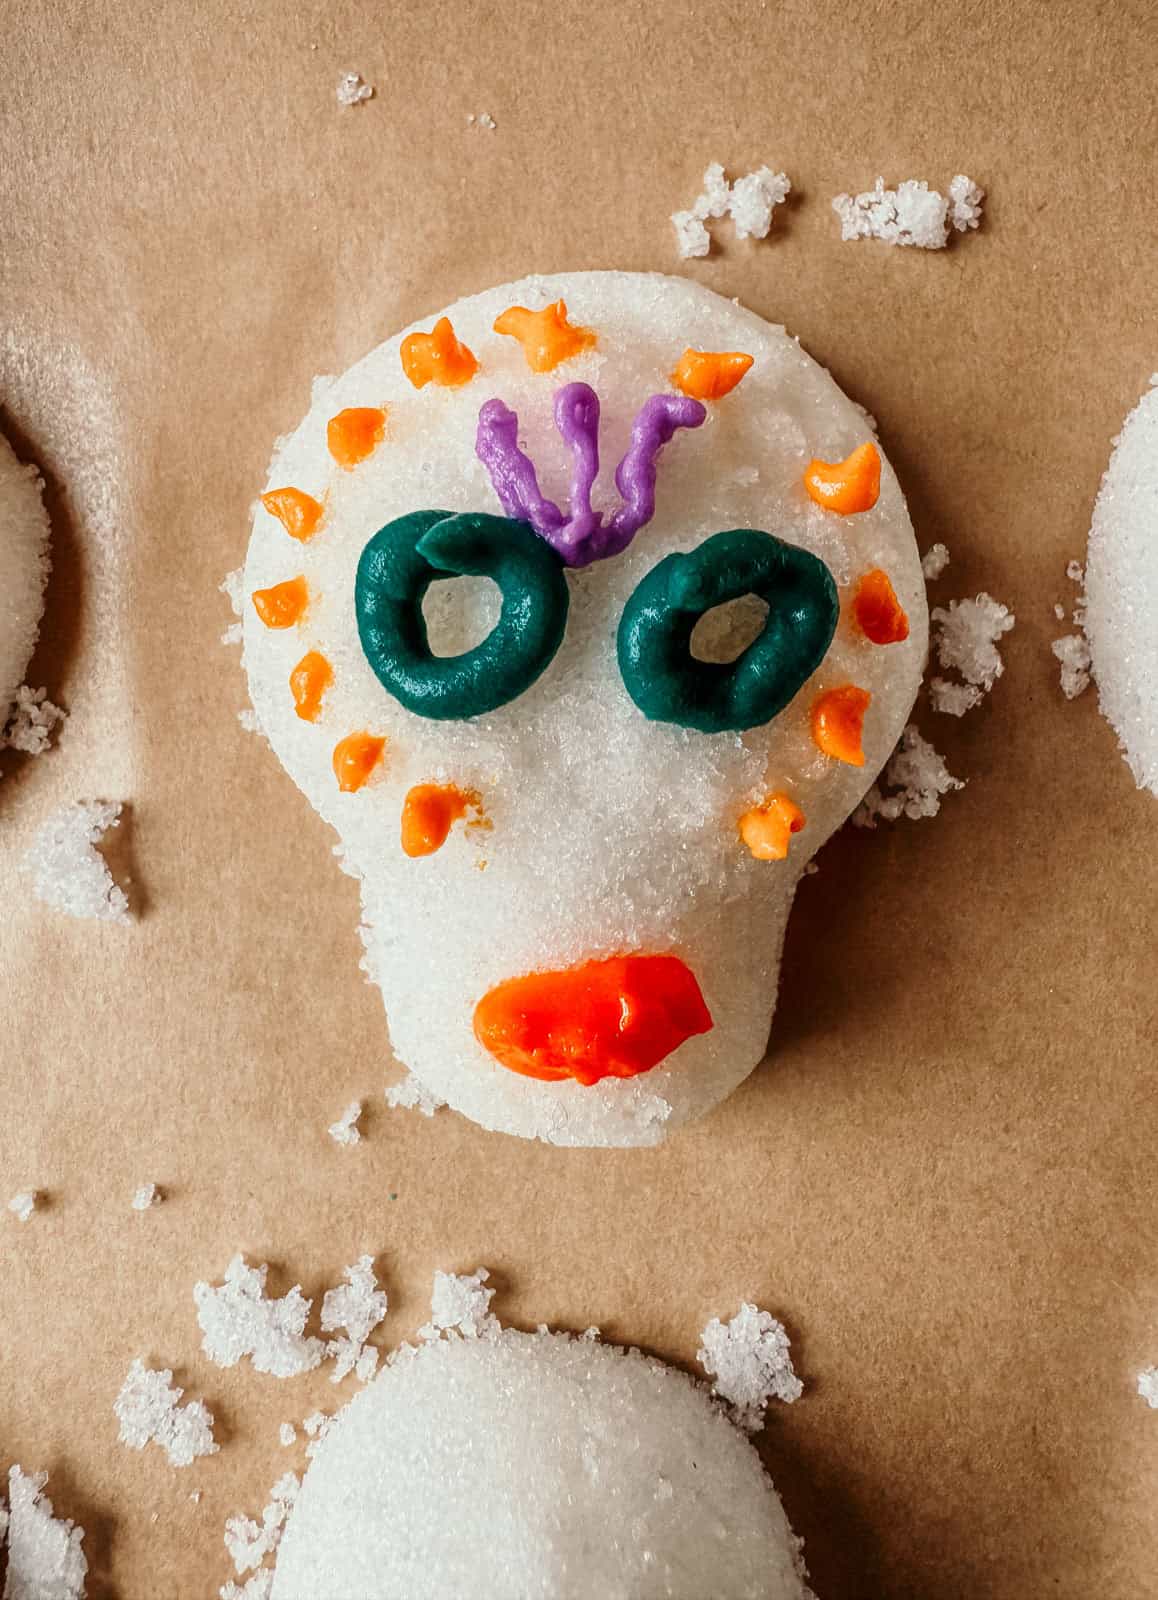
Set your sugar skulls out to decorate and grab your piping bags, edible ink pens, and any other items you're using to decorate. Use an image as a guide or get creative and come up with your own.
Mariana recommends using a fine tip no. 1, 2, or 3 for fine lines, dots, swirls, details, and writing; a petal tip no. 101 or 102 for teardrop shapes, petals, and small flowers, a star-shape tip no. 16 for drop flowers, borders, and stars; and finally, a nontoxic food-safe marker for shades, lines, and details.

Don't forget to leave no trace.
Mexican Sugar Skulls
Don't miss out on something special. Seize the day with these sugar skulls.
Grab your free printable recipe cards above. Kids can gather ingredients using the ingredient list, gather their equipment with the tools list, and prepare the meal using the step-by-step recipe cards, with assistance as needed.
The cards are easy to use, include pictures, and encourage confidence and independence in the kitchen. They also make an excellent addition to your Montessori continent box for North America.
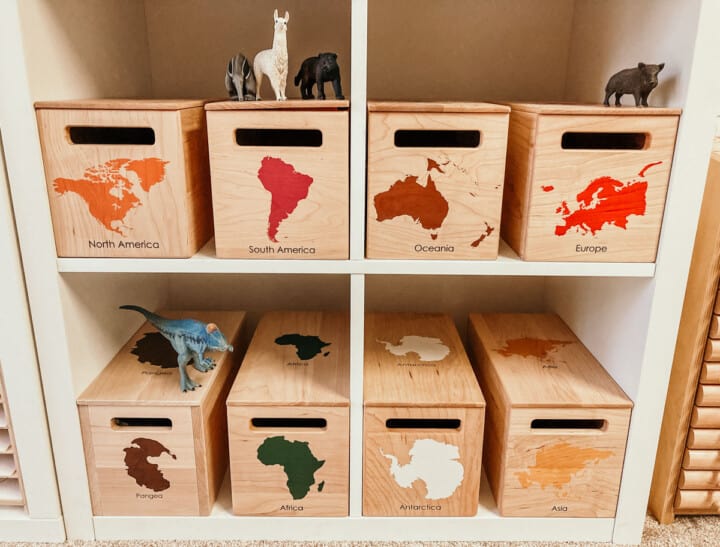
Montessori Continent Boxes
Explore every continent with these solid maple hardwood boxes.

Mexican Sugar Skulls
Equipment
- Large Bowl
- Stand Mixer or hand mixer
- Silicone Spatula
- Spoons
- Skull Molds
- Cardboard or parchment paper
- Gel Colors
- Piping Bags
- Decorating Coupler Sets
- Metal Piping Tips
- Robberbands or twist ties
- Damp Kitchen Towel
- Edible Ink Markers
- Edible Glitter
- 4mm Silver Dragées and 6mm White Dragées
Ingredients
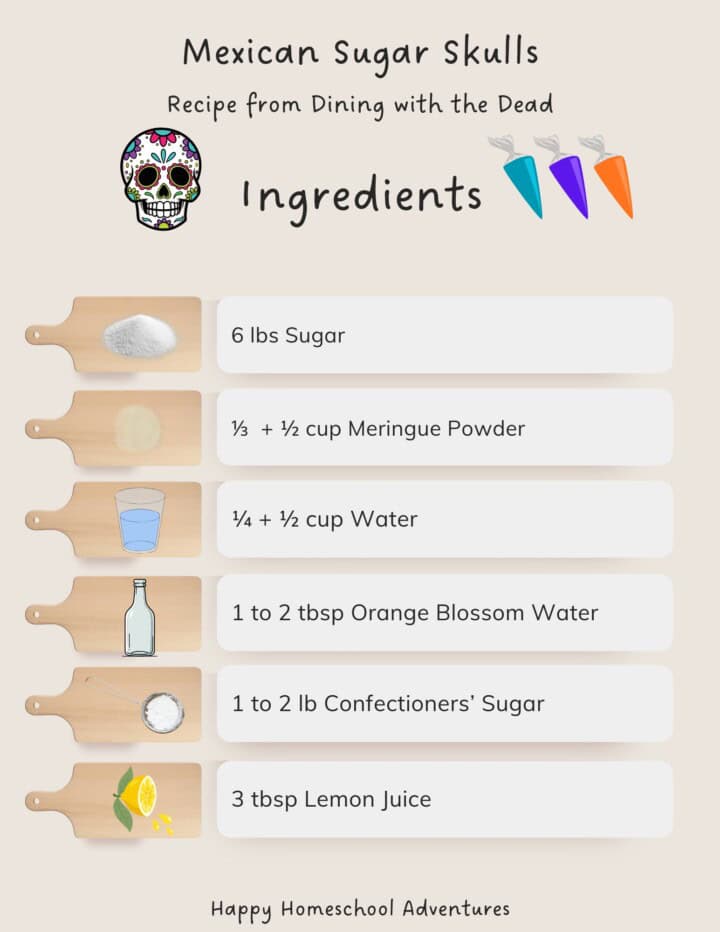
Mexican Sugar Skulls
- 6 lbs sugar
- ⅓ cup meringue powder
- ¼ cup water
- 1 to 2 tablespoon orange blossom water
Royal Icing
- 1 to 2 lb confectioners' sugar sifted
- ½ cup meringue powder
- ½ cup water
- 3 tablespoon lemon juice
Instructions
- Make the Sugar Skull Mixture: Wash your hands with soap and water. Use a kitchen scale to weigh the sugar and meringue powder. Combine them in a large bowl. Use a measuring cup to measure the water and add it to the bowl. Use a measuring spoon to add the orange blossom water. Mix it with your hands until it resembles moist sand. Grab a handful of the sugar and squeeze it in your hand. If it holds the shape of your fingers and doesn't crumble easily, it's the correct consistency. If it doesn't hold its shape, add half a teaspoon at a time, mix with your hands and repeat the hand test until it does.
- Pack the Sugar Skull Mold: Use the corner of a cloth napkin or paper towel to oil the insides of the molds. Pack the sugar skull molds and press tightly as you pack. Use a piece of cardboard or anything firm and flat to scrape and level the back of the skulls.
- Release the Sugar Skulls from the Mold: Cover the back of the molds with cardboard and flip them over. Use your fingers to gently tap the eyes, forehead, and chin of the skulls until they release from the mold. Set the cardboard with the skulls aside in a warm, dry location. Use a sheet pan for added stability. For best results, let them air dry for 48 to 72 hours.
- Make the Royal Icing: Wash your hands with soap and water. Use a kitchen scale to weigh the powdered sugar and meringue powder as needed. Sift the powdered sugar and the meringue powder into a mixing bowl. (We did not do this.) Use a Measuring cup to add the water. Use a measuring spoon to add the lemon juice. Whip in a stand mixer or with a hand mixer until there are stiff peaks. Mariana says the icing should feel drier than toothpaste. Scrape the sides of the bowl with a spatula and gather the icing to the center. Cover the bowl with a damp cotton towel. Keep the icing covered or it will dry out.
- Mix the Gel Colors with the Royal Icing: When you're ready to make colored icing, transfer about ½ cup of royal icing to however many bowls you need for your chosen colors. Add a small amount of gel color to each bowl and mix.
- Fill the Piping Bags: Assemble your piping bag and transfer the icing to each bag, securing with a rubberband or twist tie as you go.
- Decorate the Mexican Sugar Skulls: Set your sugar skulls out to decorate and grab your piping bags, edible ink pens, and any other items you're using to decorate. Use an image as a guide or get creative and come up with your own.Mariana recommends using a fine tip no. 1, 2, or 3 for fine lines, dots, swirls, details, and writing; a petal tip no. 101 or 102 for teardrop shapes, petals, and small flowers, a star-shape tip no. 16 for drop flowers, borders, and stars; and finally, a nontoxic food-safe marker for shades, lines, and details.
Notes
- Do not leave food sitting out for extended periods
- See more guidelines at USDA.gov.
- Full Lesson Info and Pictures at: https://happyhomeschooladventures.com/mexican-sugar-skulls
Nutrition
Estimated nutrition information is provided as a courtesy and is not guaranteed.
Leave a Reply