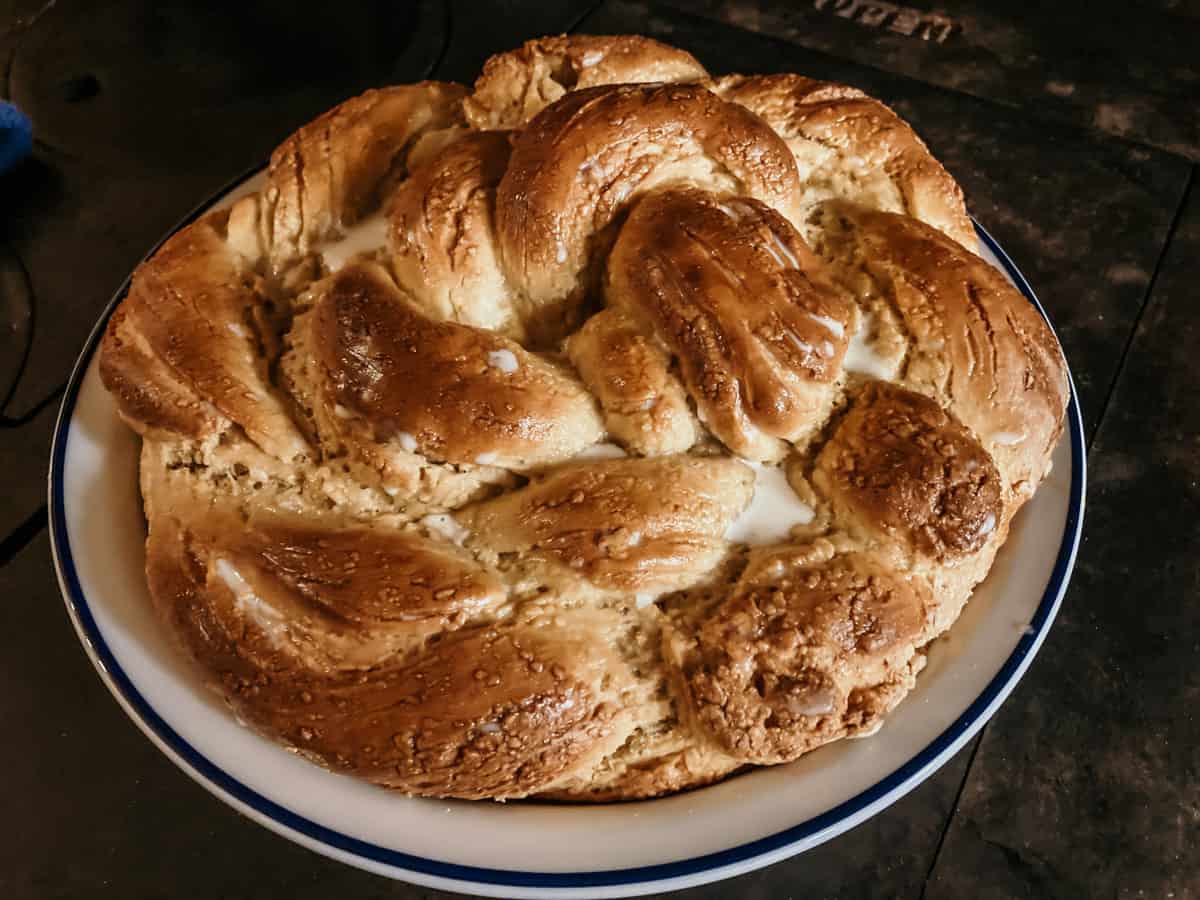
"Ukraine has been a formidable producer of grains such as wheat, rye, millet, oats, and the staple buckwheat since time immemorial, so it is no wonder that bread is an ancient symbol of Ukrainian hospitality...In Ukraine there is a custom of greeting guests with bread and salt...It was the belief that while a household may (or may not) have lavish foods to offer, the guest was always welcome to share the bread and salt. Charming as it is, this custom is still very much alive throughout Ukraine today."
- Annette Ogrodnik Corona
Welcome to our kitchen! We've been cooking our way around the world and sharing some of our journey along the way. Today we're making a delicious bread known as kolach.
As a homeschool family, time spent in the kitchen is an excellent way for us to tie practical life experiences into the geography, history, and cultural studies we also enjoy.
Learn more about cooking with kids.
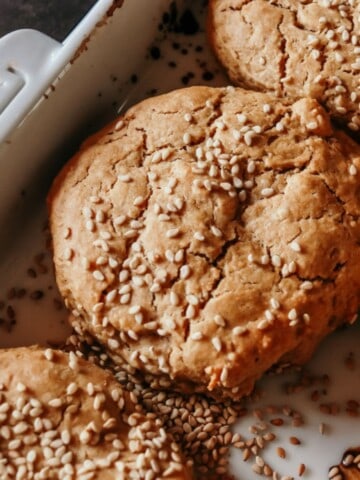
If you like this recipe, you'll love Christmas cookies, easter bread, fluffy buttermilk biscuits, southern benne seed biscuits, and Argentine pizza.
Disclosure of Material Connection: Some of the links in the post are “affiliate links.” This means if you click on the link and purchase the item, I will receive an affiliate commission. Amazon links are not affiliate links. You can read my full affiliate disclosure.
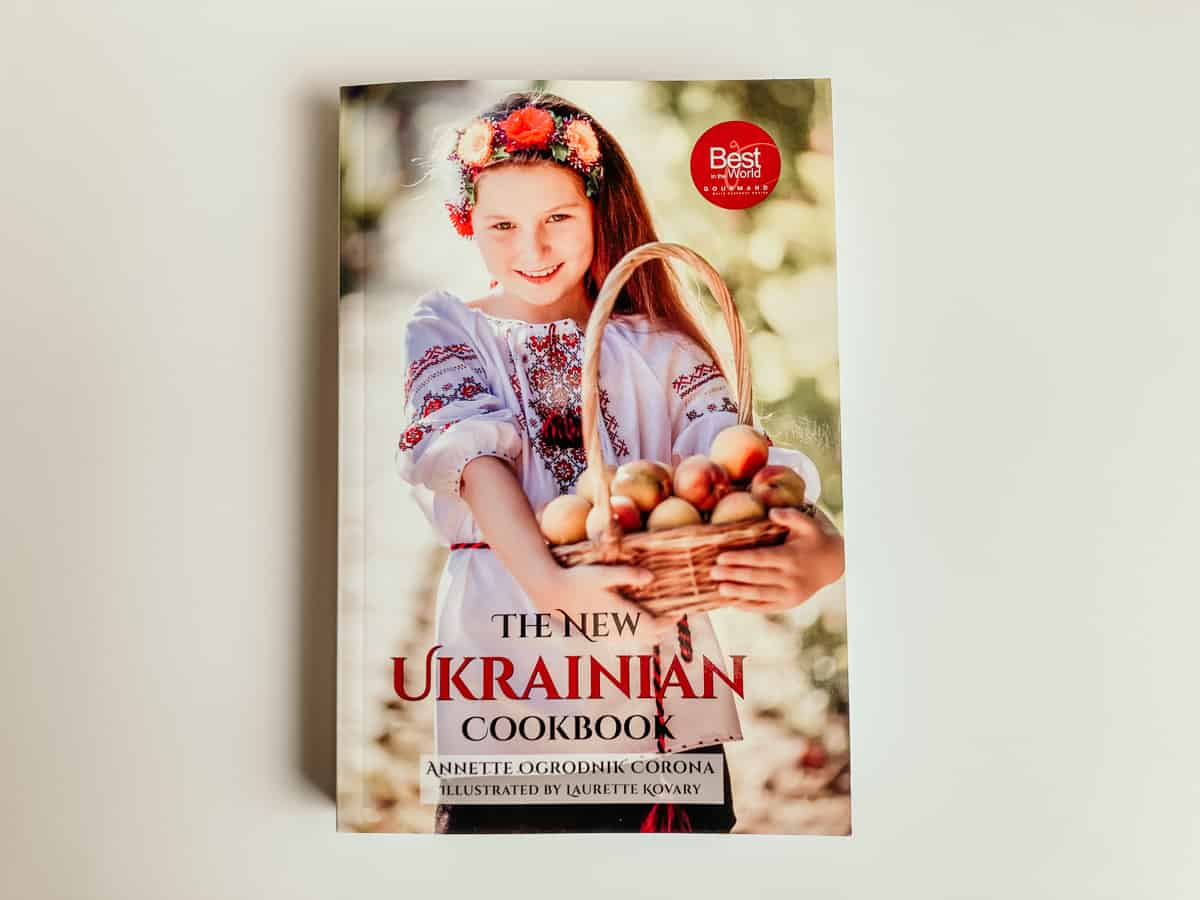
Today, we are sharing our experience making kolach, delicious Ukrainian bread from The New Ukrainian Cookbook by Annette Ogrodnik Corona. Continue reading to learn more about Ukrainian cuisine and Ukraine's title as "the breadbasket of Europe."
If you like this recipe, you'll love these mallorcas.
Family & Kids' Cooking Resources
Beautiful and diverse cooking resources for you!
Stop by our shop to see more Family & Kids' Cooking Resources.
Free Cooking Course for Families
Discover recipes for every continent! Sign up to receive free cooking lessons for the whole family. Learn from some of the most talented chefs around the world, including Annette Ogrodnik Corona, and participate in the quality practical life experiences Montessori education is known for.
What is Kolach or Колач?
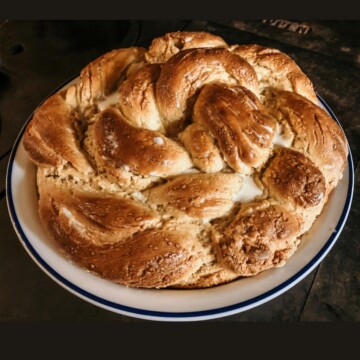
Kolach or Колач (in Ukrainian) is a braided ring-shaped bread that holds much significance in Ukrainian cuisine. It symbolizes prosperity, good luck, and eternity when presented to a bride and groom on their wedding day. This is a customary gift given to them by their parents. It also has the same significance and meaning at a funeral service.
Stack three of these delicious loaves on top of each other, and pop a candle on top to represent the sun, and you've got the Christmas Eve (Svyata Vechera)/Christmas bread and table decor. It's also popular at family celebrations.
I don't know about you, but any time we can learn 1 recipe and it's got you covered for every wedding, funeral, Christmas Eve/Christmas, family celebration, and every time someone shows up at your door, you can count us in. You just know it's gonna be good.
How Do You Fold Kolach?
We folded ours by first splitting the dough into 6 sections or 3 pairs. Second, we took 2 sections and rolled each one into a long rope. Third, we placed them on top of each other, creating an X shape on the silicone work mat. Finally, we twined the ropes of dough around each other, starting from the middle and working our way toward the ends.
This process was completed for all 3 pairs of the kolach dough, placing each completed rope along the perimeter of the baking dish as we went. The final result is a beautiful circular coiled dough pattern with a gap in the center.
Is Kolach Fun for Kids to Make?
You know it! Creating fun shapes and patterns with dough is something my kids could do all day. We like getting messy in our kitchen. For this experience, we enjoyed the aroma of kolach baking in the oven while we cleaned up our work area and learned more about Ukraine.
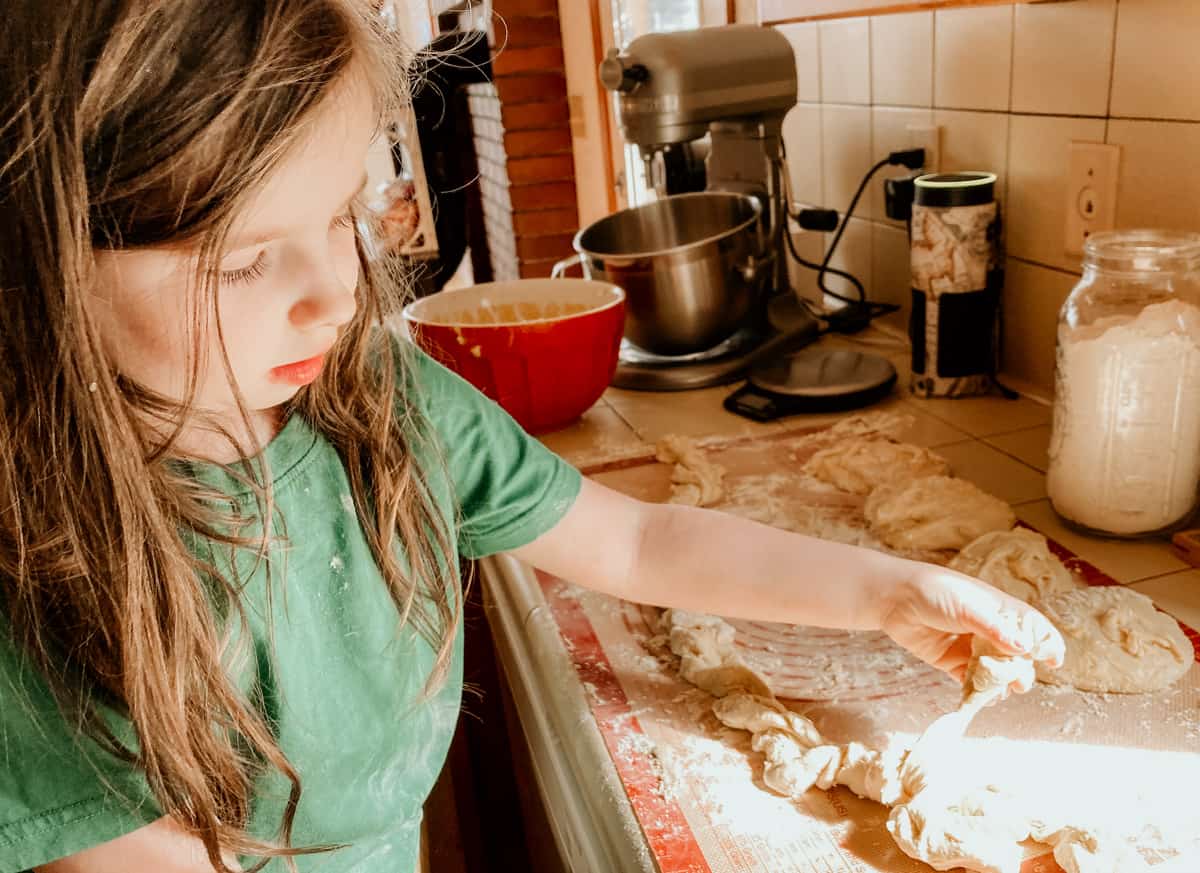
Kolach, Колач: Ukrainian Bread Recipe
Making kolach is a great way to learn about Ukrainian cuisine while getting creative with baking. It also tastes delicious.
We followed the recipe in the cookbook for making this tasty bread. However, we opted to use stevia instead of sugar and swerve instead of confectioners sugar.
We baked our loaf of bread using all-purpose einkorn flour. While we've enjoyed baking with whole wheat einkorn in the past, this was our first time using all-purpose einkorn. The flour was really easy to work with and it tasted incredible. Einkorn is an ancient grain and a healthier one at that. If you're interested, you can read more about einkorn flour and grab yourself some recipes to try at home.
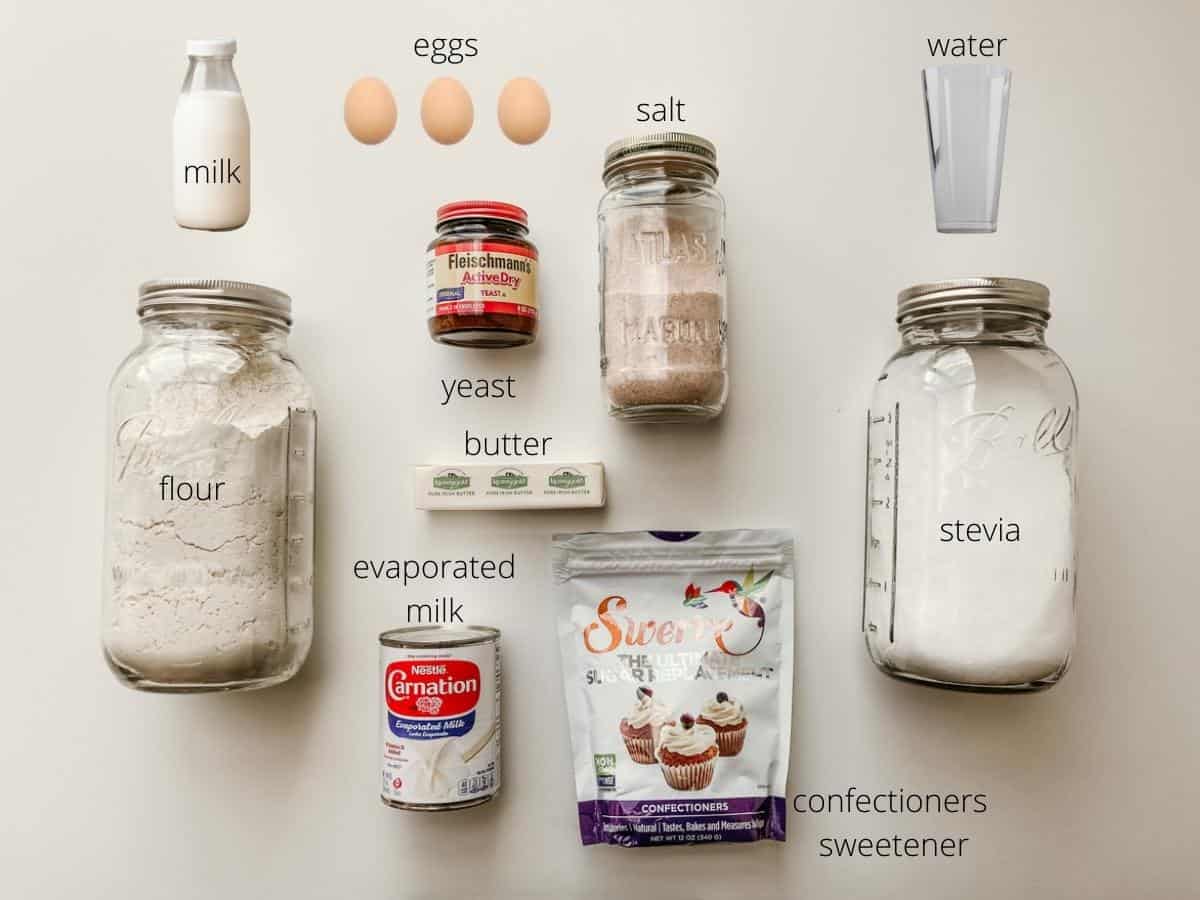
Ingredients
- Active Dry Yeast
- Water
- Stevia
- Milk
- Butter
- Eggs
- Salt
- Einkorn Flour
- Evaporated Milk
- Confectioners' Sweetener
Equipment
- Apron
- Prep Bowls
- Large Spoon
- Child-Friendly Knife
- Cutting Board
- Whisk
- Small Pan
- Measuring Cup or Kitchen Scale
- Measuring Spoons
- Silicone Spatula
- Silicone Baking Mat
- Dough Scraper
- Stand Mixer with flat beater and dough hook
- Pie Dish
- Basting Brush
- Bread Knife
- Learning Tower as needed
- The New Ukrainian Cookbook
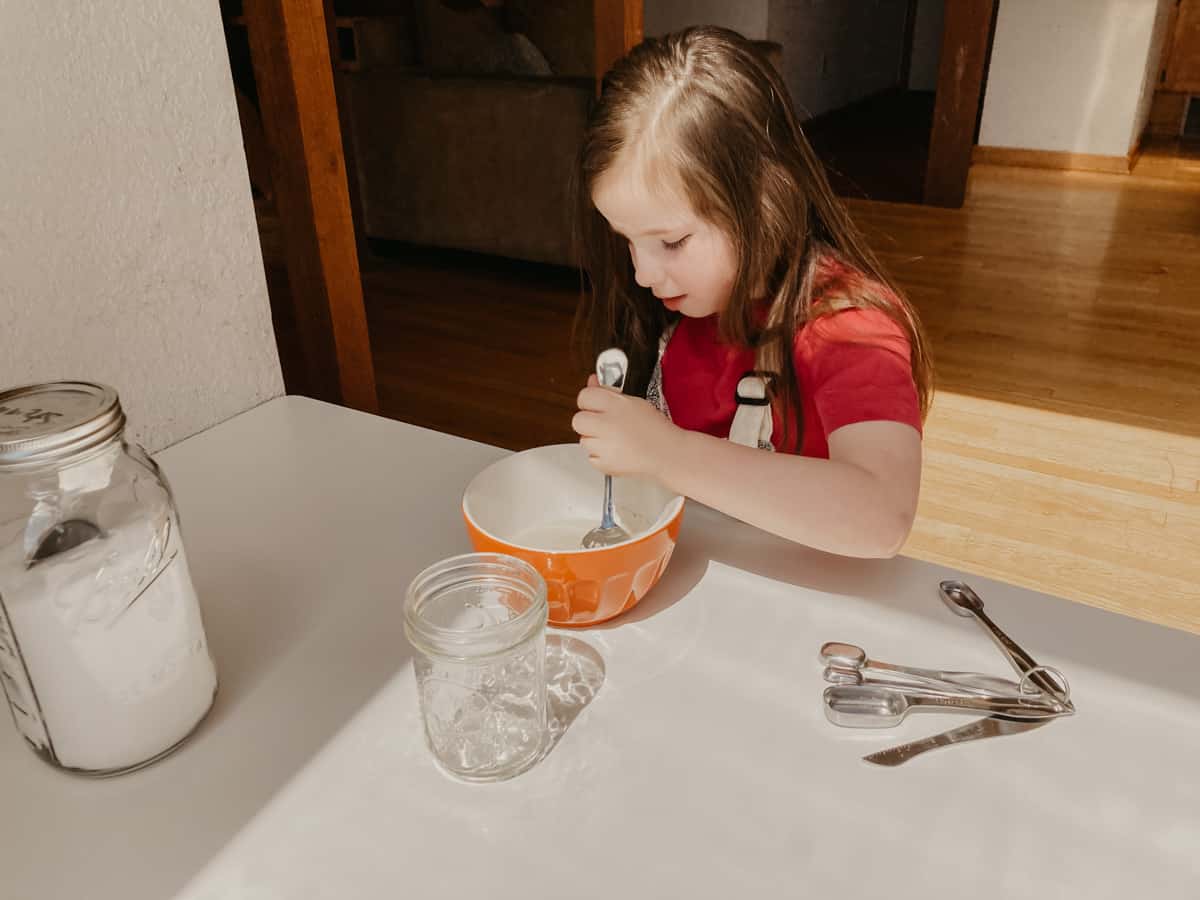
1. Add Yeast to the Water and Stir
Before getting started, always wash your hands with soap and water. Add the yeast to the warm water (ours was room temperature) and stir until it dissolves.
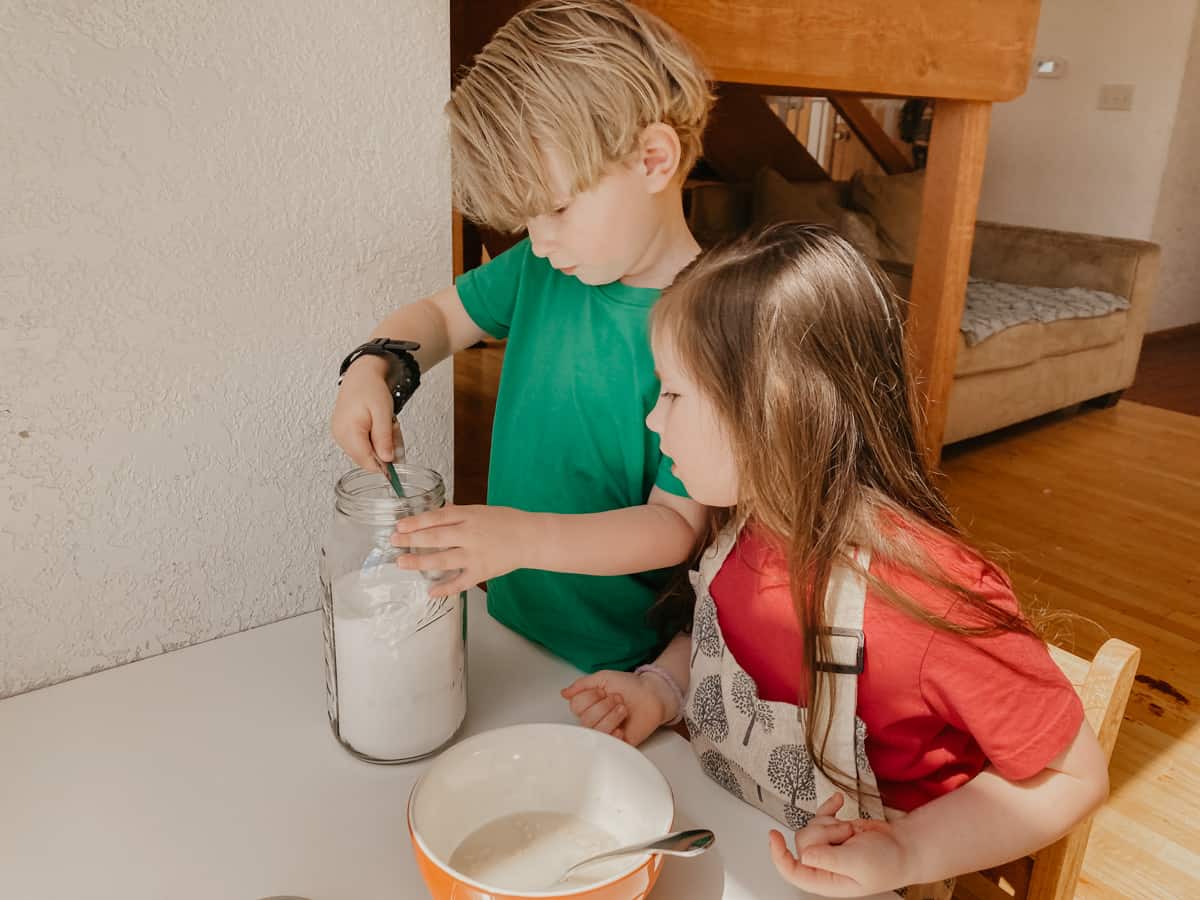
2. Add the Stevia and Stir
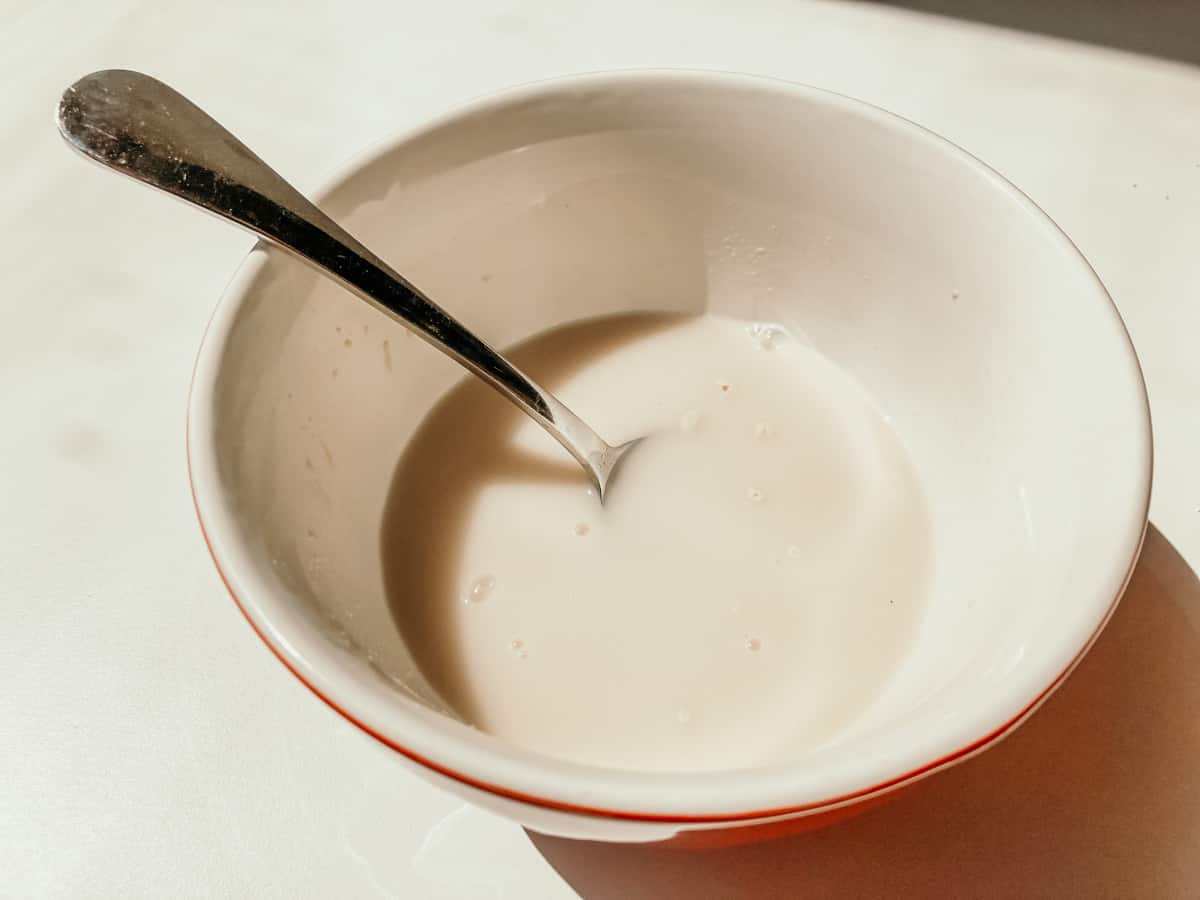
3. Let it Sit for About 10 Minutes or Until Frothy
Make sure you keep it in a warm location.
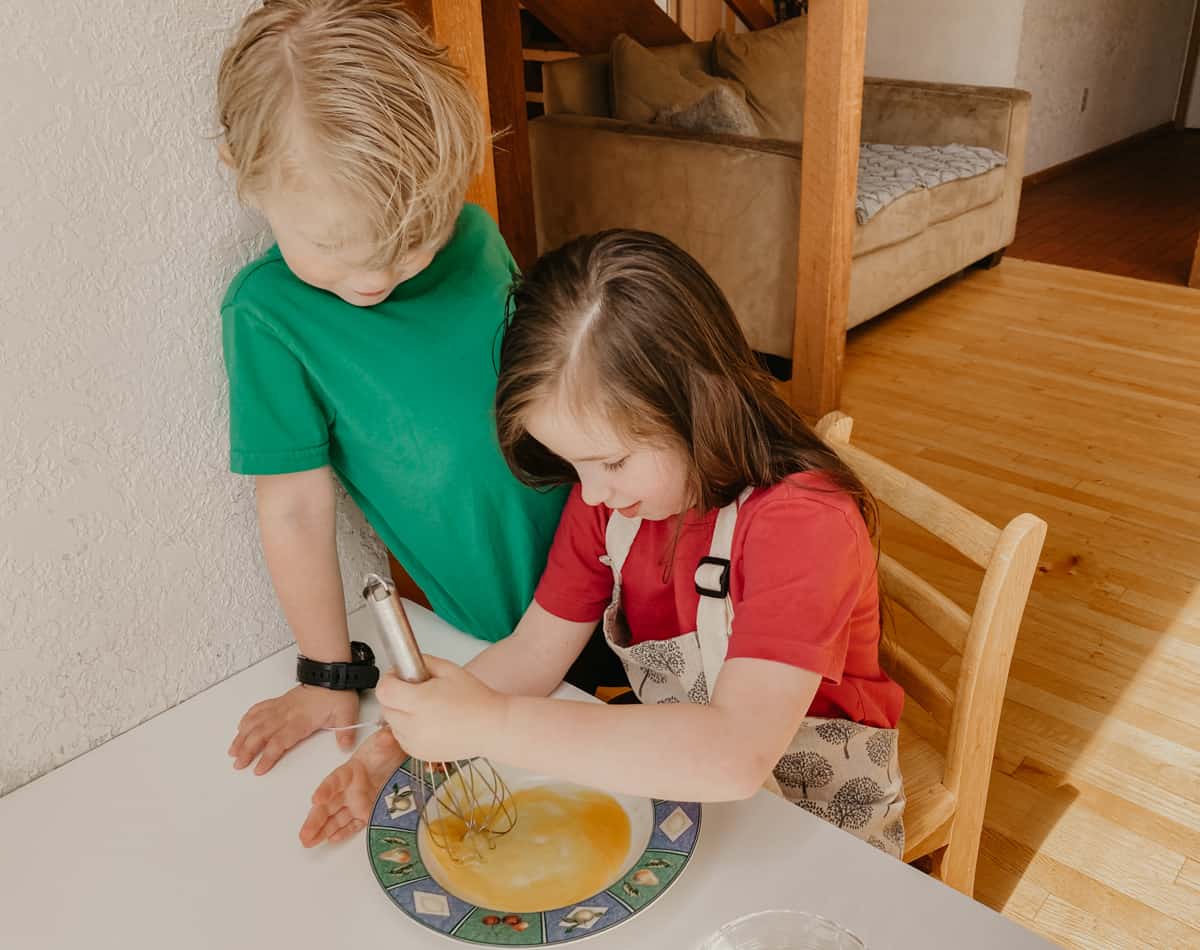
4. Whisk 2 Eggs in a Bowl
Set aside when finished and wash hands with soap and water.
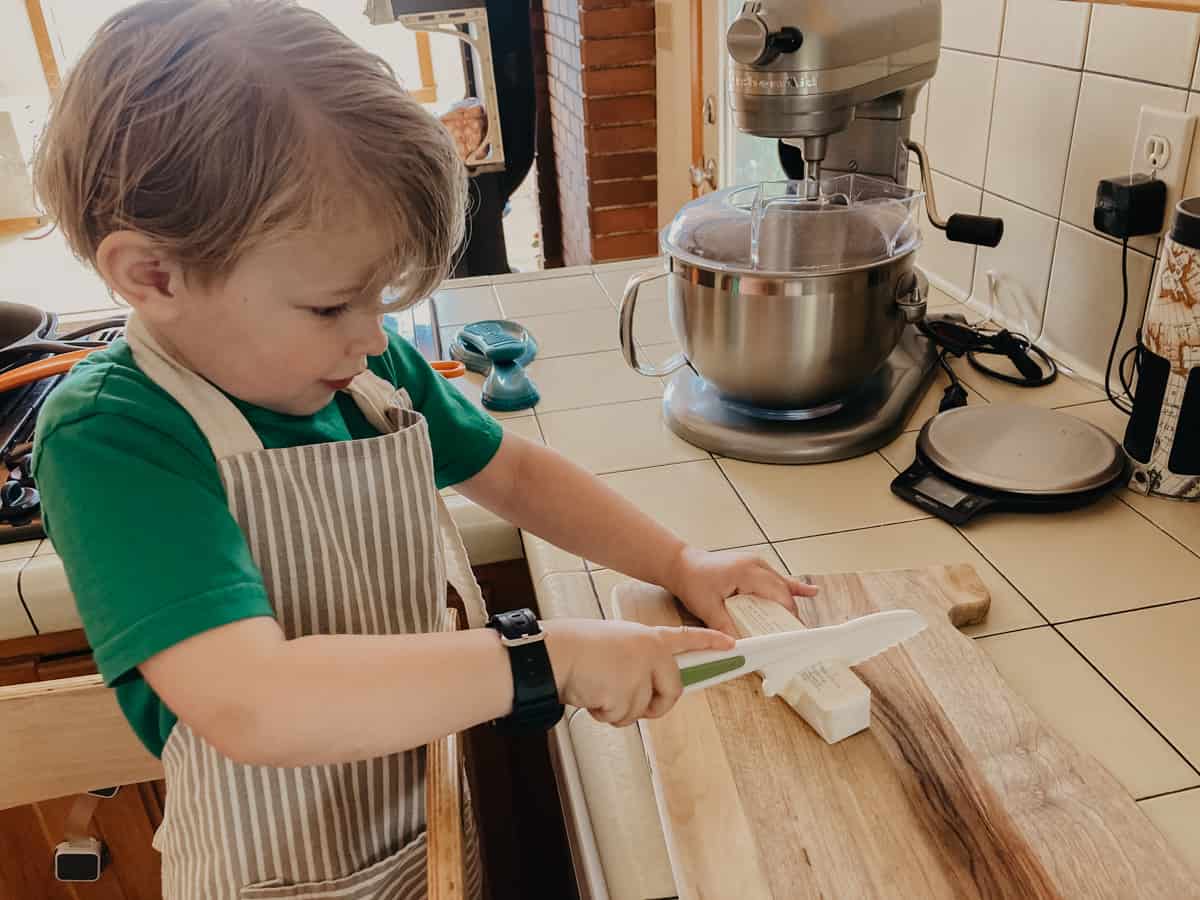
5. Melt the Butter in a Pan
The child can use the guide on the wrapper to assist with measuring the correct amount of butter. Place the butter in a pan on medium-low heat and remove the pan when the butter is almost melted. Don't forget to turn off the stove. Set the pan aside.
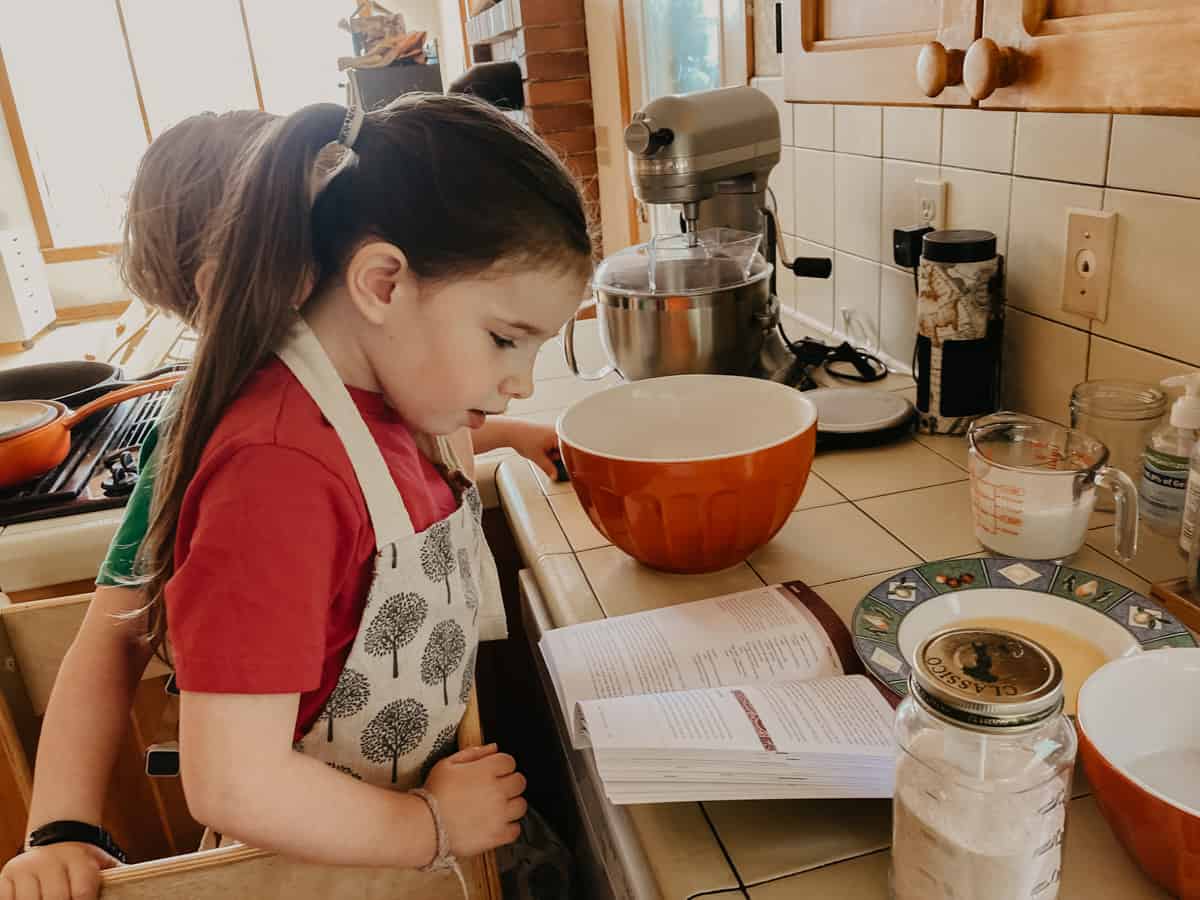
While our kids were waiting for the butter to melt, they explored the cookbook and its illustrations.
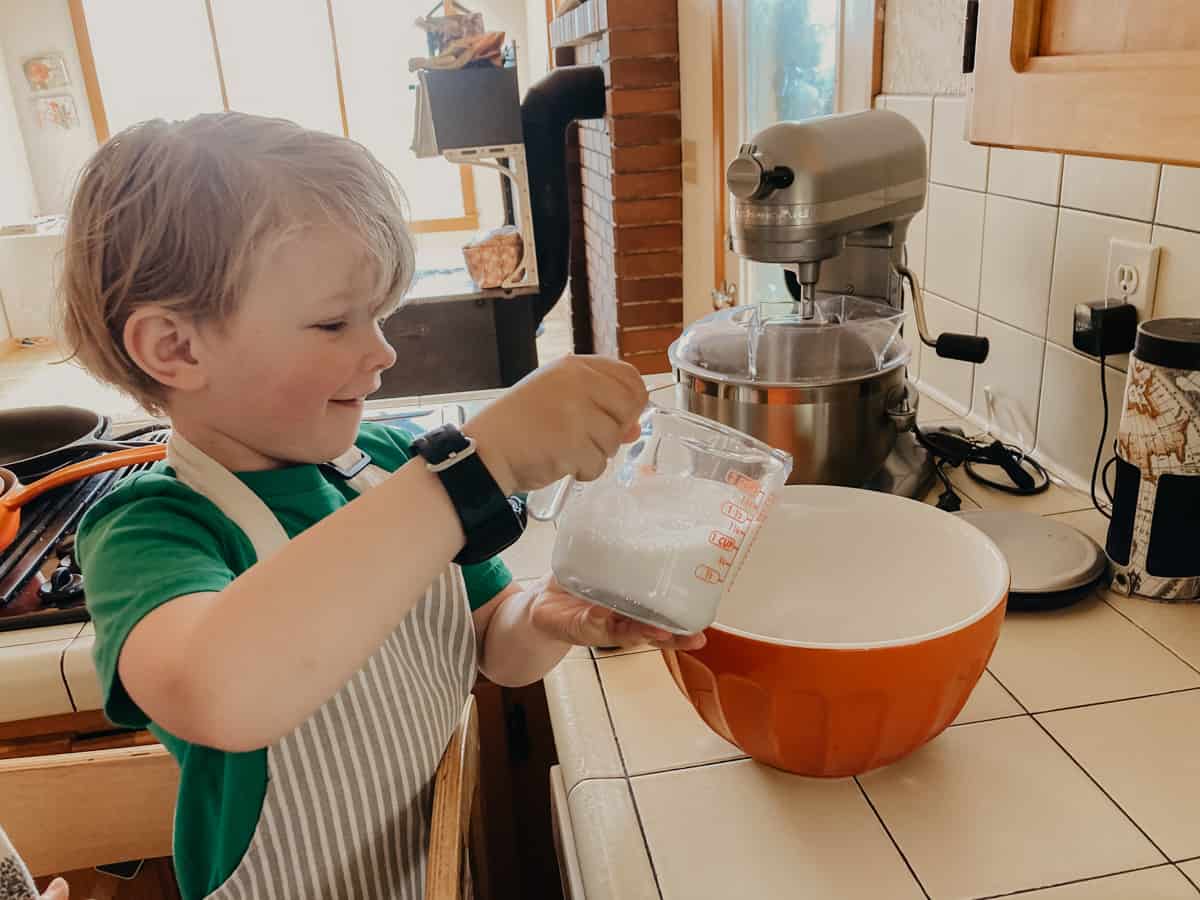
6. Add the Milk to a Clean Bowl
The recipe calls for warm milk. Rather than warming ours, we let it sit on the counter for about 15-20 minutes while we were melting the butter and it was room temperature when we added it to the bowl.
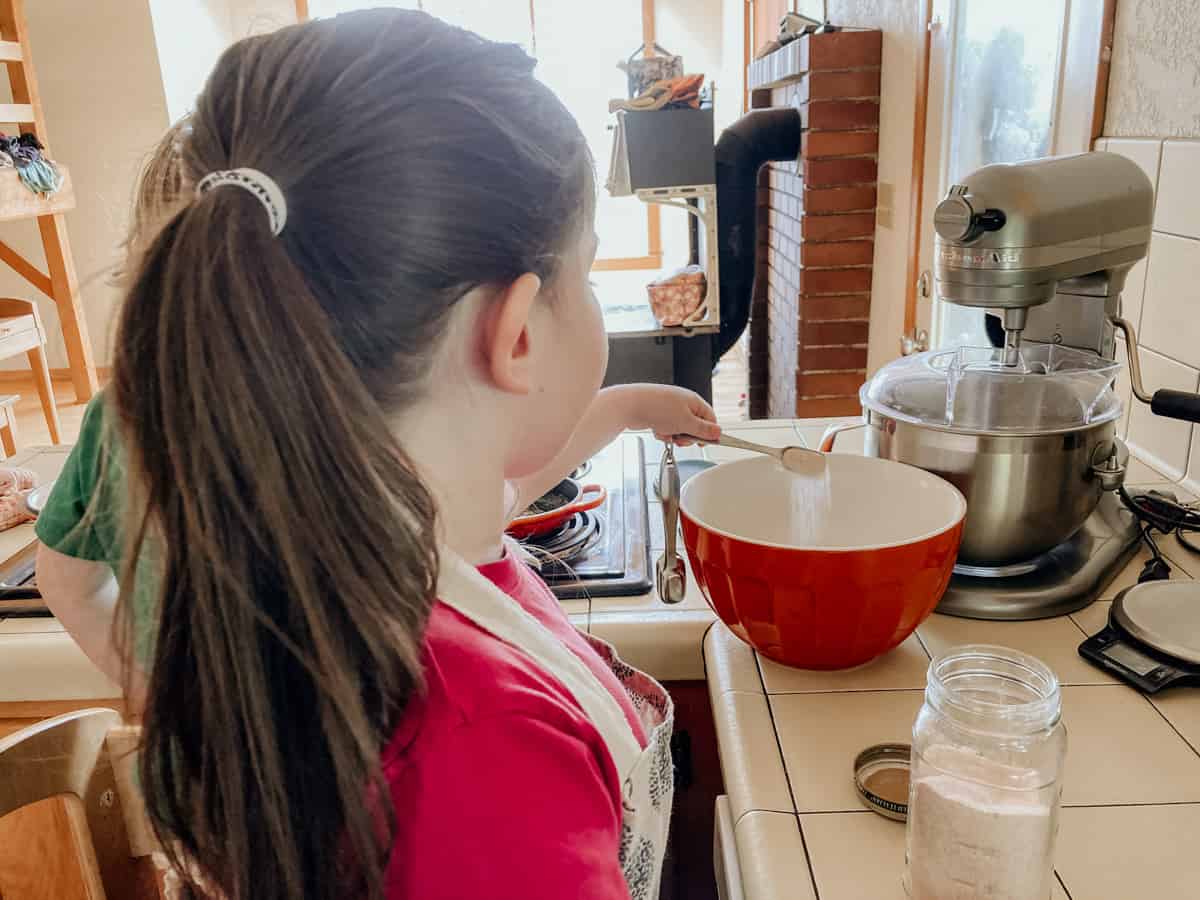
7. Add the Melted Butter, Beaten Eggs, Salt, and Yeast Mixture
Use a measuring spoon to add the correct amount of salt and stir the mixture as you add each ingredient.
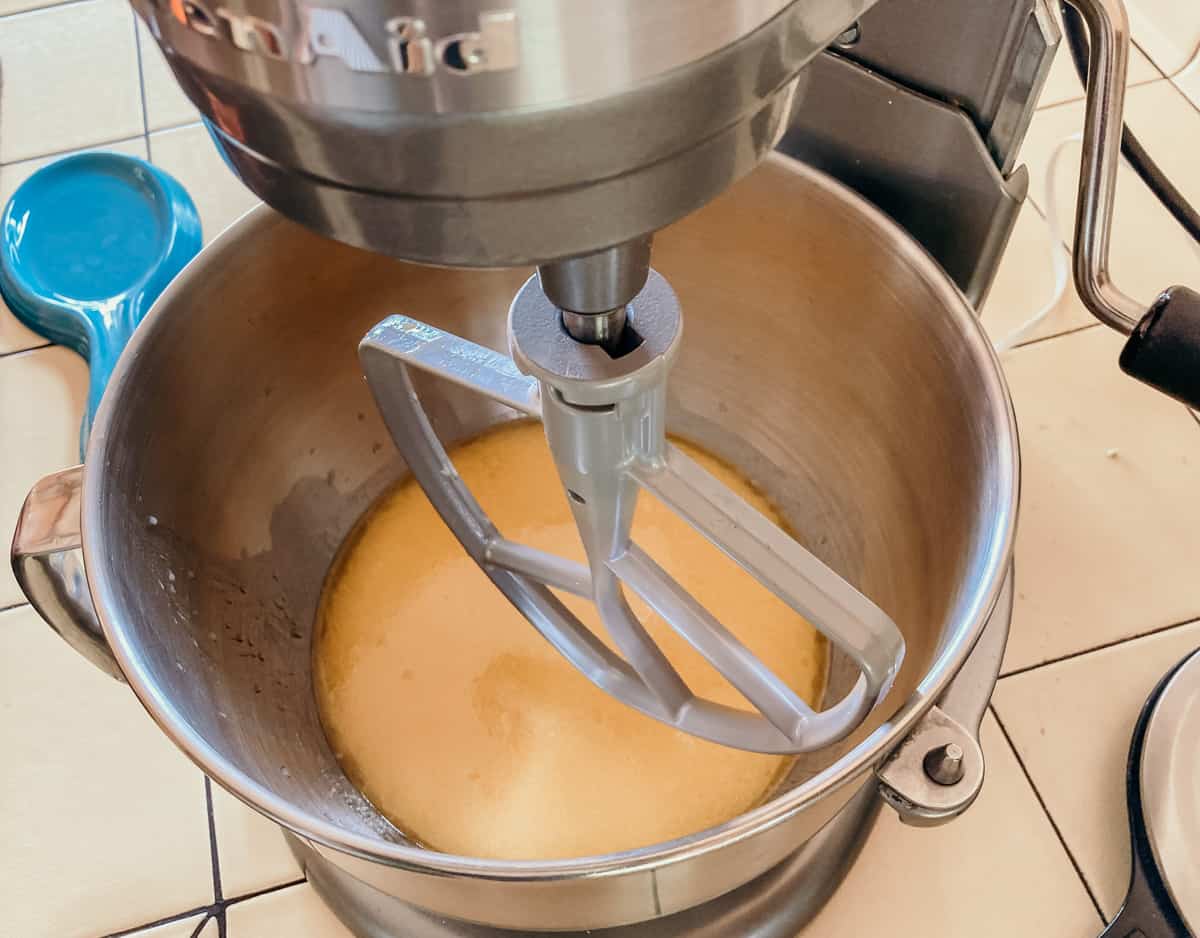
8. Transfer the Contents to the Stand Mixer for Making Kolach
Place the flat beater attachment on the mixer.
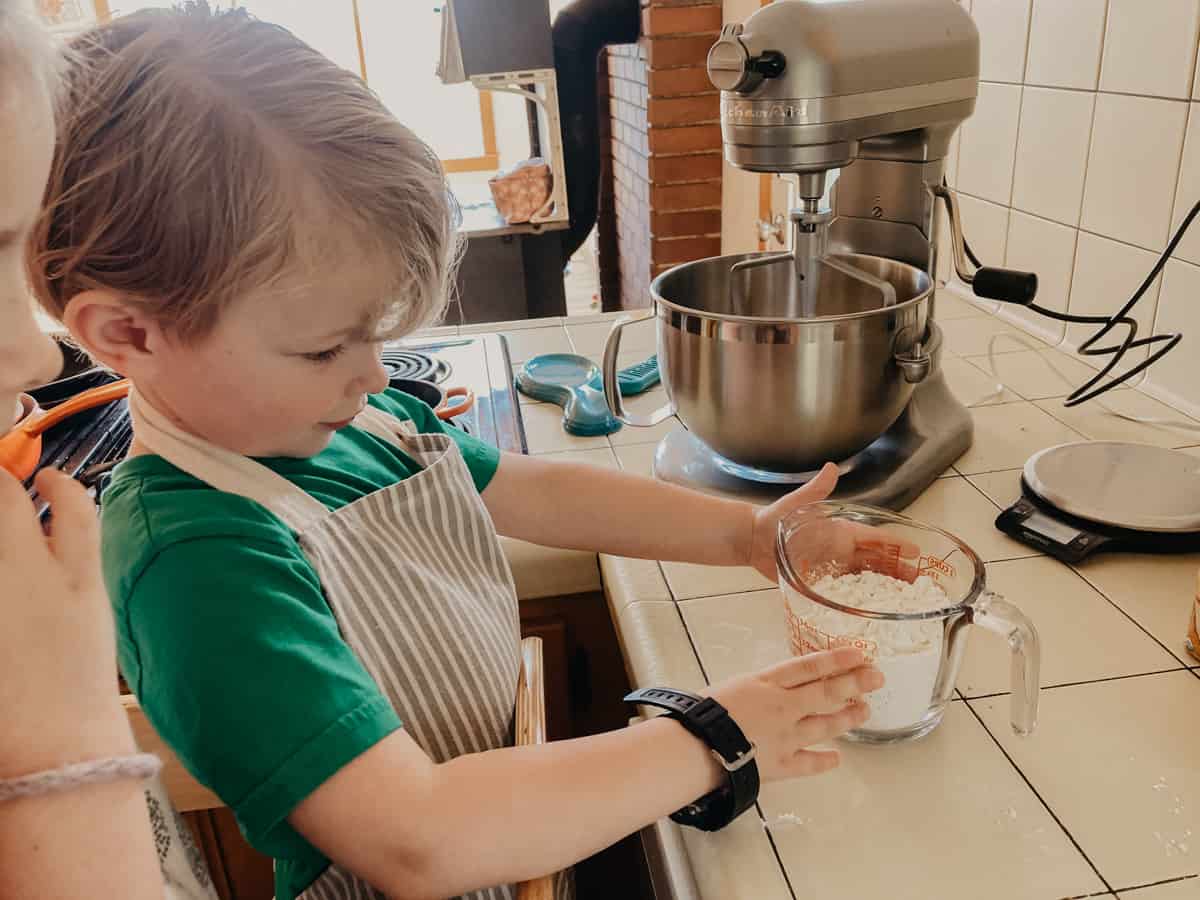
9. Measure the Flour and Slowly Add to the Mixing Bowl
Using a scale is the most accurate way to measure the flour. However, given the amount of flour the recipe calls for and the level of comfortability our kids have with the measuring cup, we chose to save some time and use the measuring cup. They filled it up 2 cups at a time and intermittently added some to the mixing bowl.
A speed of 2 works well for us as it allows our kids to see how the ingredients change appearance and texture.
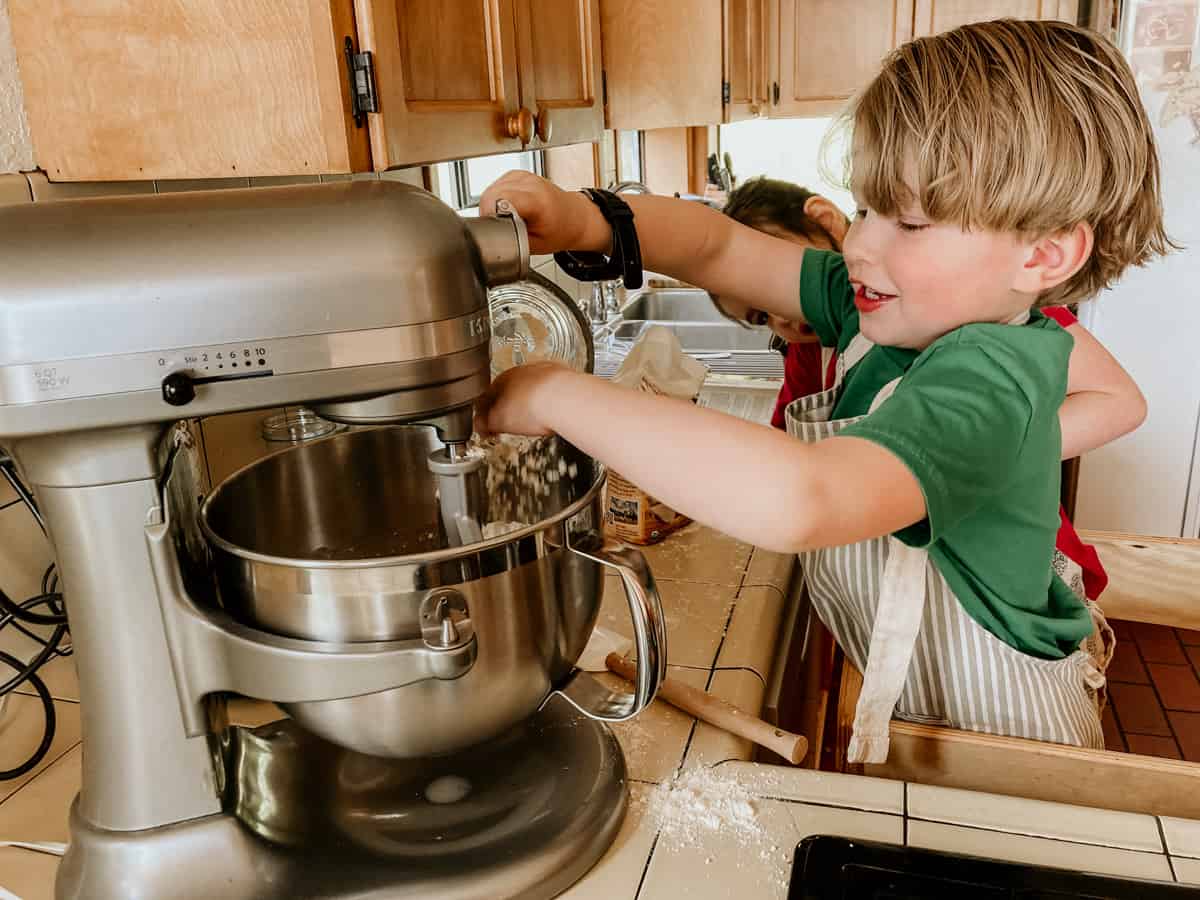
10. Continue Intermittently Adding Flour to the Mixing Bowl
Kids can practice stopping and starting the mixer as they add in the flour. Our kids used a combination of their fingers and a silicone spatula to get the job done.
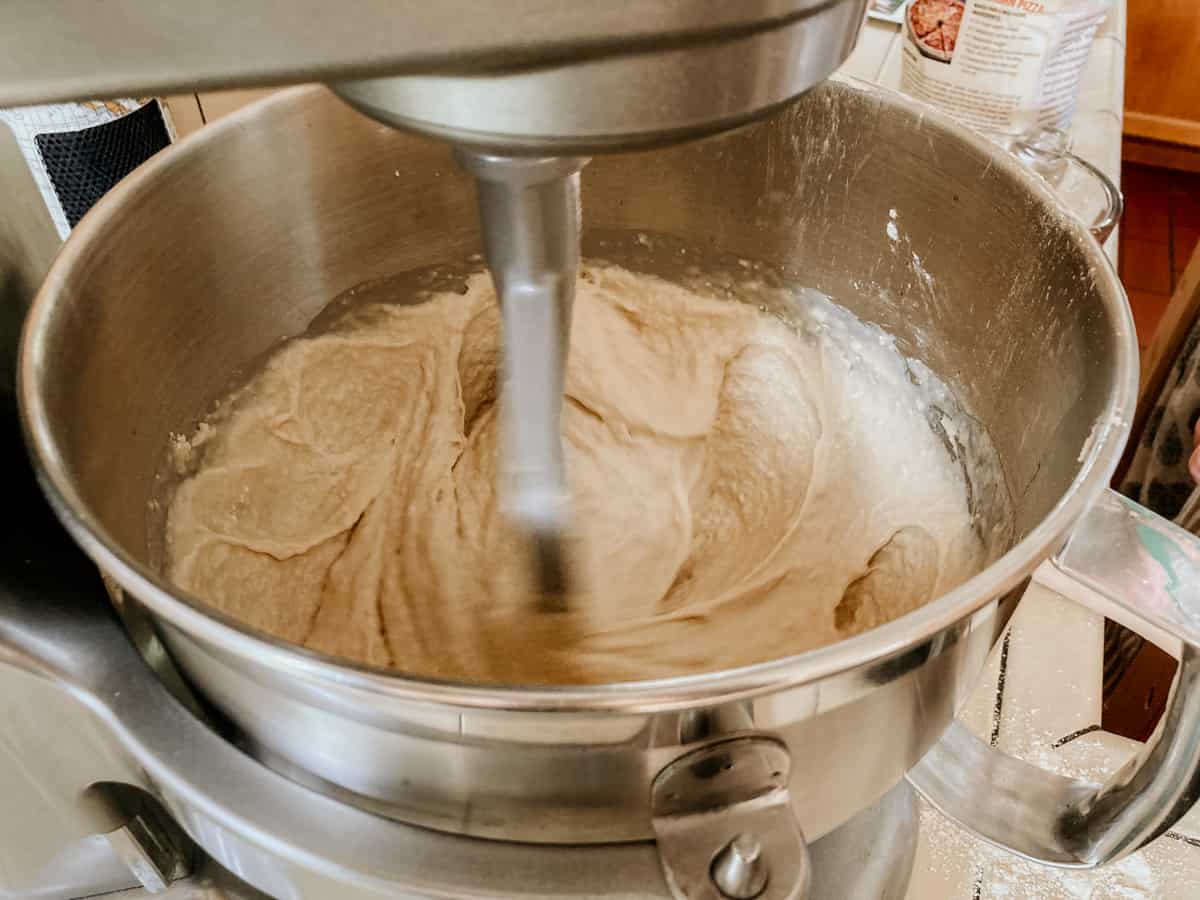
You'll notice the mixture thickening up and beginning to look more like dough.
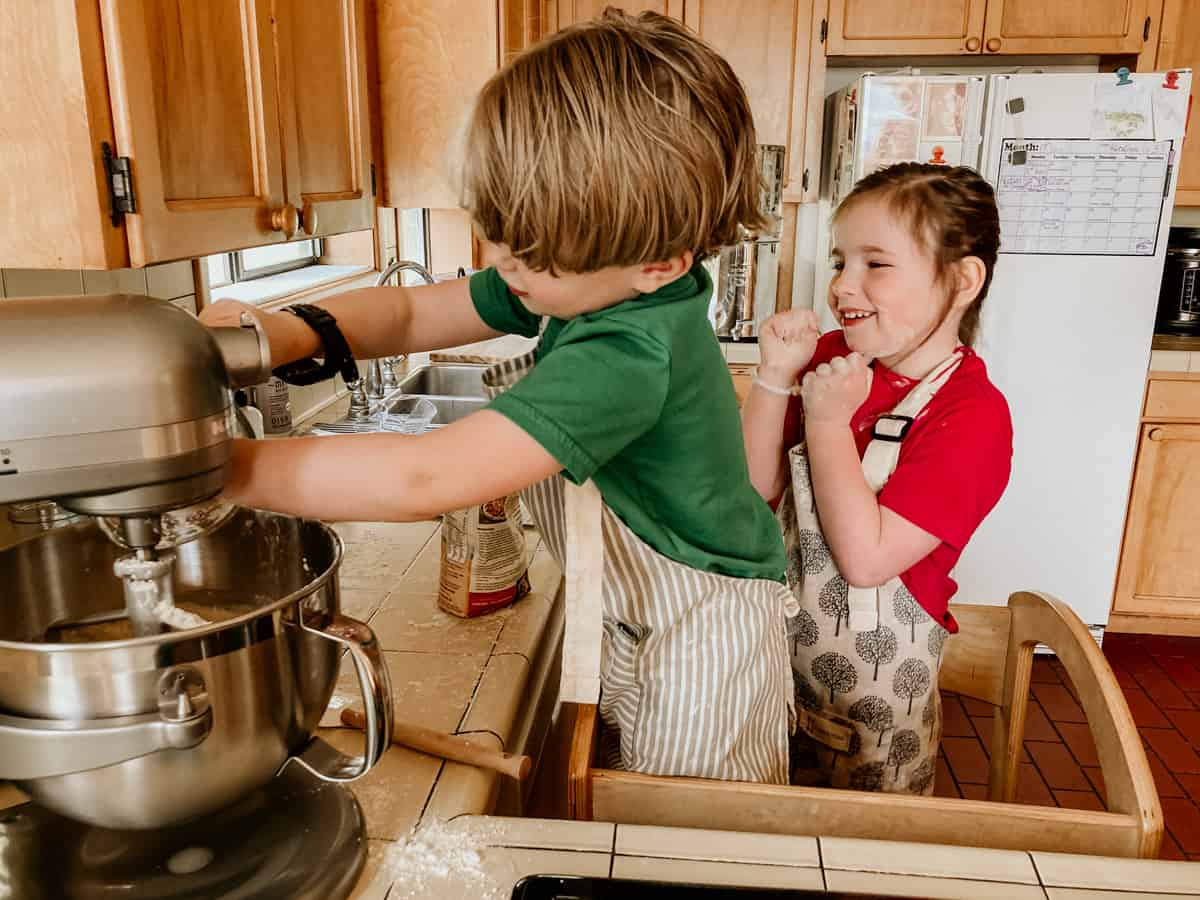
11. Add the Remaining Flour
Go ahead and do a little dance. You know you wanna.
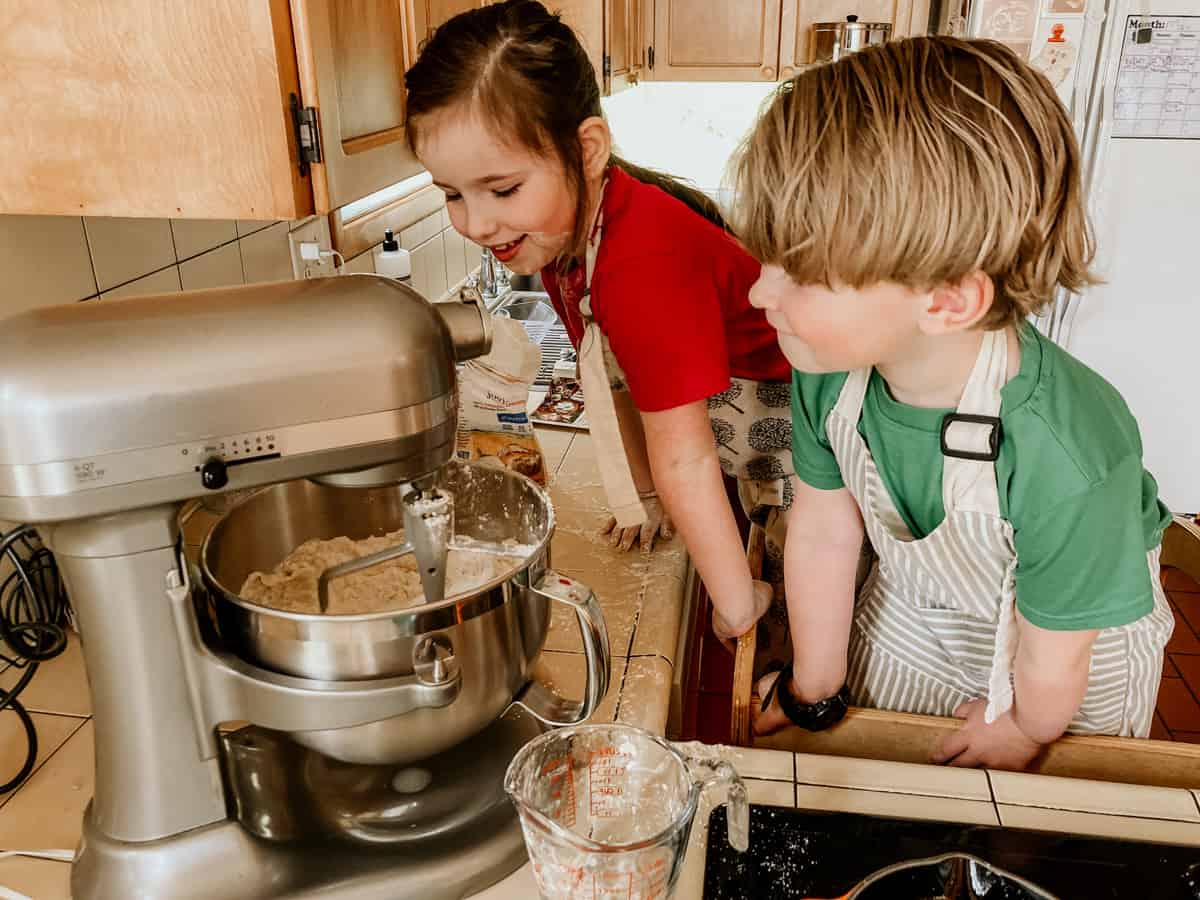
As I mentioned, our kids really enjoy watching the mixer at work. Kitchen equipment is exciting and it offers a lot of opportunities for learning about machines and their mechanics.
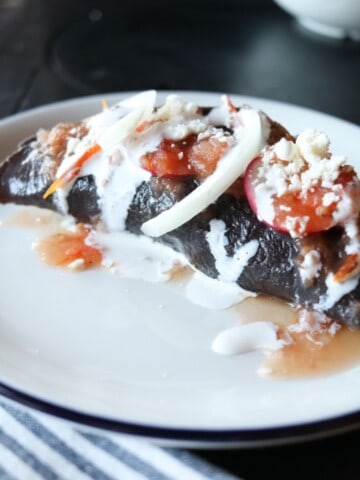
This Antarctic pie provides another opportunity to work with dough while making a delicious savory pie.
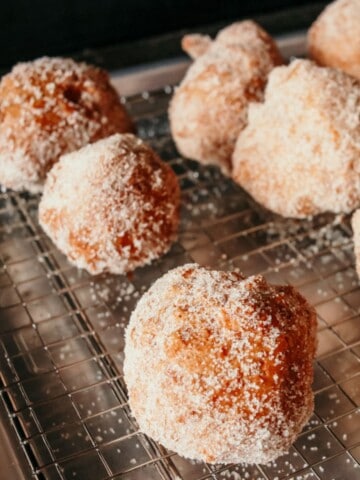
Peruvian donuts and also provide a unique experience working with dough.
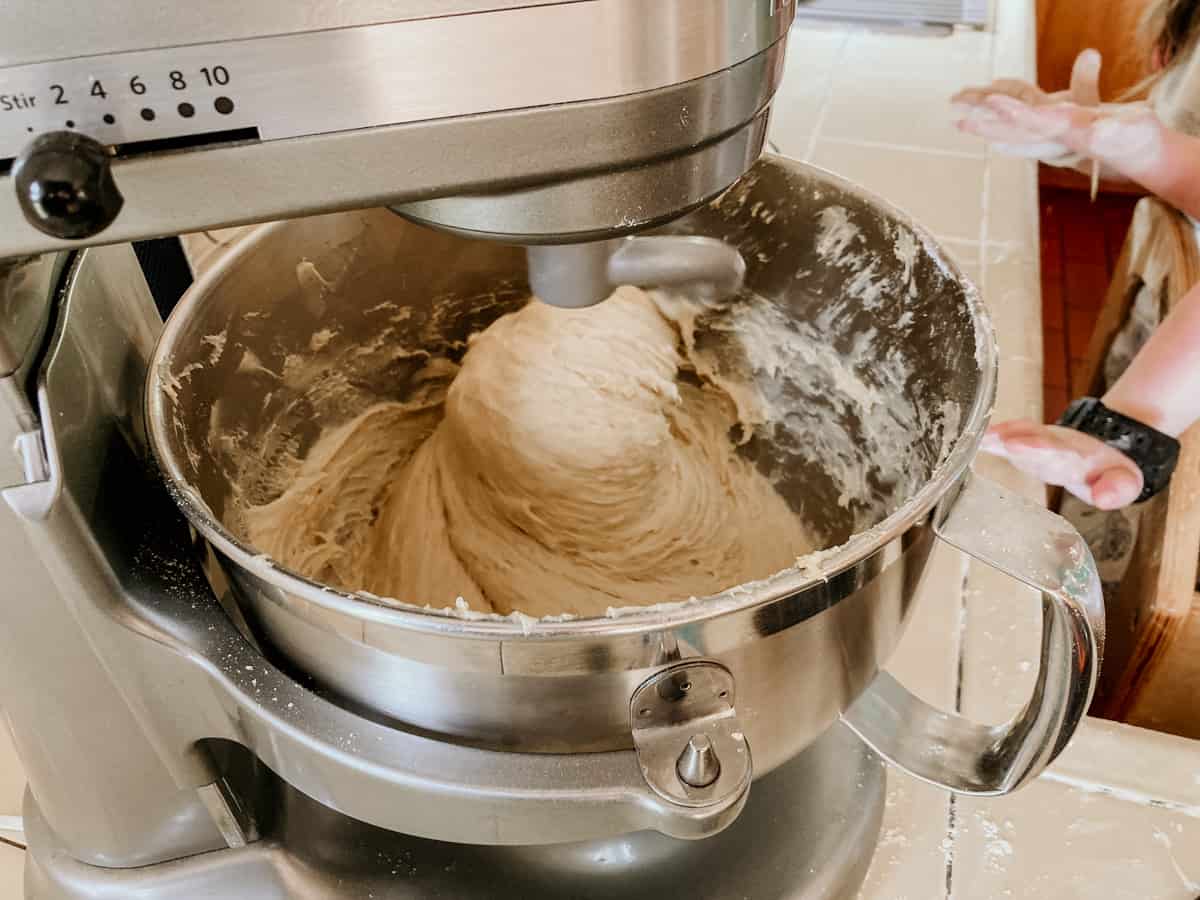
12. Replace the Flat Beater Attachment with the Dough Hook
Turn the mixer on speed 2 for 1-2 minutes or until the dough is elastic. Kids can also knead the dough by hand using a floured surface. On this day, our kids enjoyed having the opportunity to watch the dough hook at work.
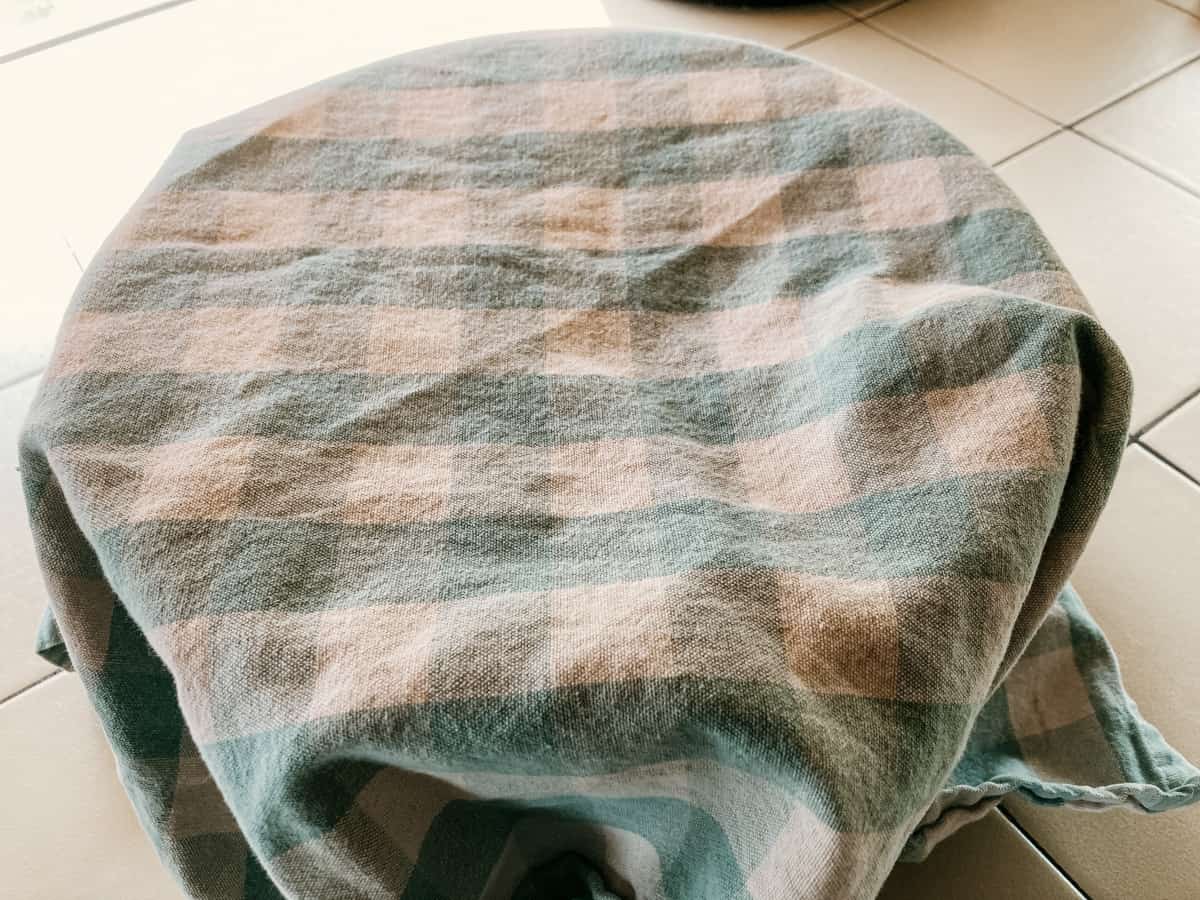
13. Transfer the Dough to a Warm Bowl
Our stainless steel mixing bowl is not a very inviting place for our dough, so we transferred it to a warm ceramic bowl. Cover the bowl with a towel and place it in a warm location in your kitchen for 2 hours. While you are waiting, it's an excellent time to explore the cookbook further.
After 2 hours, pull the dough away from the sides of the bowl and turn it over. Cover it again and let it sit for 1 hour. You should notice a dramatic increase in size during each step.
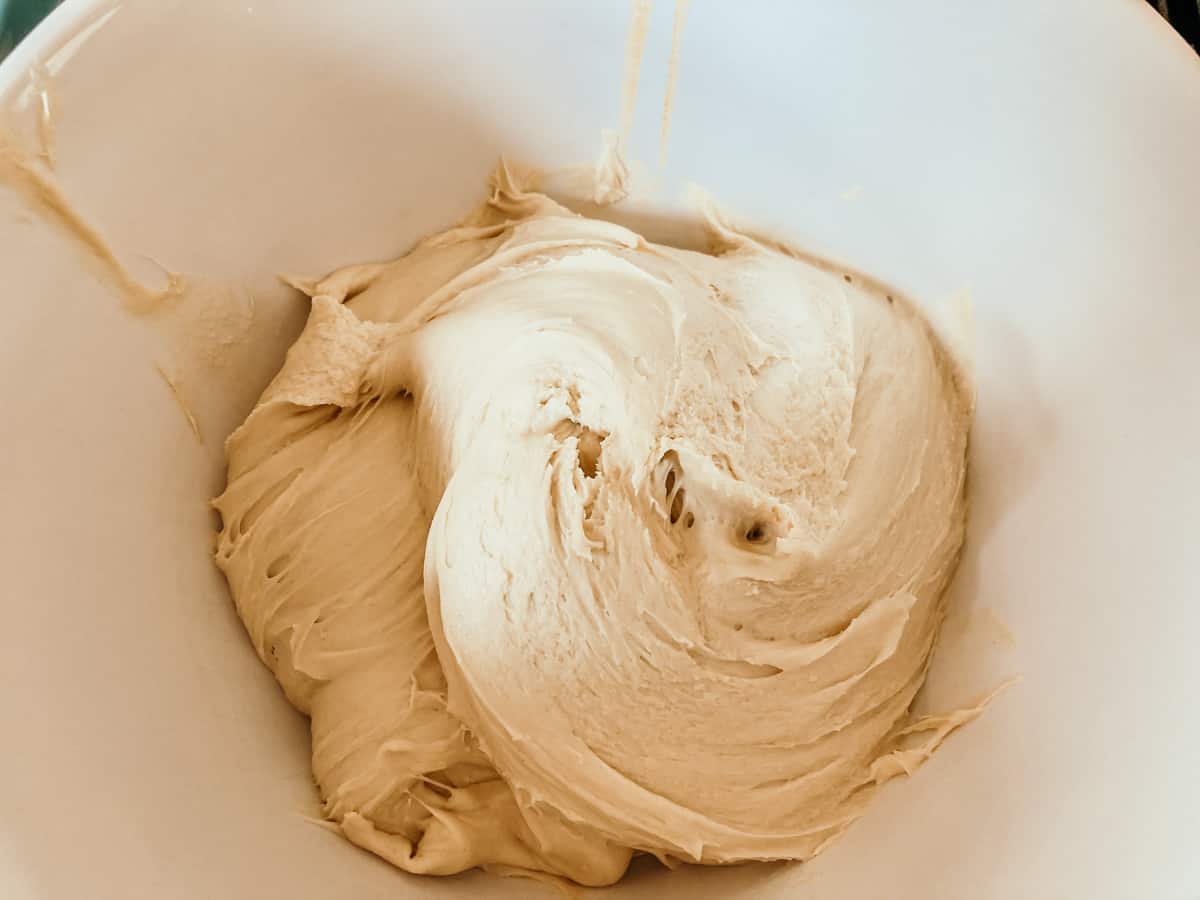
Bada Bing.
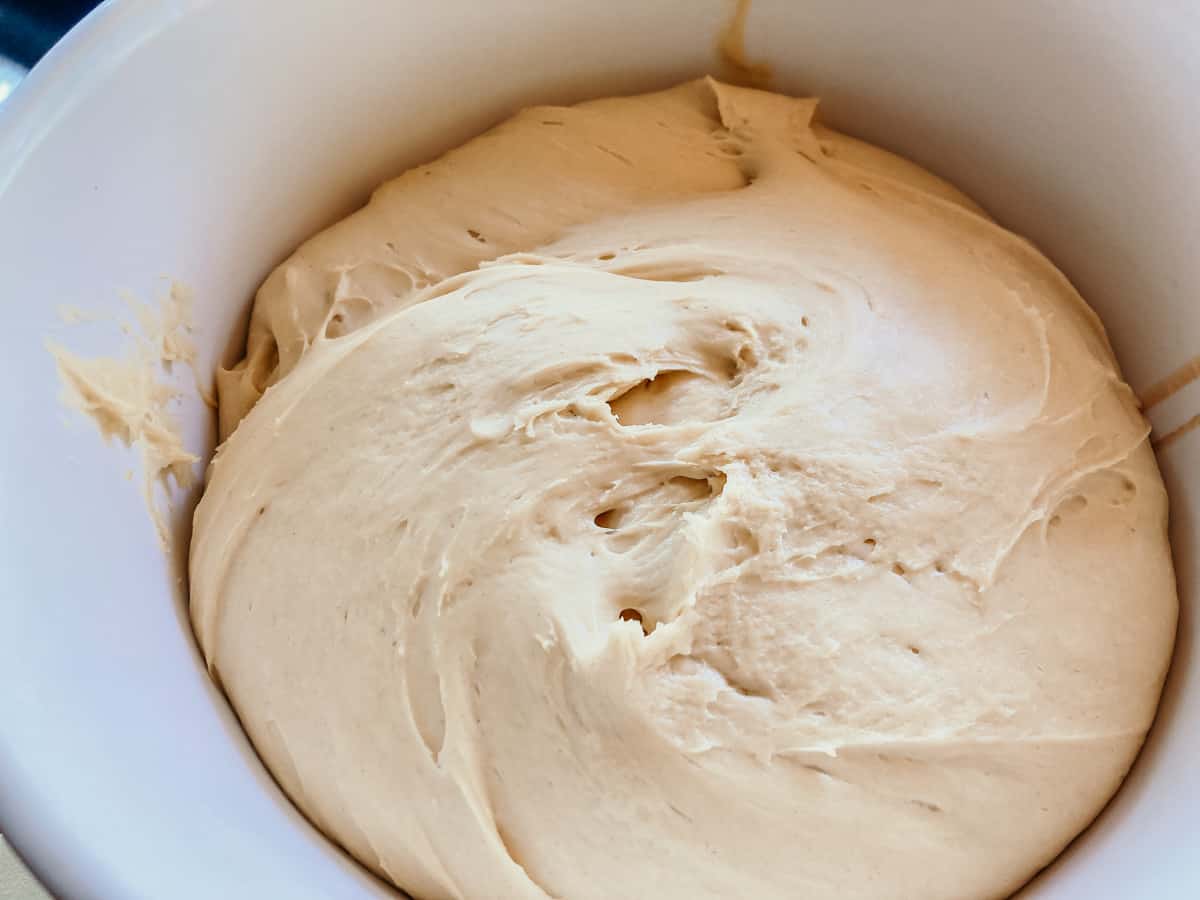
Bada Bang.
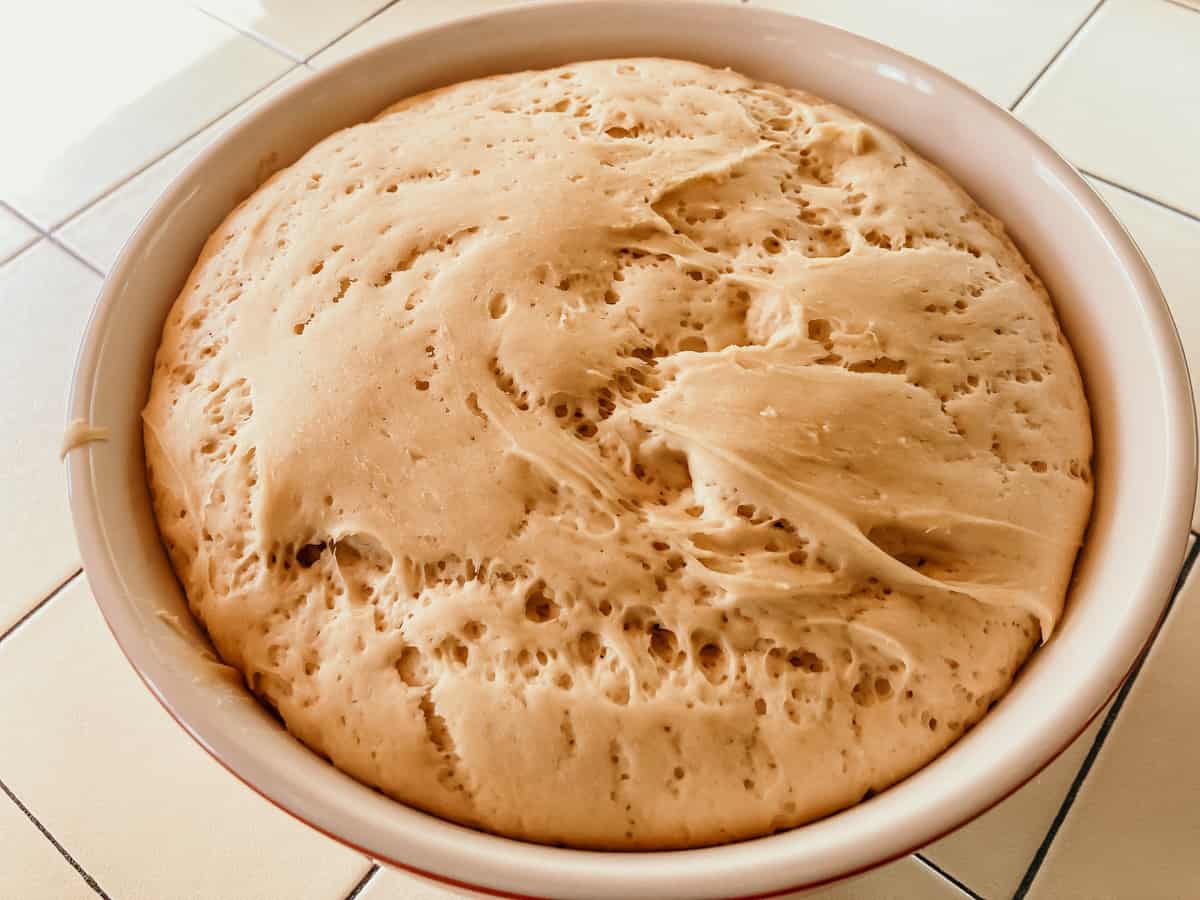
Bada Boom!
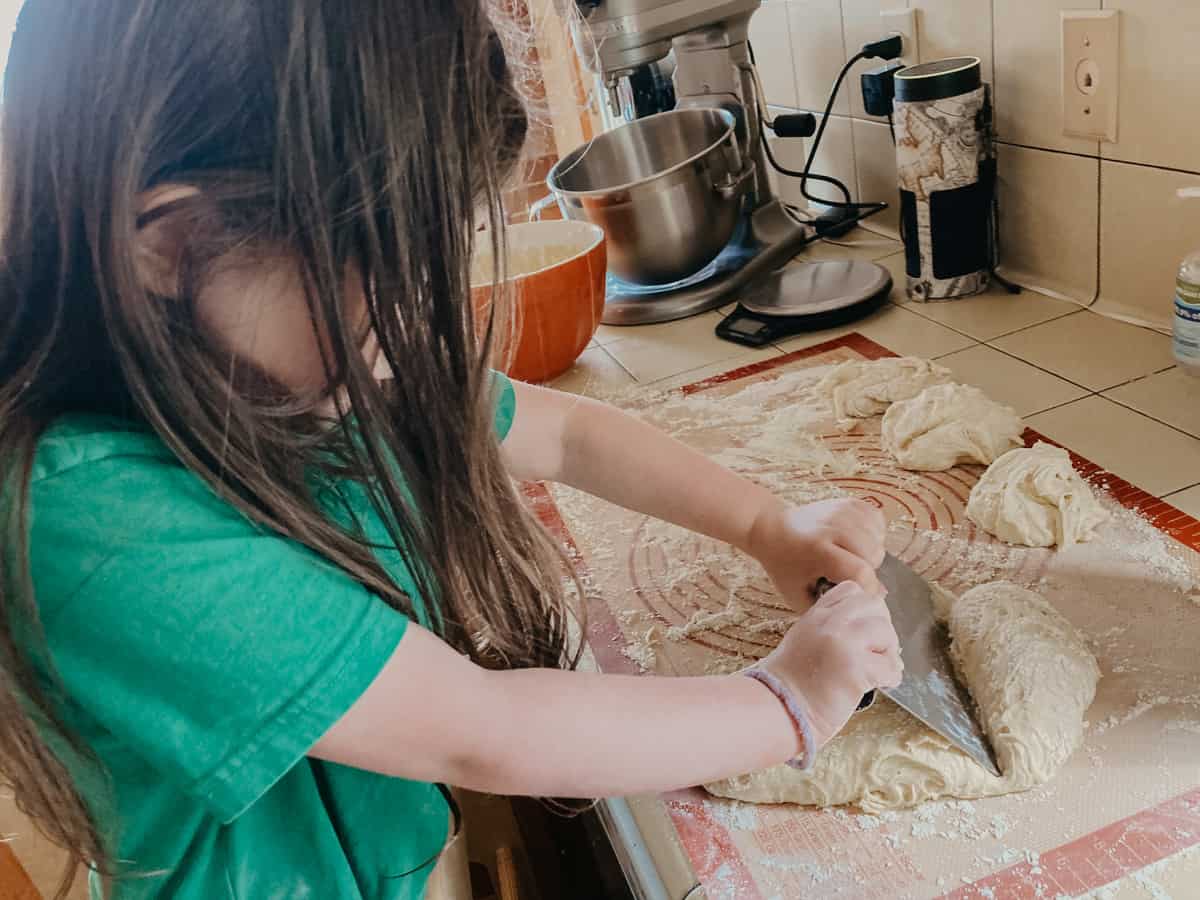
14. Cut the Dough into 6 Sections Using a Dough Scraper
Transfer the dough to a silicone baking mat. Cut the dough in half and then cut each half into 3 sections for a total of 6 sections or 3 pairs.

15. Fold the Dough to Make the Kolach Shape and Pattern
Take 2 sections and roll each one into a long rope about 36 inches or so in length. Next, place them on top of each other, creating an X shape. Finally, twine the ropes of dough around each other, starting from the middle and working your way toward the ends.
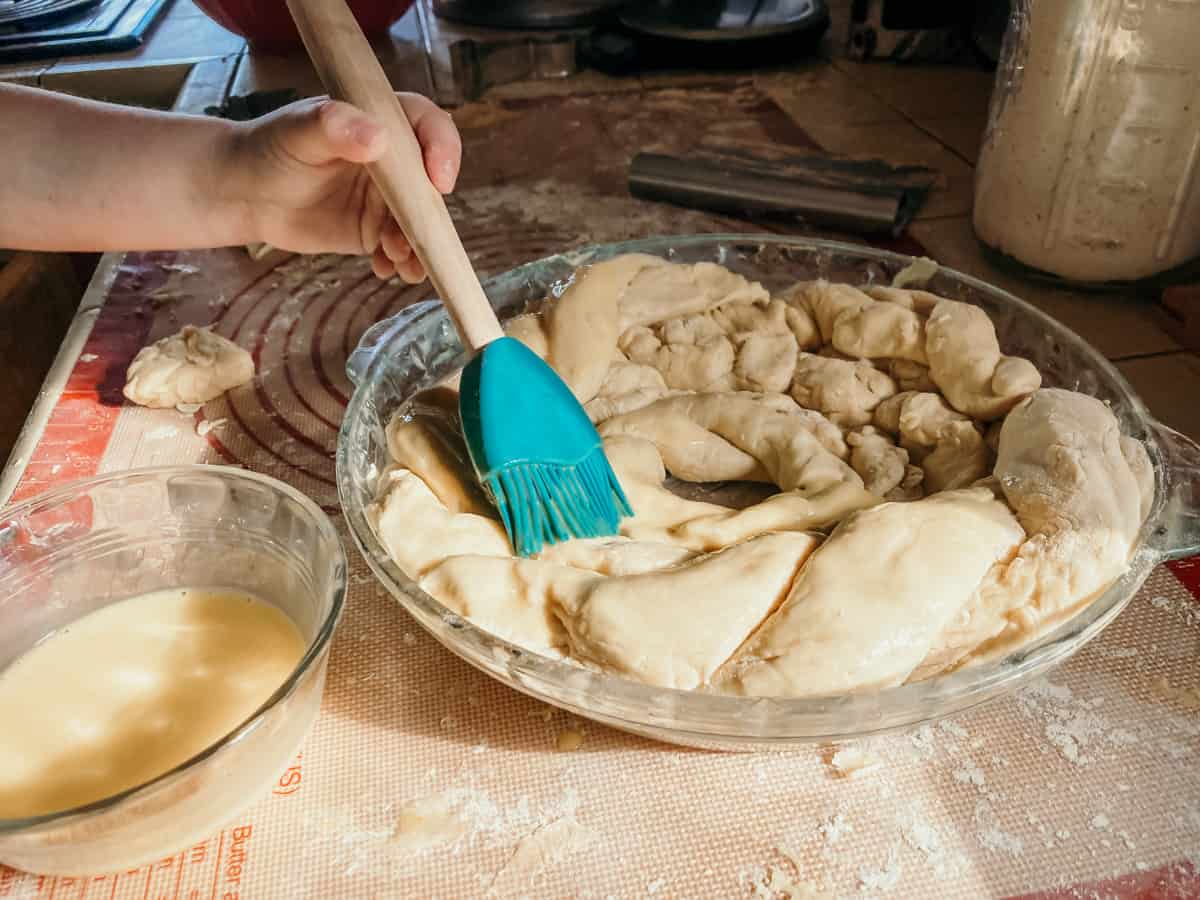
16. Transfer the Dough to the Baking Dish and Apply Egg Wash
Grease the baking dish with butter. Complete the dough folding process for all 3 pairs of the kolach dough, placing each completed rope along the perimeter of the baking dish. The final result is a beautiful circular coiled dough pattern with a gap in the center.
Cover it with a kitchen towel and let it rise for 1 hour.
Afterward, use a basting brush to apply the egg wash to the dough. Wash hands with soap and water.
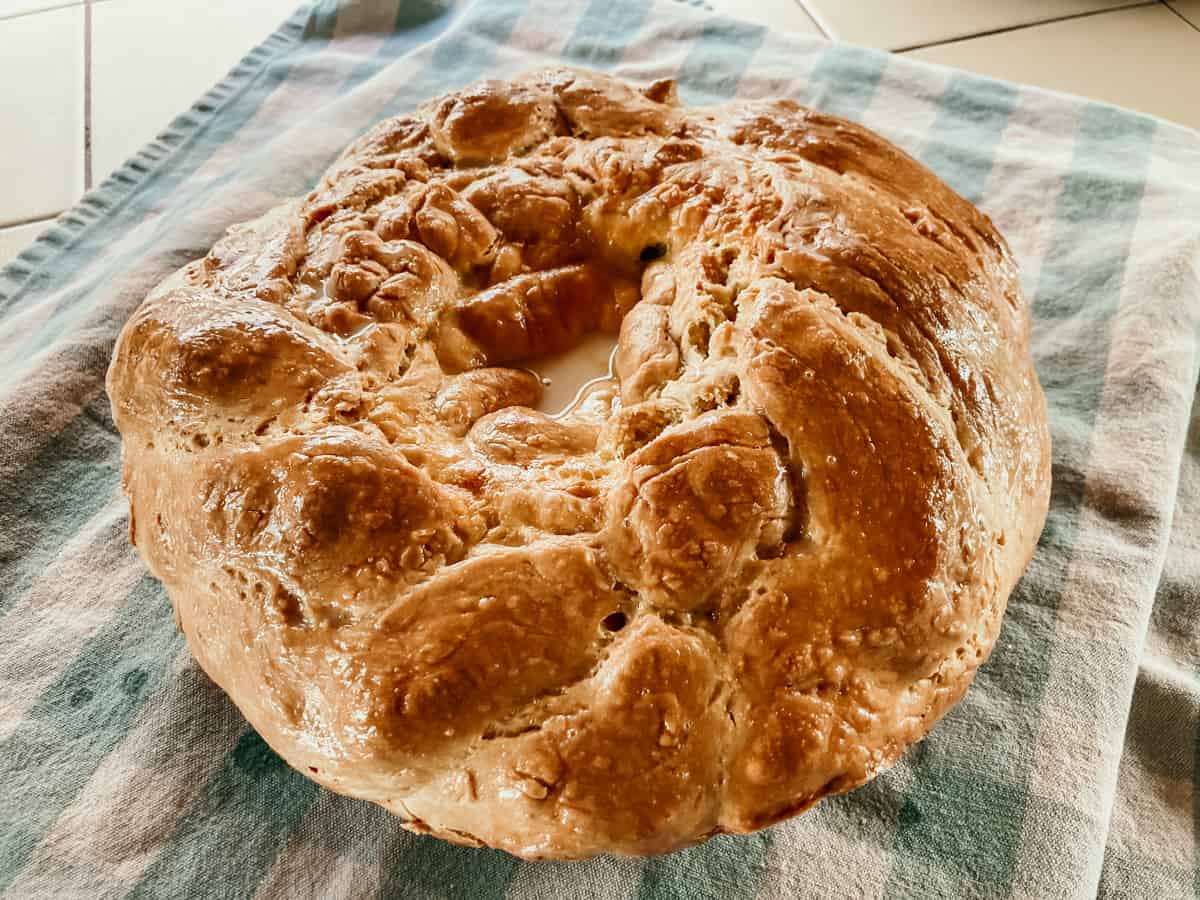
17. Bake at 400 deg F for 15 Minutes and then 350 deg F for 30 Minutes
While the kolach is baking, combine the evaporated milk and confectioners' sweetener in a small bowl to make the glaze. Brush the loaf with the glaze immediately after removing it from the oven.

Don't forget to turn off the oven.
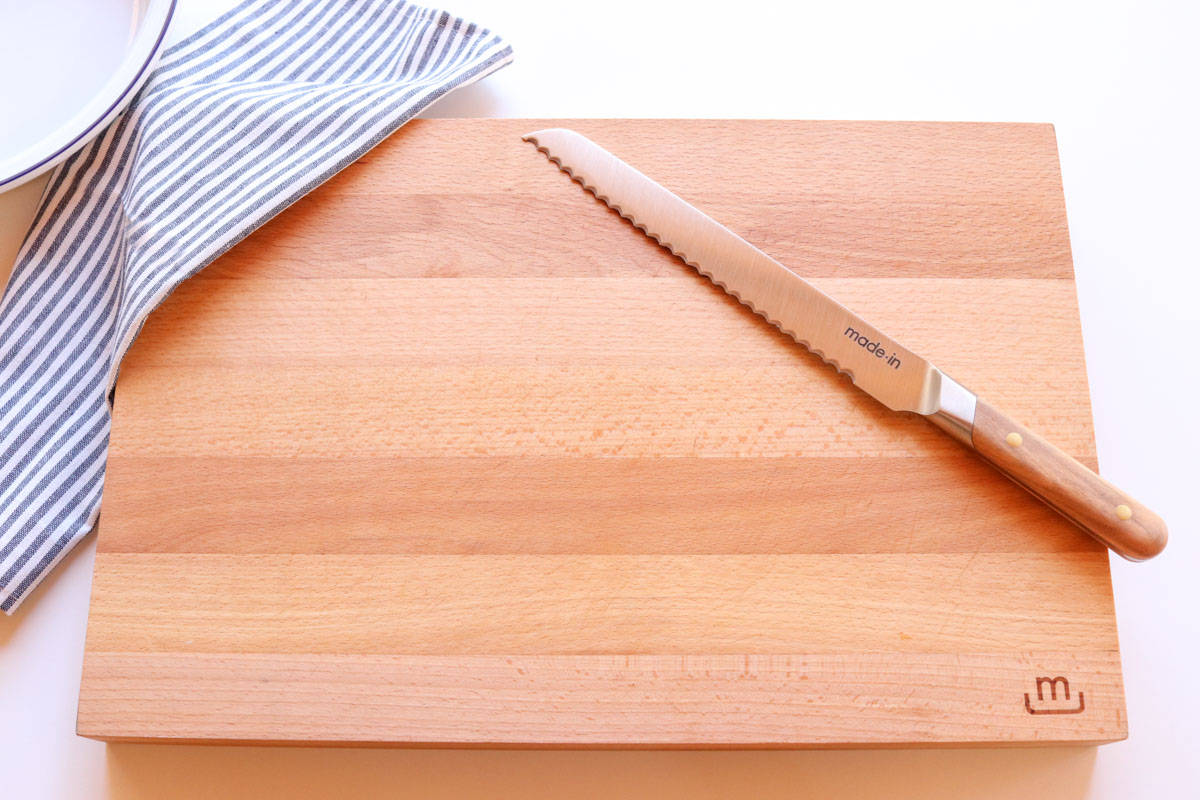
Slice with a bread knife and serve warm. We enjoyed the kolach with a bit of salt and it was the perfect combination.

Conclusion for Kolach, Колач: Ukrainian Bread Recipe from the Breadbasket of Europe
We hope you enjoyed seeing how we make kolach in our homeschool. The New Ukrainian Cookbook by Annette Ogrodnik Corona has so many delicious-sounding recipes inside. The illustrations by Laurette Kovary are simple and elegant, making this cookbook a visual treat as well.
Our kids particularly liked the illustration of the three-tier kolach with the candle (sun) inside. I wonder what they will want to make next.
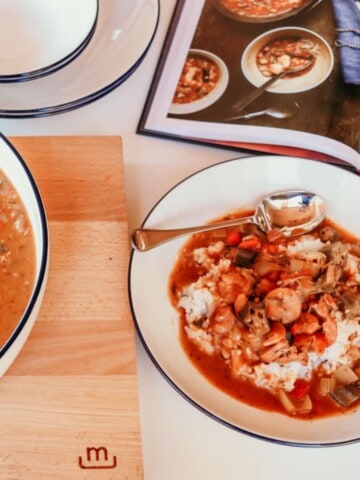
If your kids like this recipe, you'll want to check out Antarctic expedition food and this three sisters bean stew.
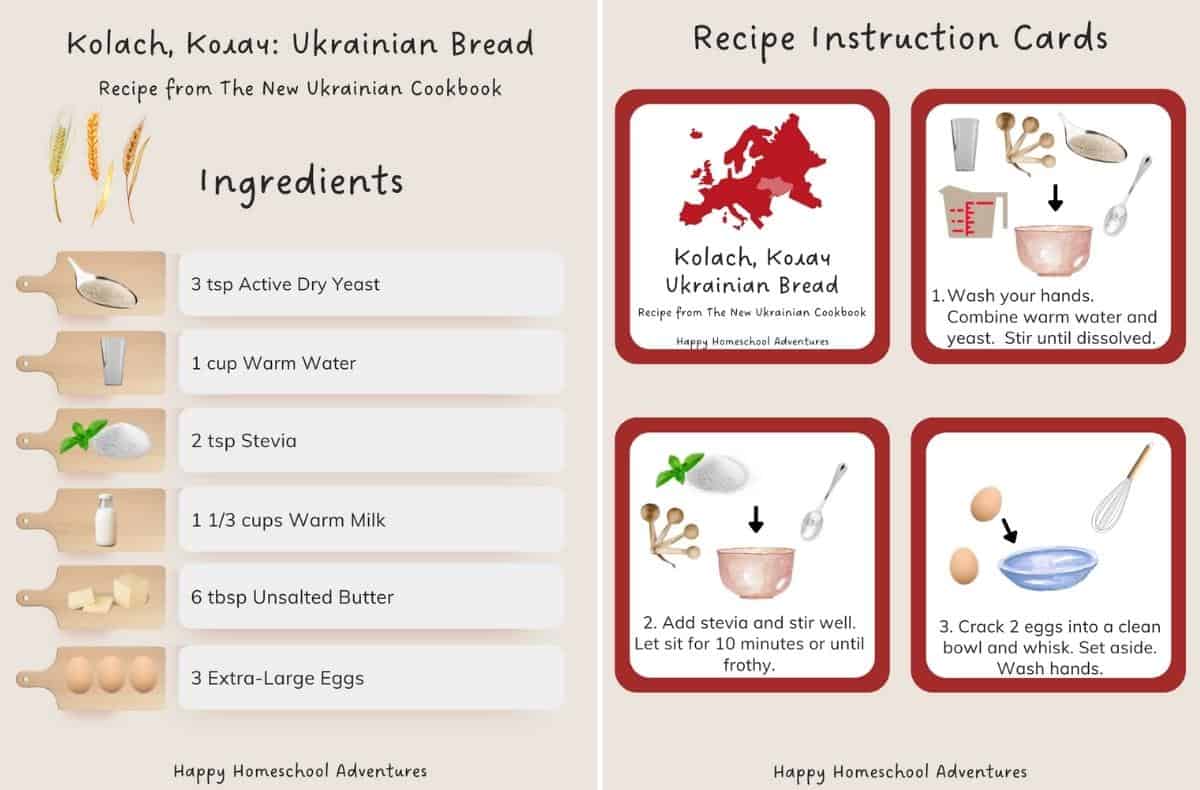
Free Kolach Recipe for Pre-Readers and Up
Grab your free printable recipe cards above. Kids can gather ingredients using the ingredient list, gather their equipment with the tools list, and prepare the meal using the step-by-step recipe cards, with assistance as needed.
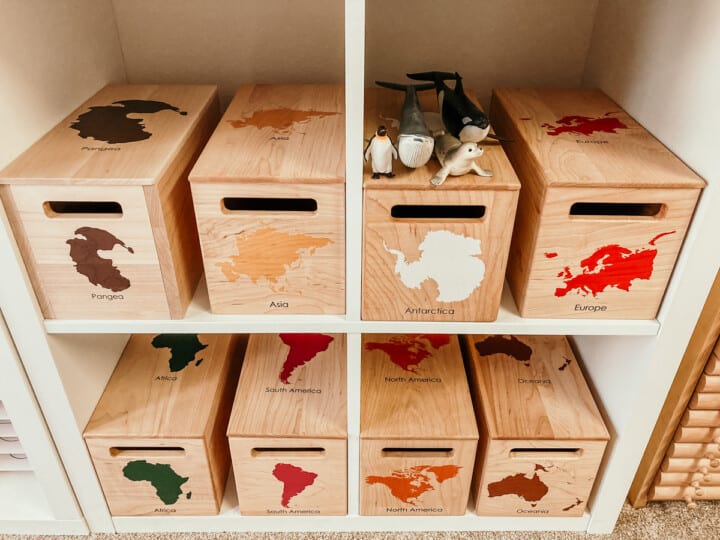
The cards are easy to use, include pictures, and encourage confidence and independence in the kitchen. They also make an excellent addition to your Montessori continent box for Europe.
Montessori Continent Boxes
Explore every continent with these solid maple hardwood boxes.
More in the Kitchen
- Aussie Barbecue Prawns
- Asian Dumplings: Shumai
- South American Chicken
- Chocolate Bison Chili
- West African Jollof Rice with Beans
- Ethiopian Sambusas
Kolach, Колач: Ukrainian Bread Recipe from the Breadbasket of Europe
Equipment
- Large Spoon
- Whisk
- Small Pan
- Measuring Cup or Kitchen Scale
- Silicone Spatula
- Stand Mixer with flat beater and dough hook
- Learning Tower as needed
Ingredients
- 3 teaspoon active dry yeast
- 1 cup water warm, about 110 deg F
- 2 teaspoon stevia
- 1⅓ cup milk warm
- 6 tbsp unsalted butter
- 3 eggs extra-large
- 2 teaspoon salt
- 6½ cups all-purpose einkorn flour
- 2 tablespoon water
- 2 tablespoon evaporated milk
- 1 tablespoon confectioners' sweetener or granulated sugar
Instructions
- Before getting started, always wash your hands with soap and water. Add the yeast to the warm water (ours was room temperature) and stir until it dissolves.
- Add the stevia to the bowl and stir it well.
- Let the mixture sit for about 10 minutes or until frothy. Make sure you keep it in a warm location.
- Whisk 2 eggs in a bowl and set aside when finished. If you compost at home or your eggs are coming from your hens, kids can wash the eggshells in water and add to the compost or save them for feeding back to the hens. Wash hands with soap and water before returning to the recipe.
- Melt the butter in a pan: The child can use the guide on the wrapper to assist with measuring the correct amount of butter. Place the butter in a pan on medium-low heat and remove the pan when the butter is almost melted. Don't forget to turn off the stove. Set the pan aside. While kids are waiting for the butter to melt, they can explore the cookbook and its illustrations.
- Add the warm milk to a clean bowl: Rather than warming ours, we let it sit on the counter for about 15-20 minutes while we were melting the butter and it was room temperature when we added it to the bowl.
- Add the melted butter, beaten eggs, salt, and yeast mixture to the bowl with milk. Use a measuring spoon to add the correct amount of salt and stir the mixture as you add each ingredient.
- Transfer the contents to the stand mixer. Place the flat beater attachment on the mixer.
- Measure the flour and slowly add it to the mixing bowl. Using a scale or a measuring cup will do the trick. There are a lot of opportunities for math in cooking. A speed of 2 on the mixer works well as it allows for kids to see how the ingredients change appearance and texture.
- Continue intermittently adding flour to the mixing bowl: Kids can practice stopping and starting the mixer as they add in the flour. They can use a combination of their fingers or a silicone spatula to get the flour into the mixing bowl. You should notice the mixture thickening up and beginning to look more like dough.
- Add the remaining flour while watching the mixer work. Note the level of effort required by the mixer and introduce discussions about machines and mechanics as they show interest.
- Replace the flat beater attachment with the dough hook. Turn the mixer on speed 2 for 1-2 minutes or until the dough is elastic. Kids can also knead the dough by hand for 5 minutes using a floured surface.
- Transfer the dough to a warm bowl as needed. Cover the bowl with a towel and place it in a warm location in your kitchen for 2 hours. While you are waiting, it's an excellent time to explore the cookbook further. After 2 hours, pull the dough away from the sides of the bowl and turn it over. Cover it again and let it sit for 1 hour. You should notice a dramatic increase in size during each step.
- Add flour to a silicone baking mat. Transfer the dough to the mat. Cut the dough into 6 sections using a dough scraper: Cut the dough in half and then cut each half into 3 sections for a total of 6 sections or 3 pairs.
- Fold the dough: Take 2 sections and roll each one into a long rope about 36 inches or so in length. Next, place them on top of each other, creating an X shape. Finally, twine the ropes of dough around each other, starting from the middle and working your way toward the ends.
- Grease the baking dish with butter. Transfer the dough to the baking dish: place each completed rope pair along the perimeter of the baking dish as you work.
- Mix the remaining egg and water in a small bowl to create the egg wash and apply it all over with a basting brush. Cover it with a towel and let it rise for 1 hour. Wash hands with soap and water.
- Preheat the oven to 400 deg F. Bake at 400 deg F for 15 minutes. Then turn the temperature down to 350 deg F and bake for 30 minutes.
- While the kolach is baking, combine the evaporated milk and confectioners' sweetener in a small bowl to make the glaze. Brush the loaf with the glaze immediately after removing it from the oven. Remove the kolach from the dish and let it cool on a rack. Don't forget to turn off the oven.
- Enjoy with some salt.
Notes
- The same amount of sugar or other sweeteners can be substituted for stevia.
- To make Ukrainian Christmas Bread for Svyata Vechera (The Holy Supper), simply adjust the ingredients in this card to 3x, divide the dough into 3 sections, and create each loaf separately. Make sure each loaf has cooled before stacking them. It may be preferable to bake them the day before.
- Full Recipe Info and Pictures at: https://happyhomeschooladventures.com/kolach
Nutrition
Estimated nutrition information is provided as a courtesy and is not guaranteed.

Leave a Reply