"Fluffy and pleasantly sweet, mallorcas travel well across breakfast cultures. Originally called ensaïmadas in Catalan, they were first documented in the late eighteenth century - although they likely had been made for centuries before that - when a Franciscan friar began collecting and recording a number of recipes from the Balearic Islands, the eastern Spanish archipelago that includes Mallorca."
- Illyanna Maisonet
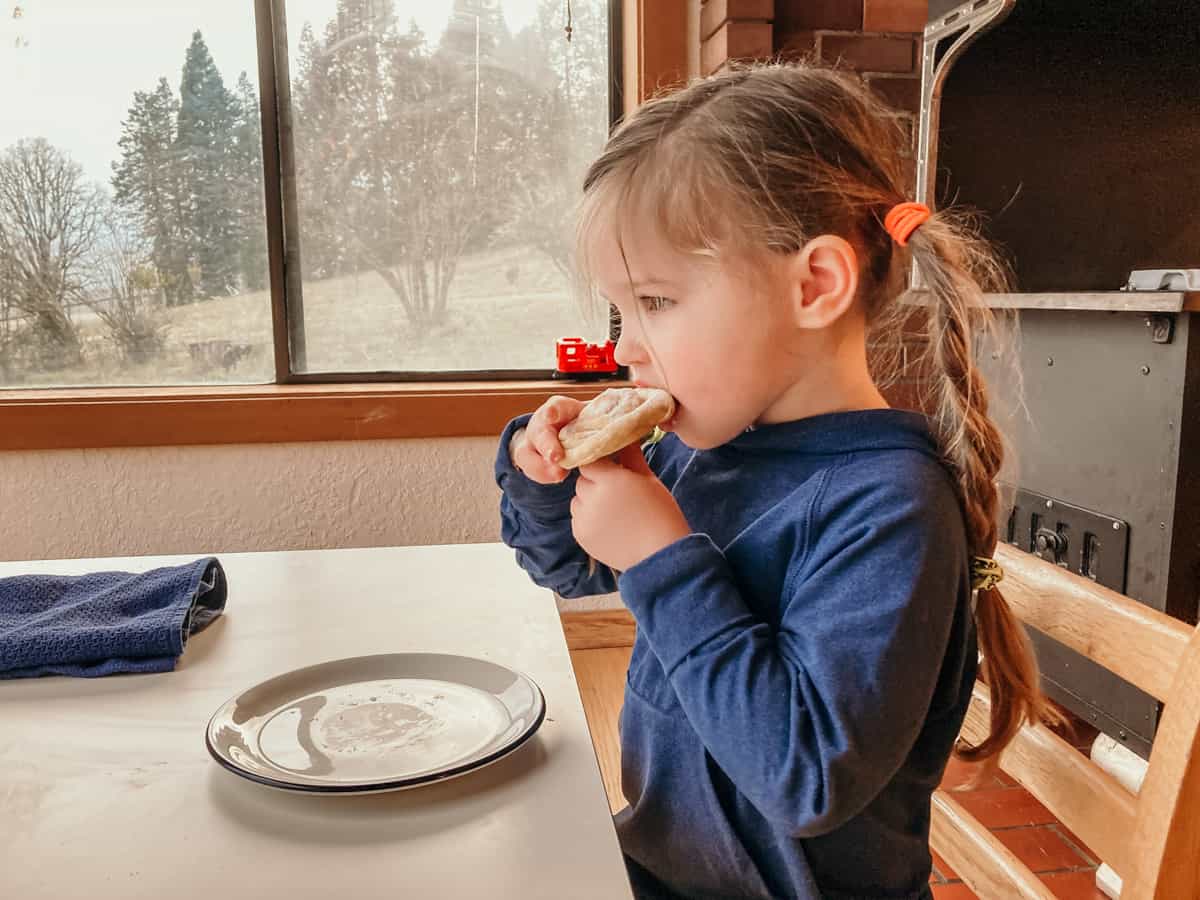
Welcome to our kitchen! Today, we're making mallorcas, a Puerto Rican breakfast recipe, and we're so excited to share it with you.
These mallorcas add beauty and excitement to any breakfast table. We've enjoyed making them so much, we created a free printable recipe for you to try at home. You can find it down at the bottom or use the table of contents below.
Keep reading to learn more about mallorcas, including how to make them.
Learn more about cooking with kids.
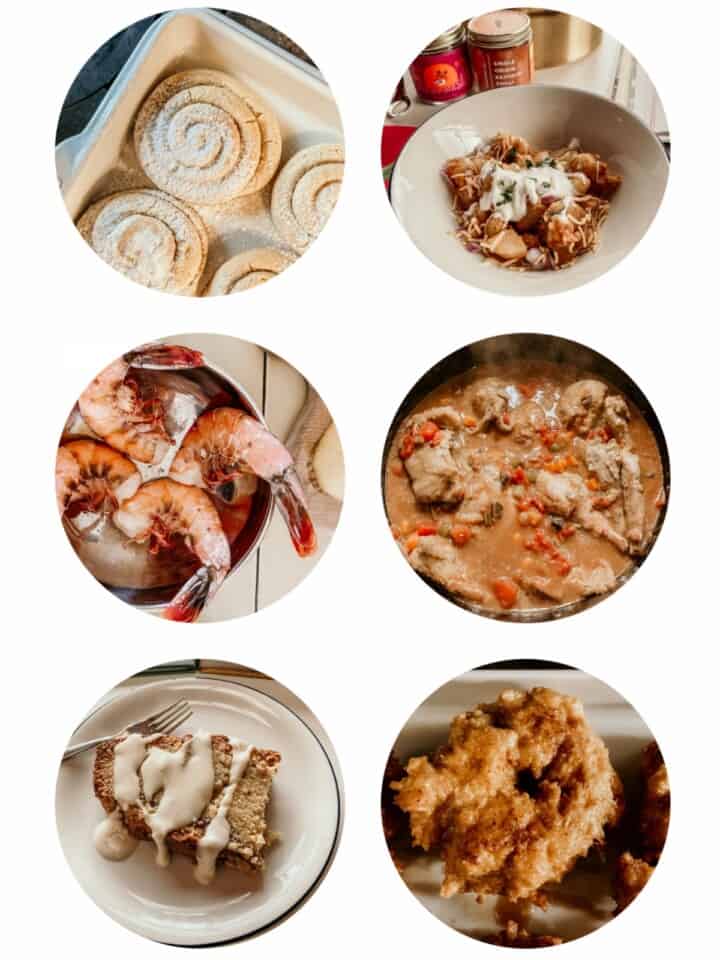
If you enjoy making mallorcas, try benne seed biscuits, drop biscuits, scrambled eggs, fluffy buttermilk biscuits, cornbread, Illyanna's sofrito, picadillo, and homemade empanadillas.
Disclosure of Material Connection: Some of the links in the post are "affiliate links." This means if you click on the link and purchase the item, I will receive an affiliate commission. Amazon links are not affiliate links. You can read my full affiliate disclosure.
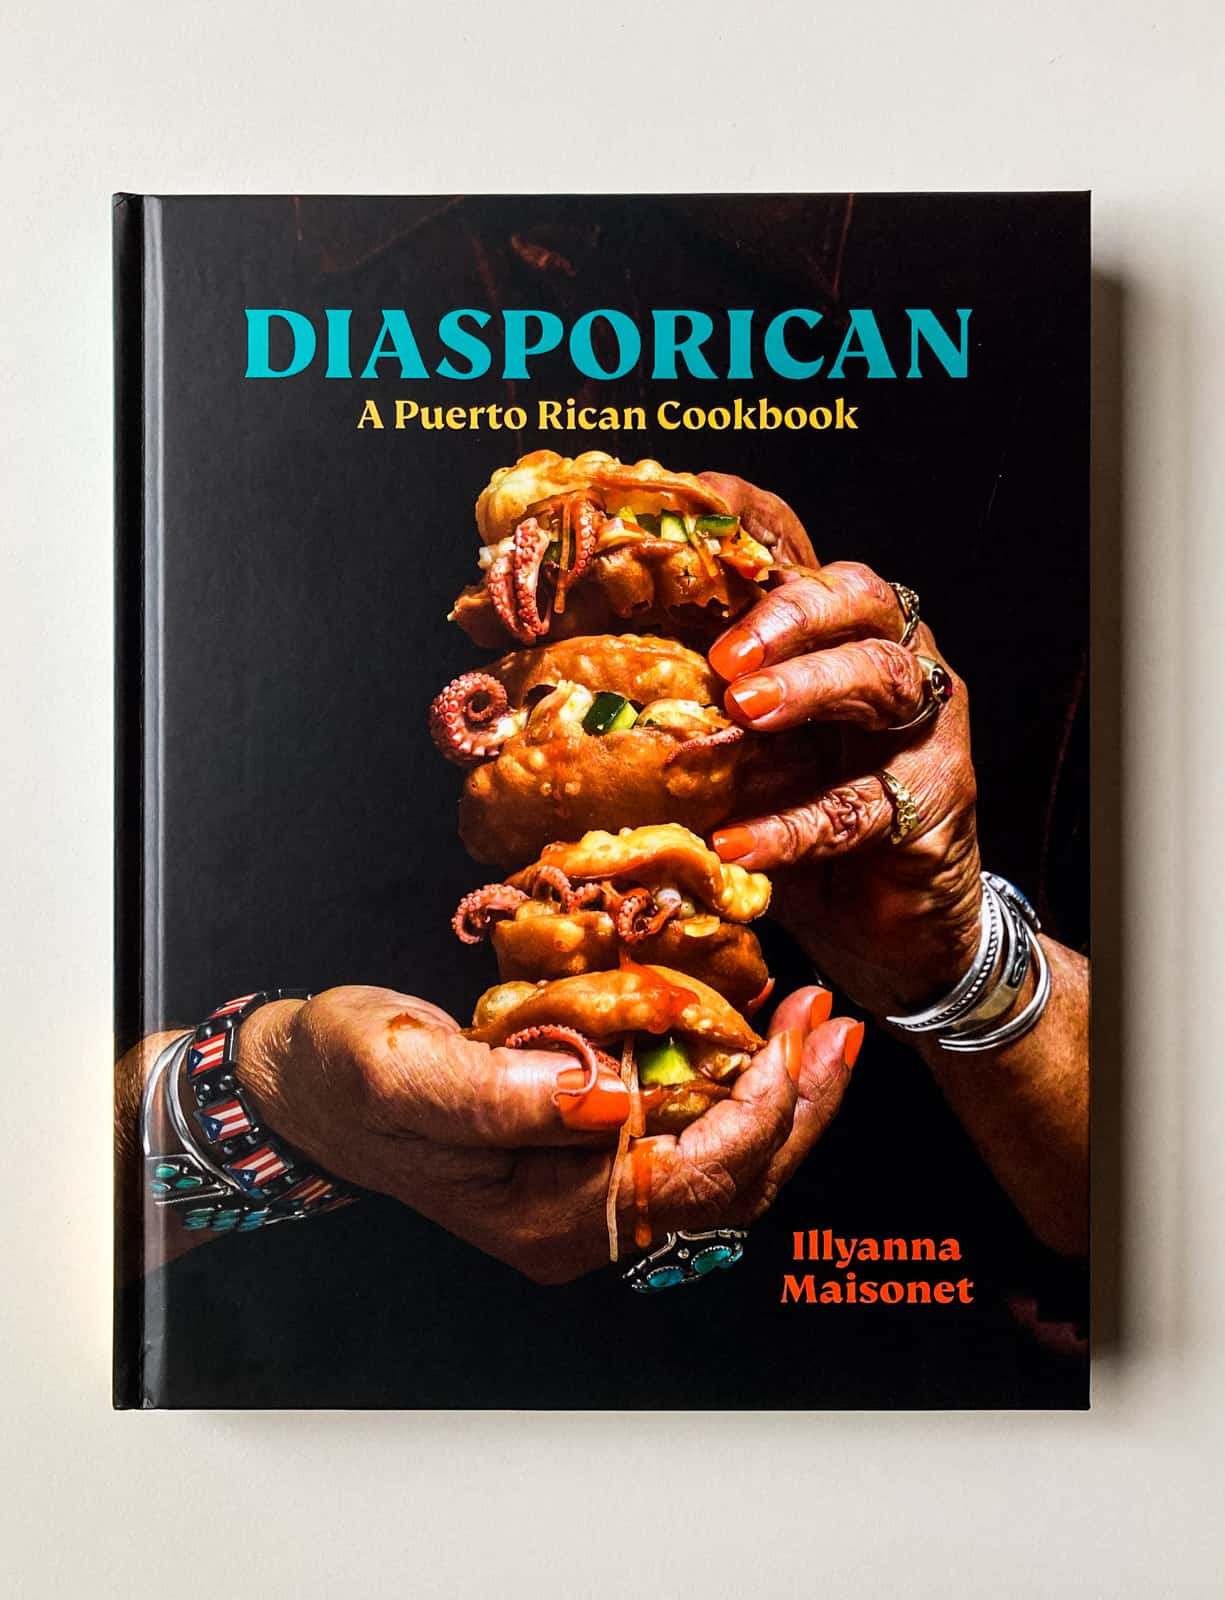
This mallorcas recipe comes from Diasporican: A Puerto Rican Cookbook by Illyanna Maisonet.
Illyanna is the first Puerto Rican food columnist in the U.S. Her cookbook, Diasporican, contains over 90 recipes. Everything about it, from the food, family, and landscape photography to the history and wit, welcomes you in and invites you to explore.
Pair the cookbook recipes with Illyanna's custom adobo and sazón blends to create flavorful Puerto Rican cuisine at home.
You can find more delicious recipes by Illyanna Maisonet over at Eat Gorda Eat.
Learn more about Illyanna and Diasporican.
Family & Kids' Cooking Resources
Beautiful and diverse cooking resources for you!

You can also stop by our shop to see more Family & Kids' Cooking Resources.
Food from Around the World: Free Cooking Lessons
Learn from some of the most talented chefs around the world!
Free Cooking Course for Families
Discover recipes for every continent! Sign up to receive free cooking lessons for the whole family. Learn from some of the most talented chefs around the world and participate in the quality practical life experiences Montessori education is known for.
Find out more about the cooking course.
What are Mallorcas?
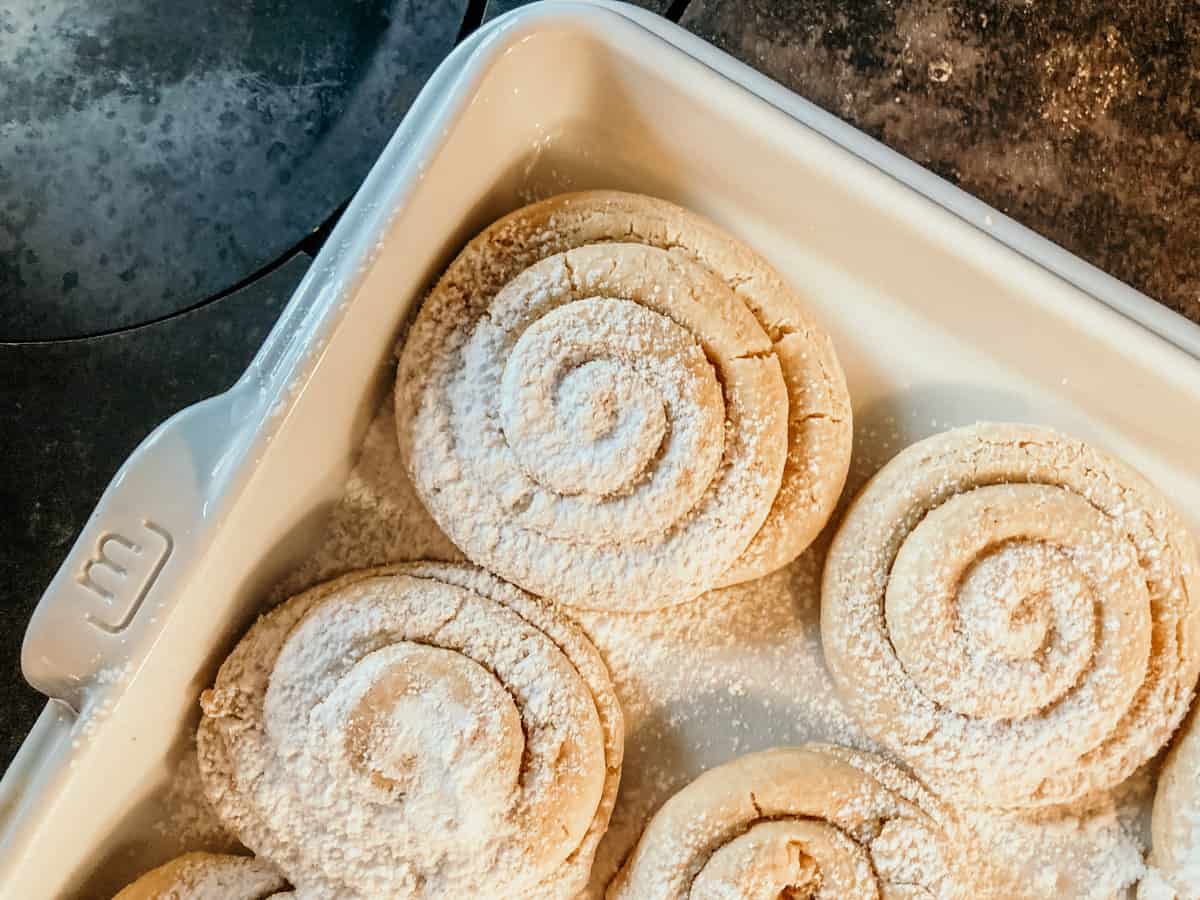
Mallorcas are sweet spiral-shaped bread originally referred to as ensaïmadas in Catalan. They taste absolutely delicious fresh out of the oven but this unique bread doesn't disappoint no matter when you eat it.
Illyanna also recommends making a grilled sandwich similar to what you would find in Puerto Rico, with crispy bacon and melted American cheese.
Where are Mallorcas From?
As Illyanna shares in Diasporican:
"...the bread's first bakers were likely Sephardic Jews, and ensaïmadas were originally a sweet bread baked for the Sabbath, similar to challah. While the earliest versions were likely made using kosher butter or oil, there are records of Jews switching to baking with lard - decidedly against their beliefs - during the massacres and persecution led by the Catholic Church in the fourteenth and fifteenth centuries. While many Jews continued to practice their faith in secret during that time, some of them cooked with lard to convince the church of their loyalty.
Centuries later, mallorcas are a staple at bakeries in San Juan, thanks to Antonio Rigo, who, in 1900, crossed the Atlantic from Felanitx, Mallorca, with his family recipe in tow. Within two years, he'd opened Mallorquina Bakery which ultimately became La Bombonera, a café that still makes some of the best mallorcas on the island."
- Illyanna Maisonet
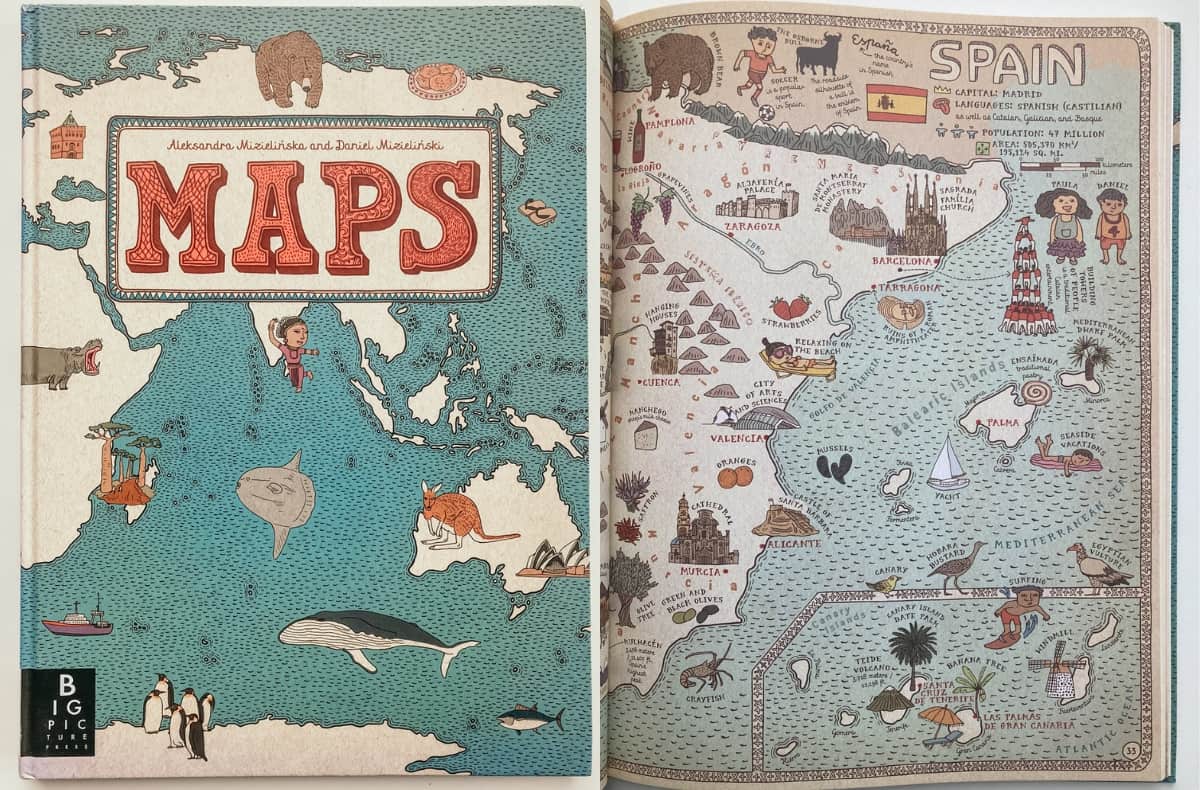
Looking for maps to visualize the journey? This Maps book by Aleksandra and Daniel Mizielinski contains playful illustrations that explore geography, history, and culture, including the Balearic Islands and ensaïmadas.
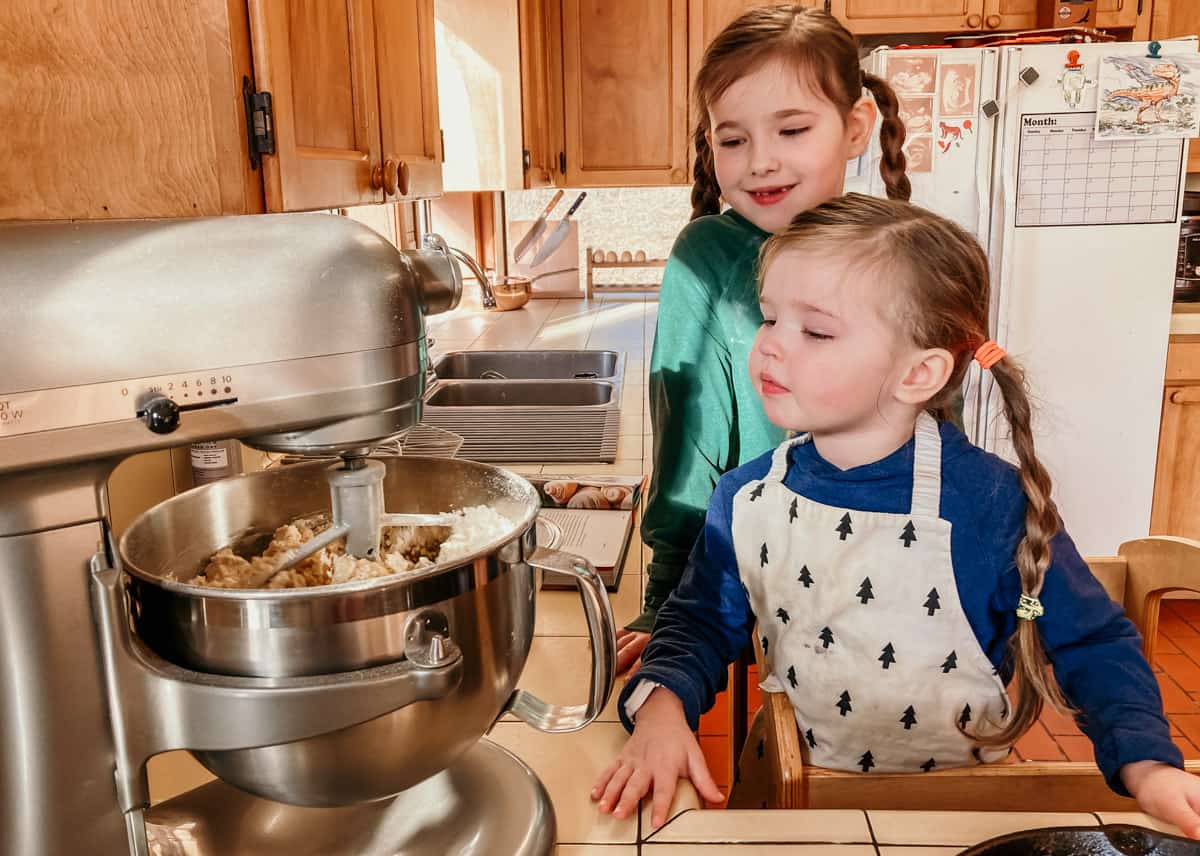
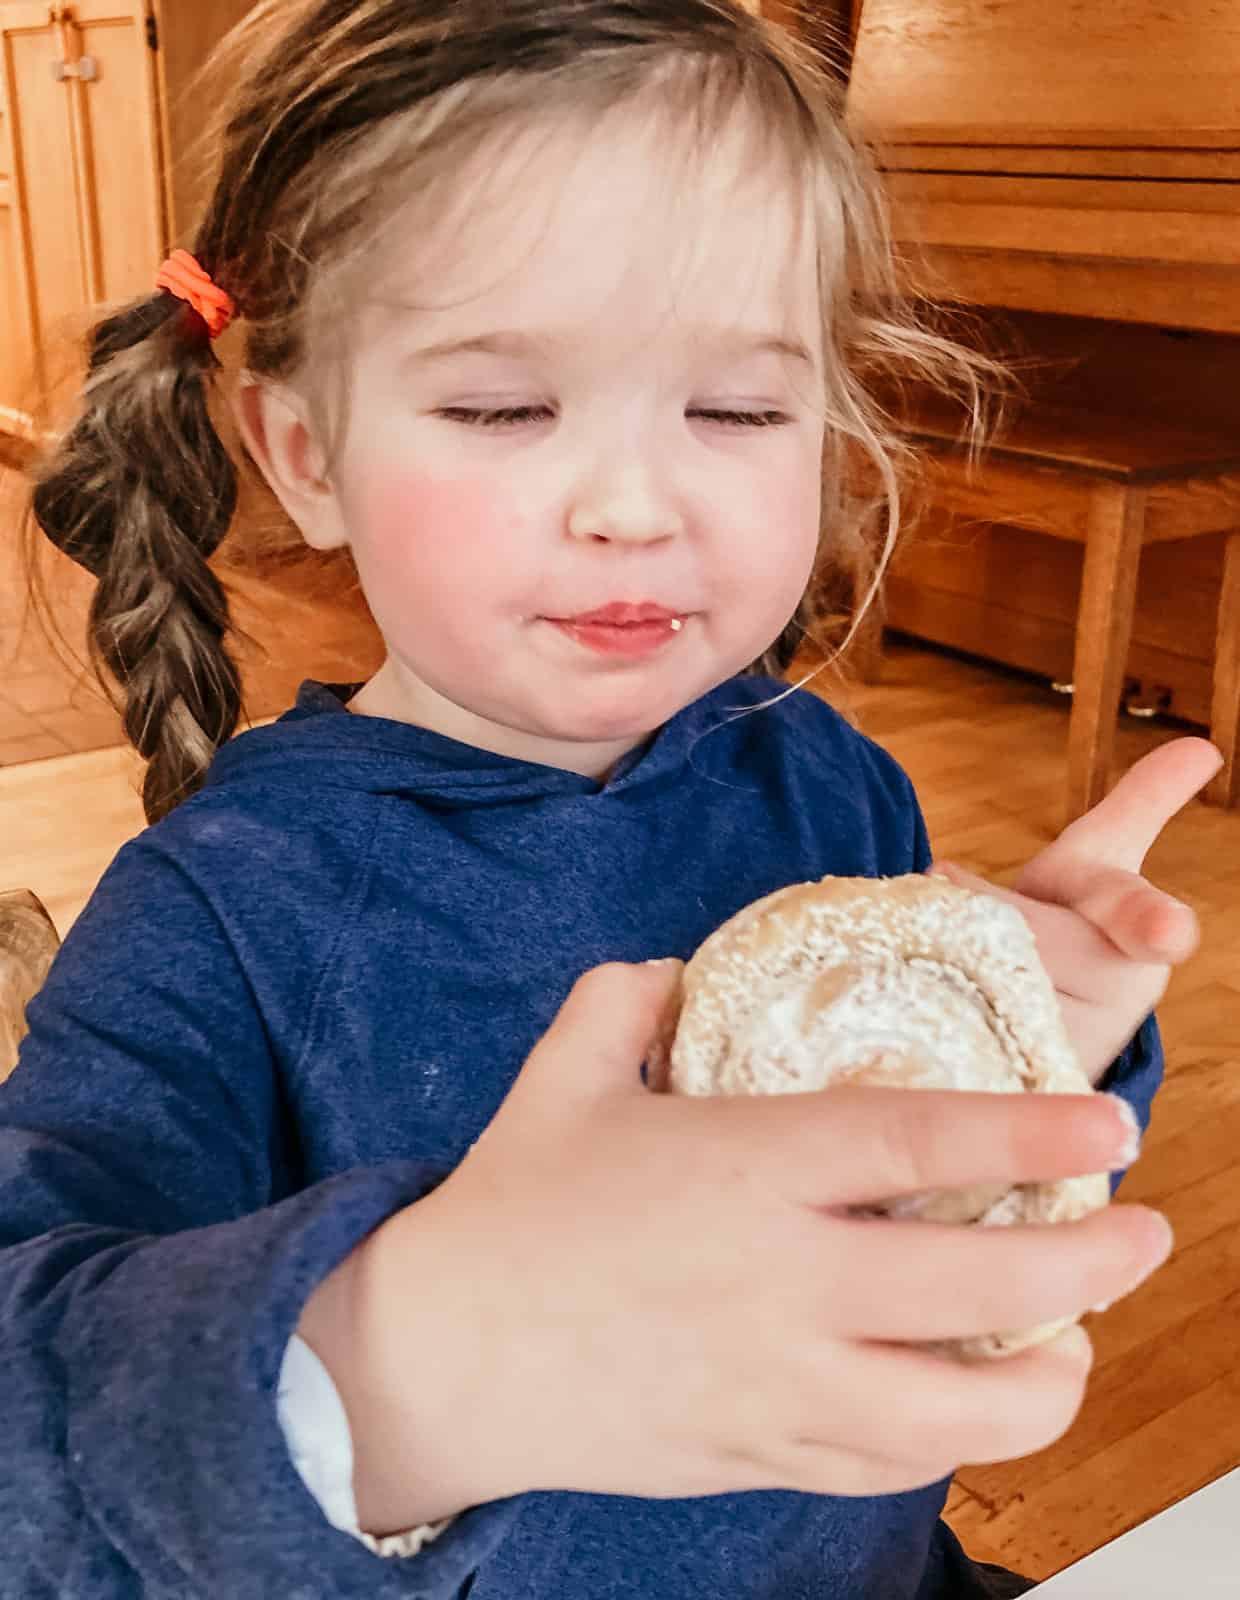
Are Mallorcas Fun for Kids to Make?
No doubt about it. In fact, don't be surprised if your kids are rolling these things up like they've been doing it for years.
After the first couple, our kids were off and running like it was a sprint.
How to Make Mallorcas: A Puerto Rican Breakfast
This tasty breakfast is fun for all ages to make. It also happens to be a great way to strengthen hand muscles and practice fine motor skills.
Our older kids ditched their aprons this time around but you may prefer to have yours available while working with these ingredients.
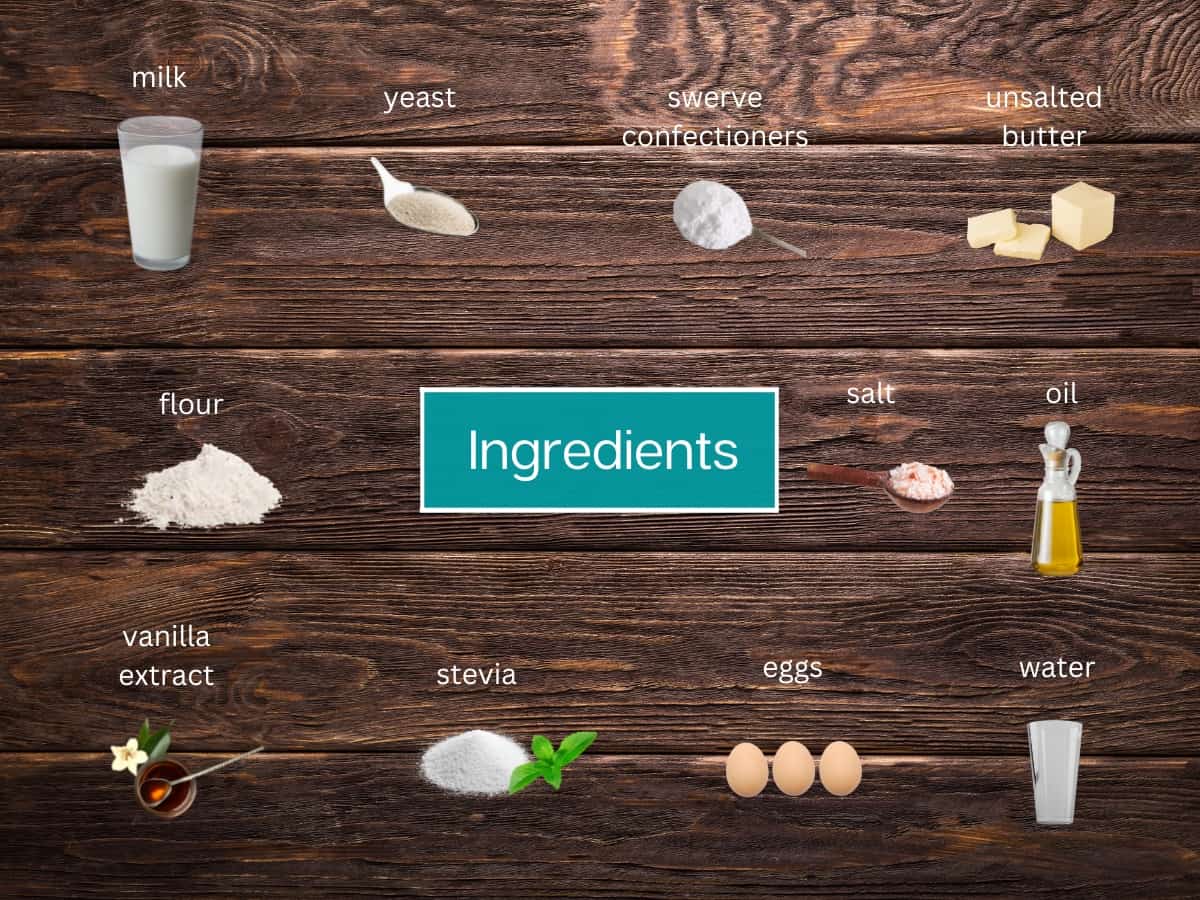
Ingredients
- butter- unsalted butter is recommended for making mallorcas.
- stevia - the stevia & erythritol blends we've used taste a bit sweeter than sugar. If you're using stevia too, go light on the confectioners sweetener until you've tasted the mallorcas. Less is more. You can also use sugar.
- eggs - we use farm-fresh eggs at room temperature.
- flour - we prefer to bake with all-purpose einkorn. It's easy to work with and tastier than some other flours we've used in the past.
- swerve confectioners - this all-natural sugar substitute tastes and bakes very similar to confectioner's sugar.
Food Allergy or Substitution Needed?
Click the button below to ask AI how to alter it for your diet!
Equipment
- Berkey water filter
- prep bowls
- kitchen scale
- stand mixer
- silicone baking mat
- dough scraper
- baking slab
- pastry brush
- fine mesh strainer
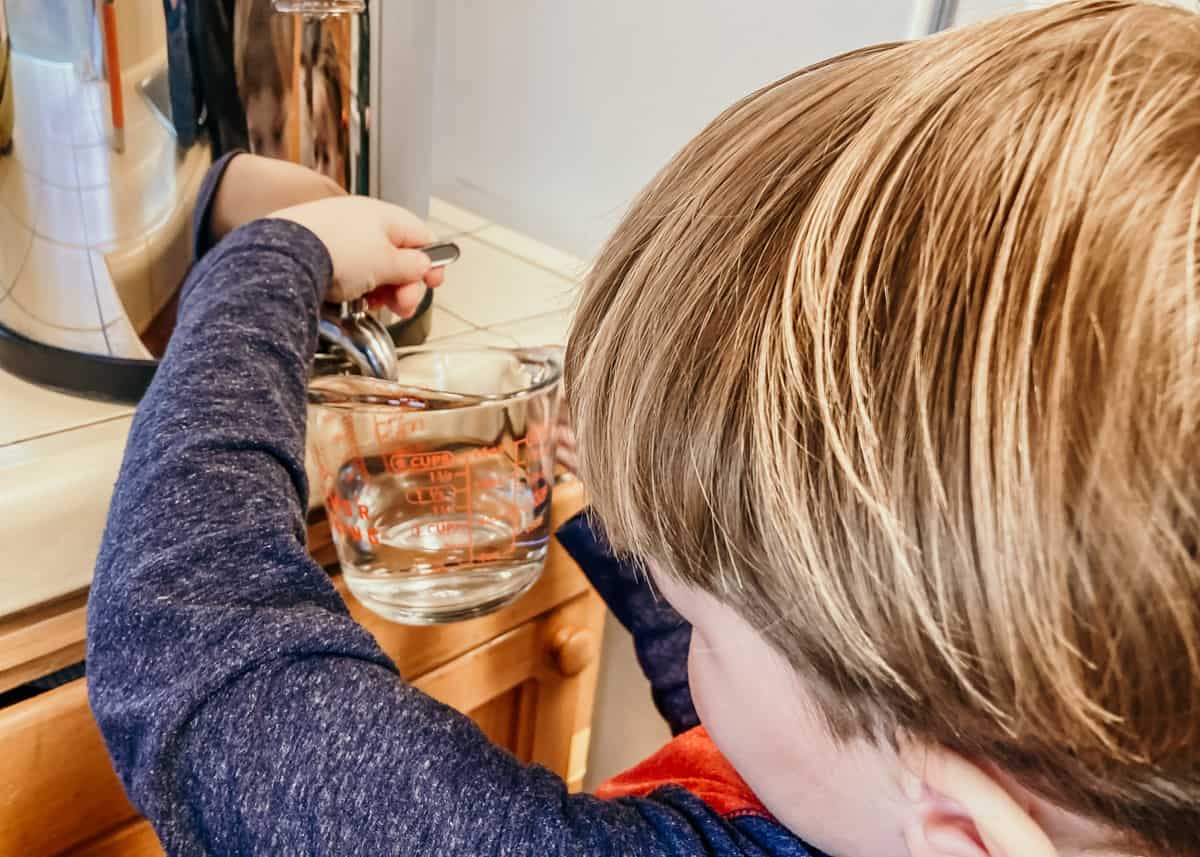
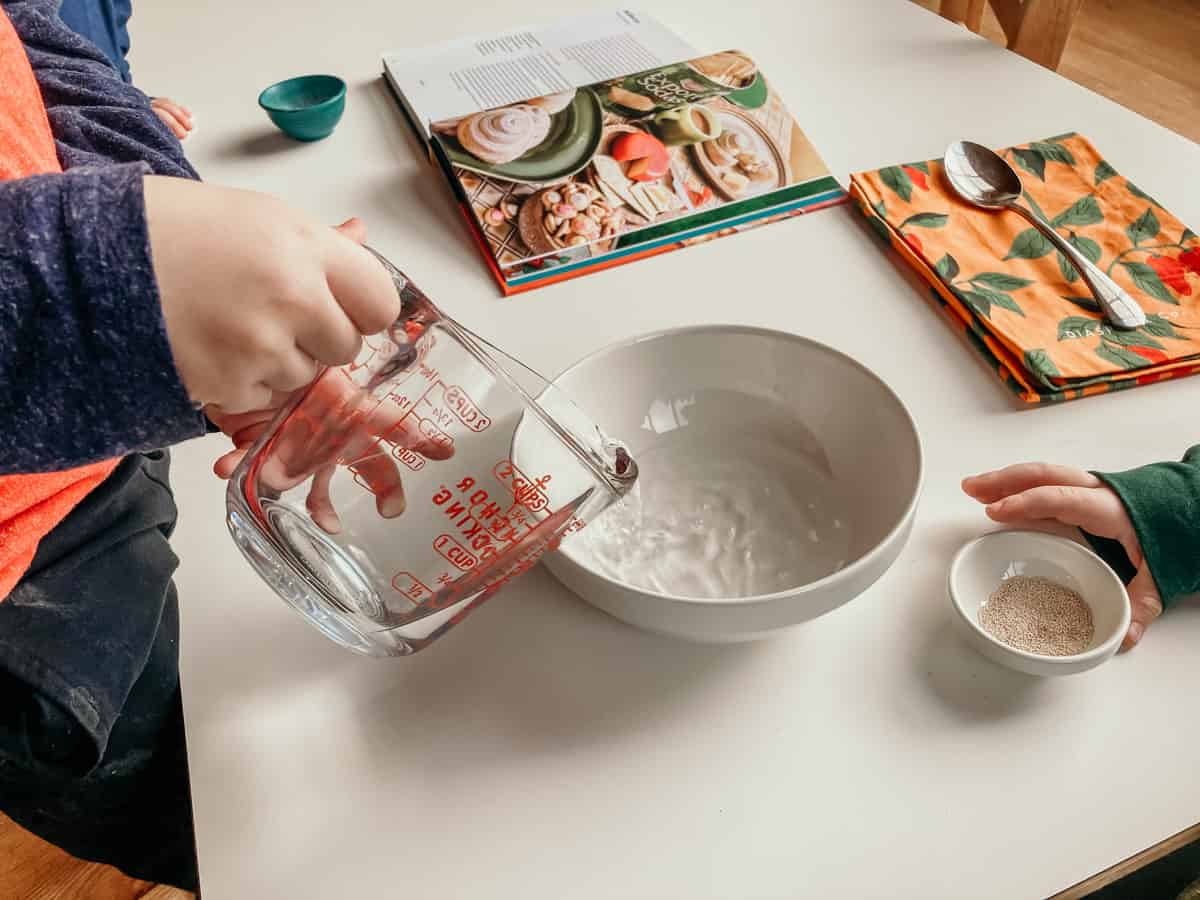
1. Measure the Water with a Measuring Cup
Wash your hands with soap and water before getting started. Our kids get water from this Berkey water filter which naturally sits at the perfect height on our counter for them to reach.
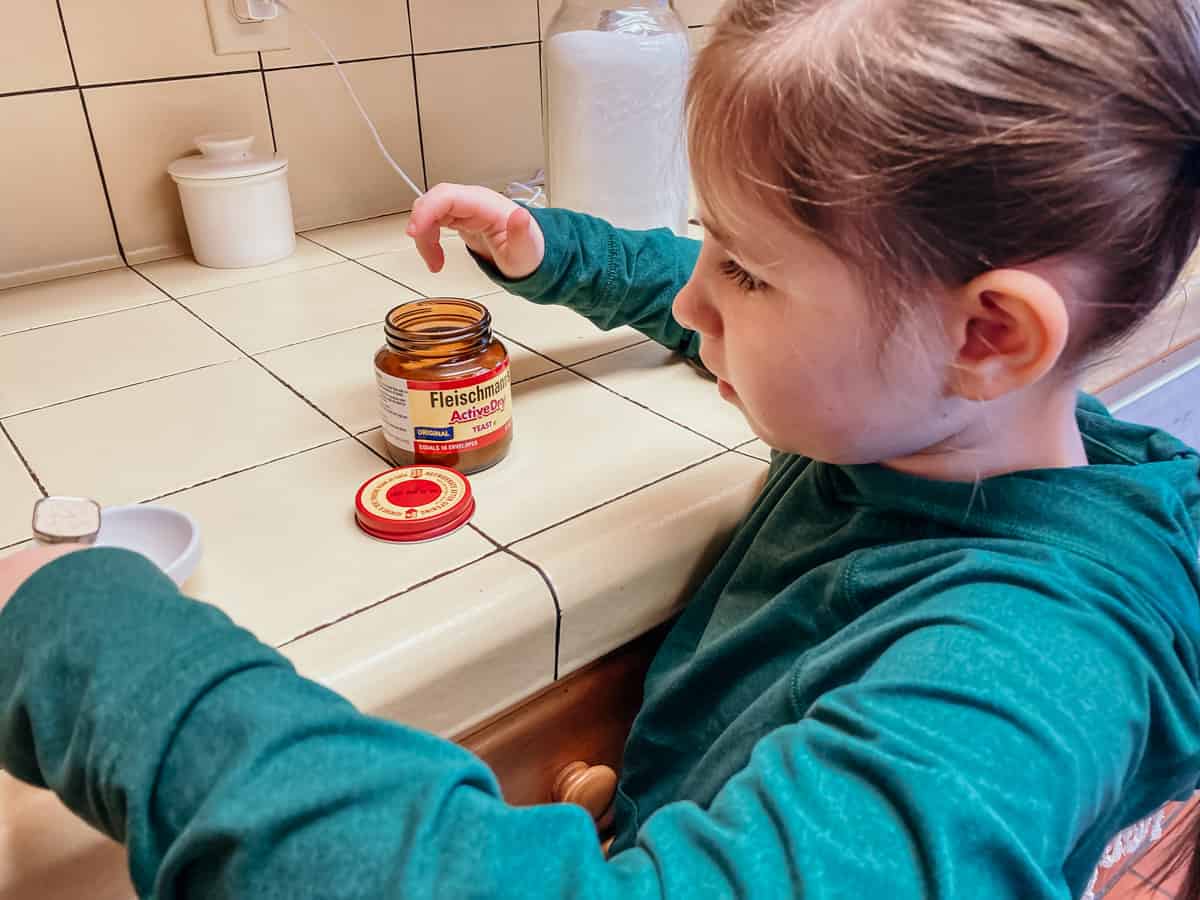
2. Measure the Yeast
Use a measuring spoon to measure the yeast needed to make the mallorcas.

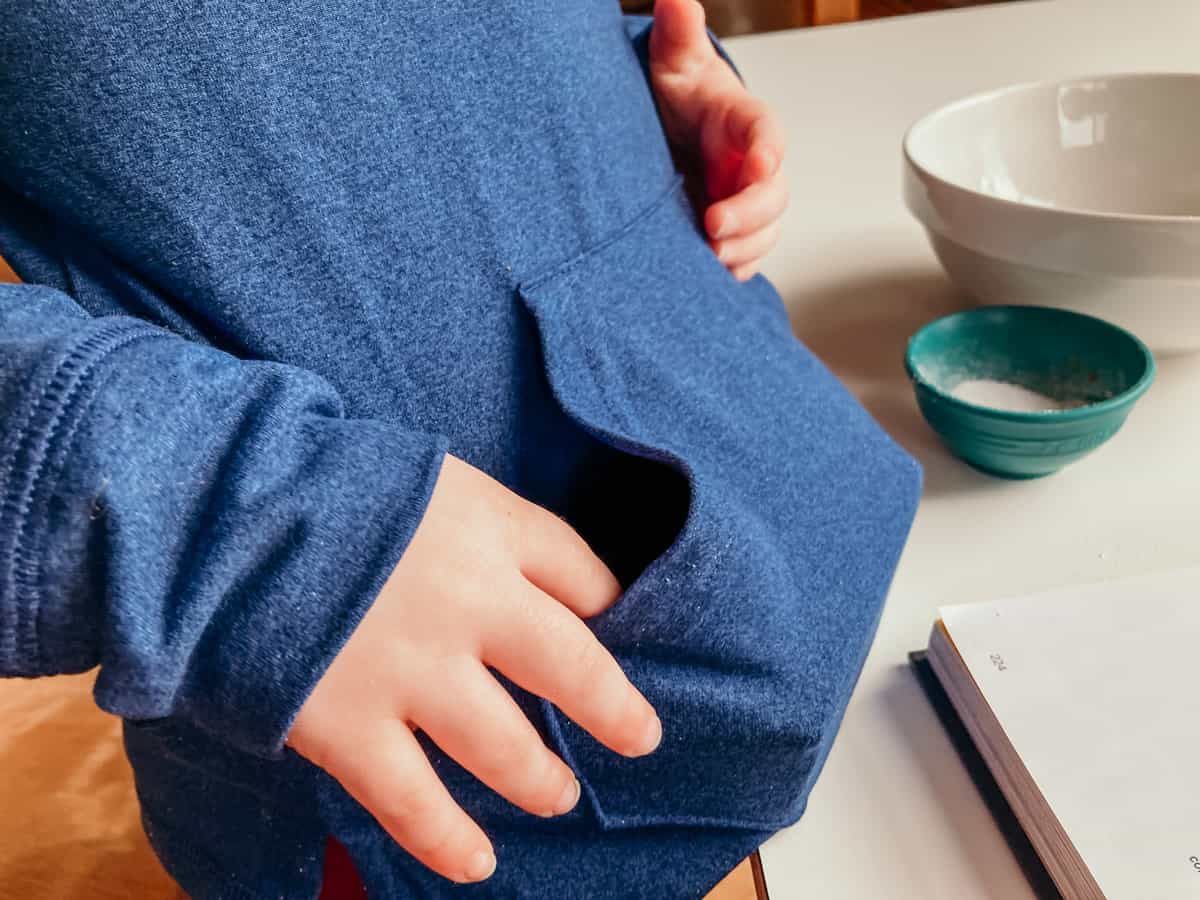
Know what this is? Why, it's the butter pocket of course. Do your shirts have butter pockets? We highly recommend them.
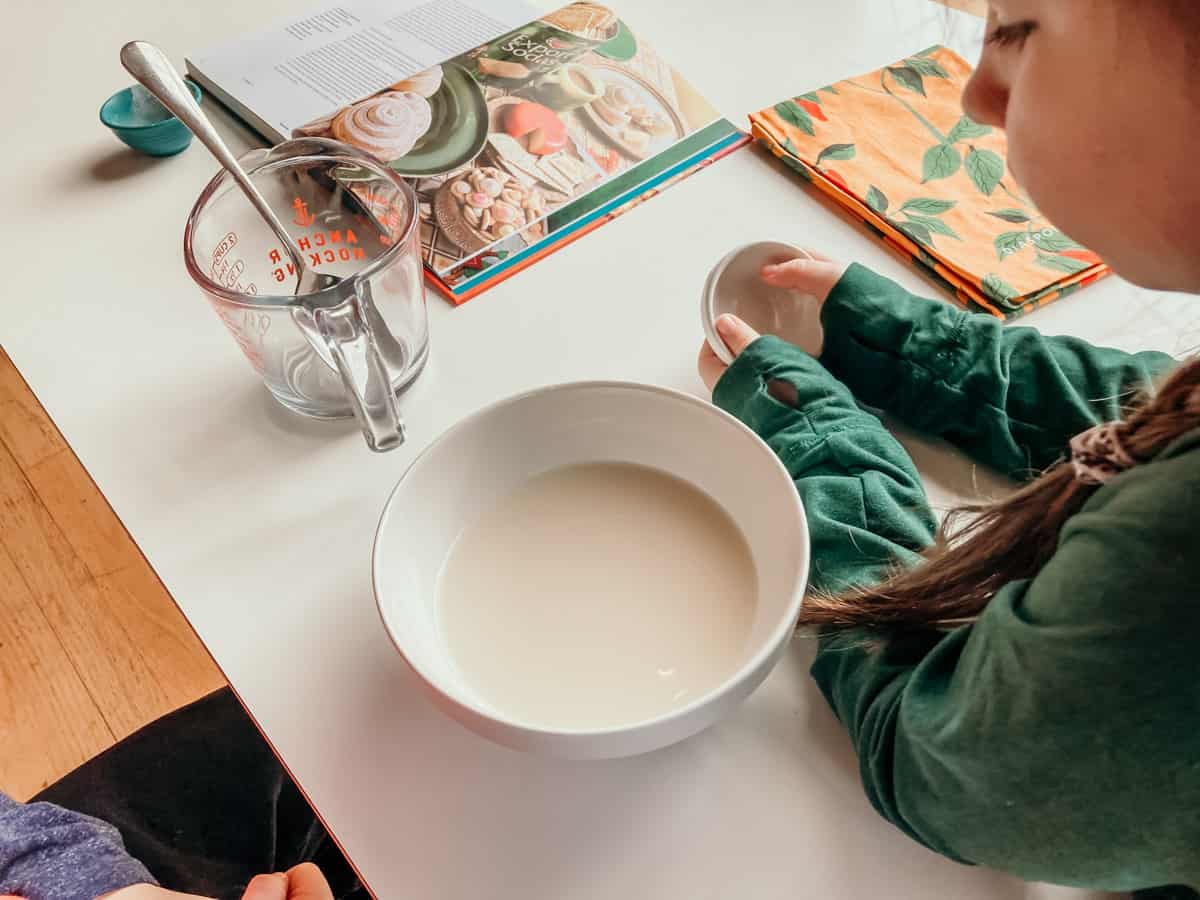
3. Add Water, Yeast, and Stevia to a Bowl
Add warm or room temperature water, yeast, and 1 teaspoon of stevia to a clean bowl. Give it a stir and let it sit for five minutes.
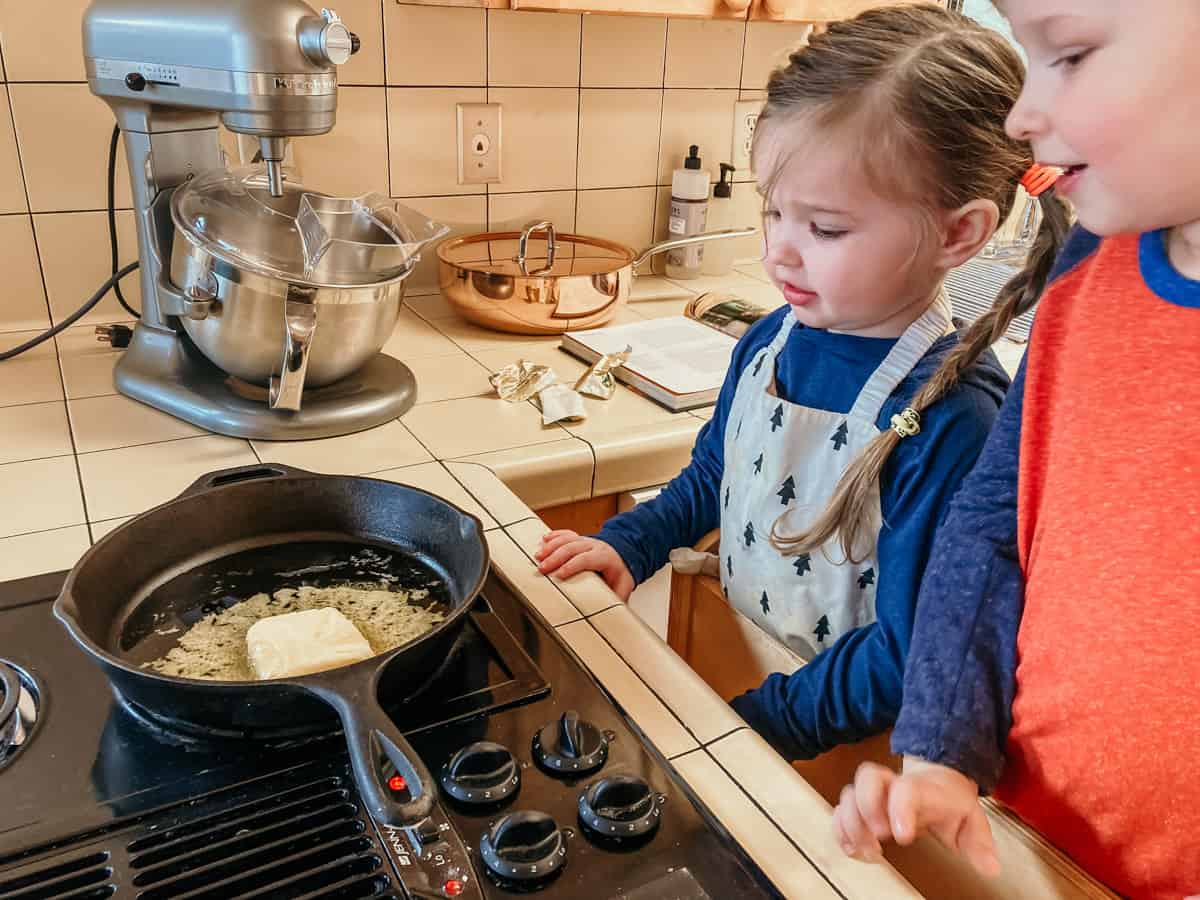
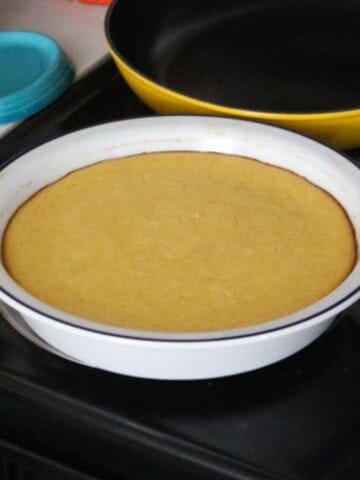
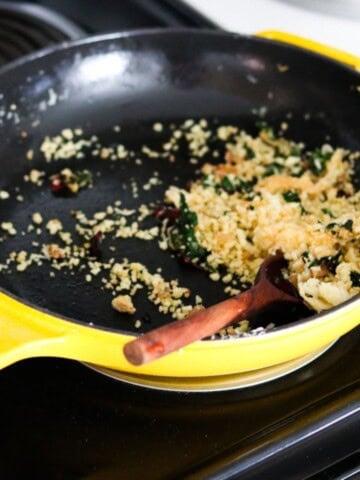
4. Melt 4 Tbsps Butter in a Pan
Heat up your pan using low heat and place 4 tablespoons of butter inside. Once the butter is melted, turn off the stove. Set the butter aside.
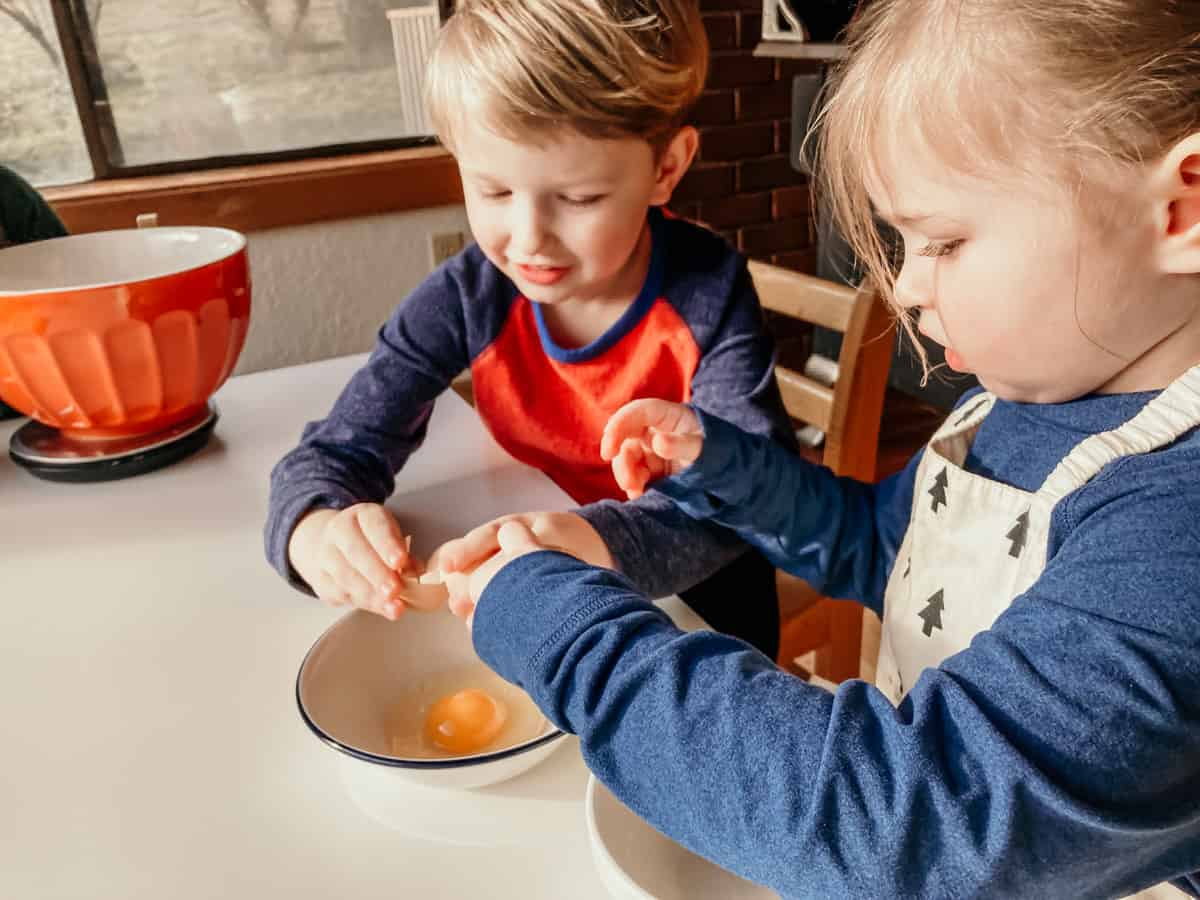
5. Crack the Eggs into a Clean Bowl
Wash your hands with soap and water afterward.
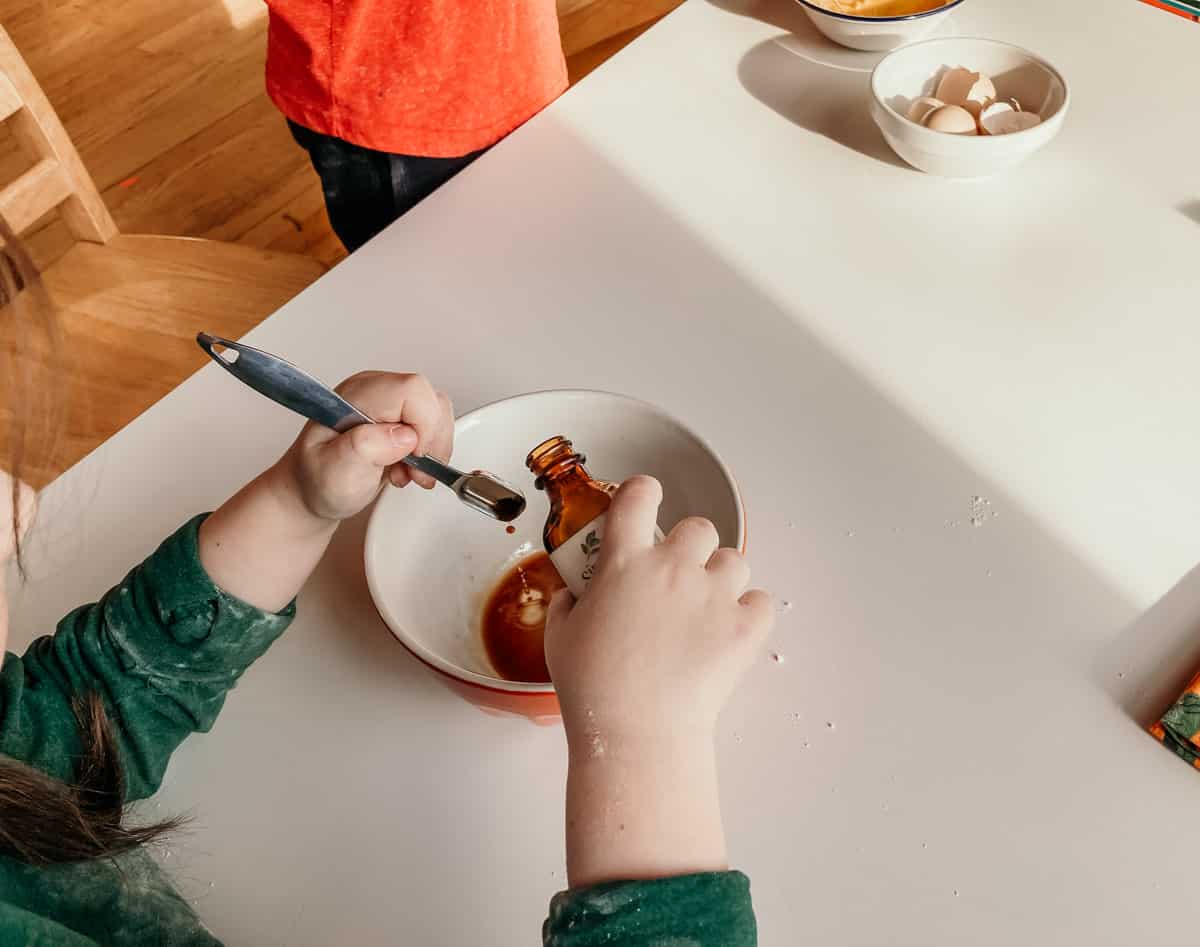
7. Measure the Vanilla Extract
Use a measuring spoon to measure the vanilla extract.
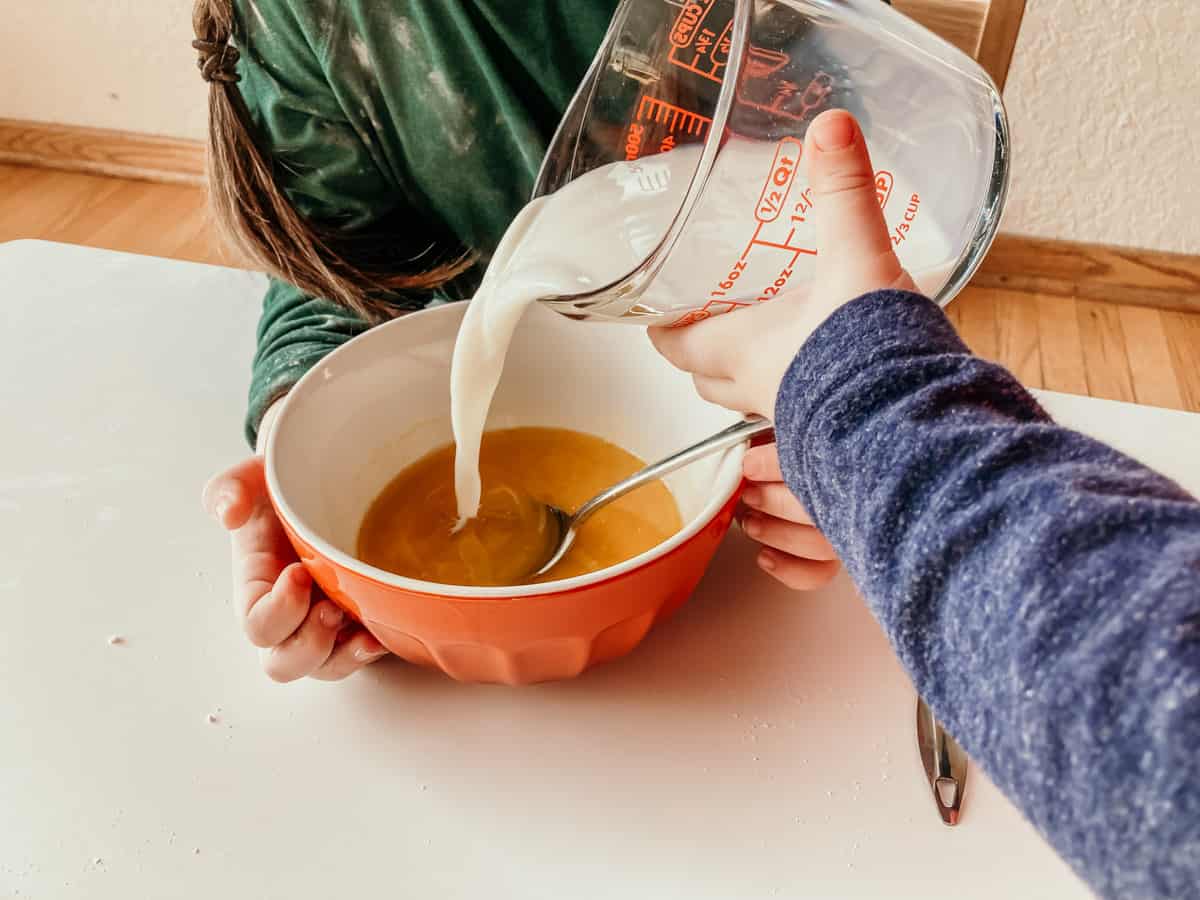
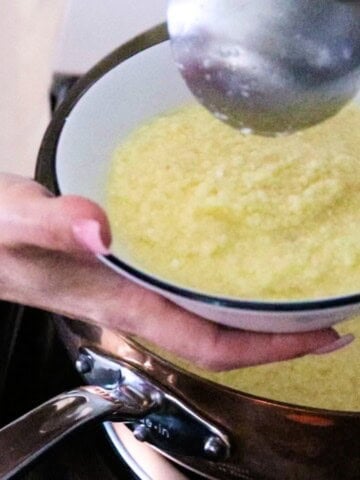
8. Combine the Milk, Butter, Vanilla, and Eggs
Mix them together with a spoon or whisk.
This recipe calls for warm milk so we let the milk sit at room temp for 15-20 minutes while we were working on other tasks.

6. Measure the Flour
Measure the flour using a kitchen scale.

9. Add the Flour to the Mixing Bowl
The mixer should have the paddle attachment in place.
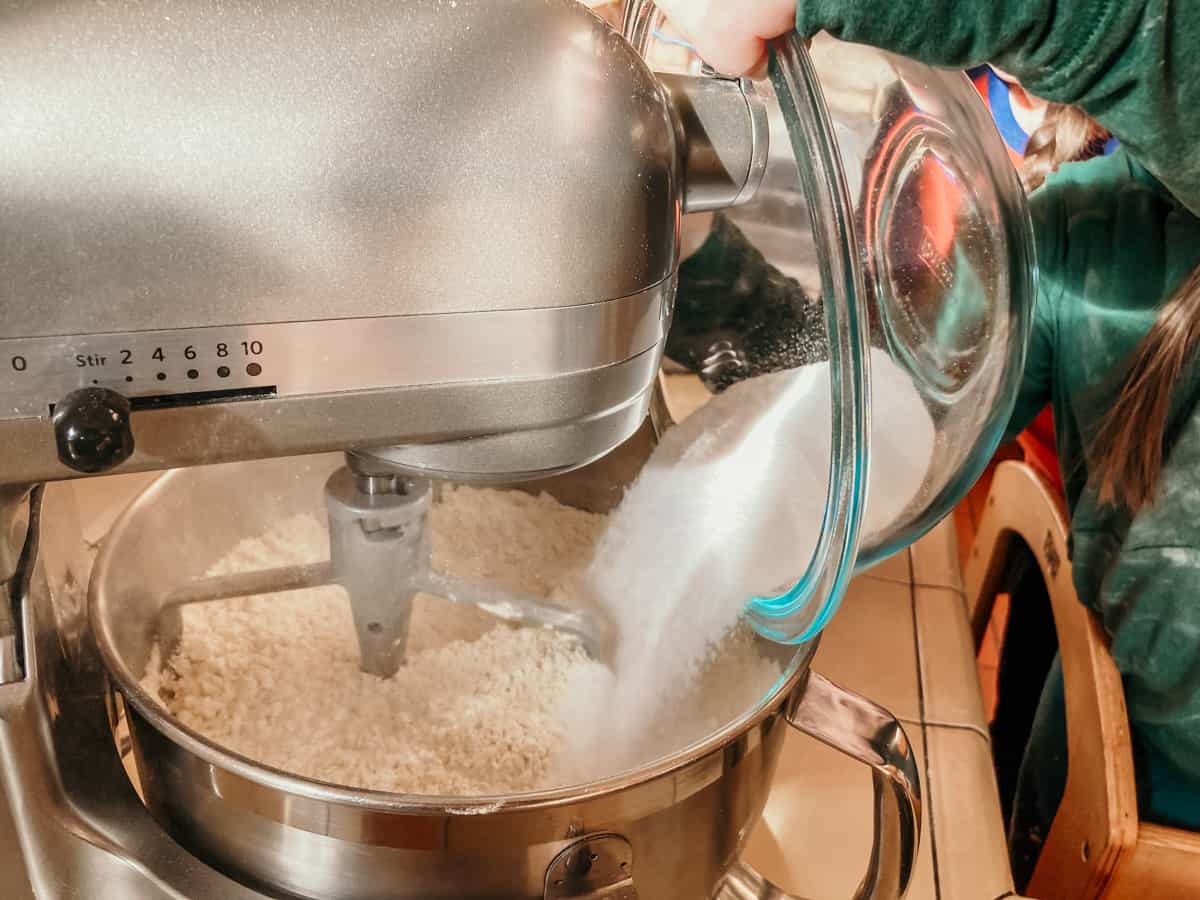
10. Add the Stevia, Salt, Yeast Mixture, & ⅓ Egg Mixture to the Mixing Bowl
Turn the mixer on medium, which is a speed of about 4 for us. Mix the ingredients for about 10 minutes or so.
Once the dough starts to make a slapping sound (I kid you not), you can add the remainder of the egg mixture, a little at a time.
If your kids like working with dough, you should try easter bread and Ukrainian bread.
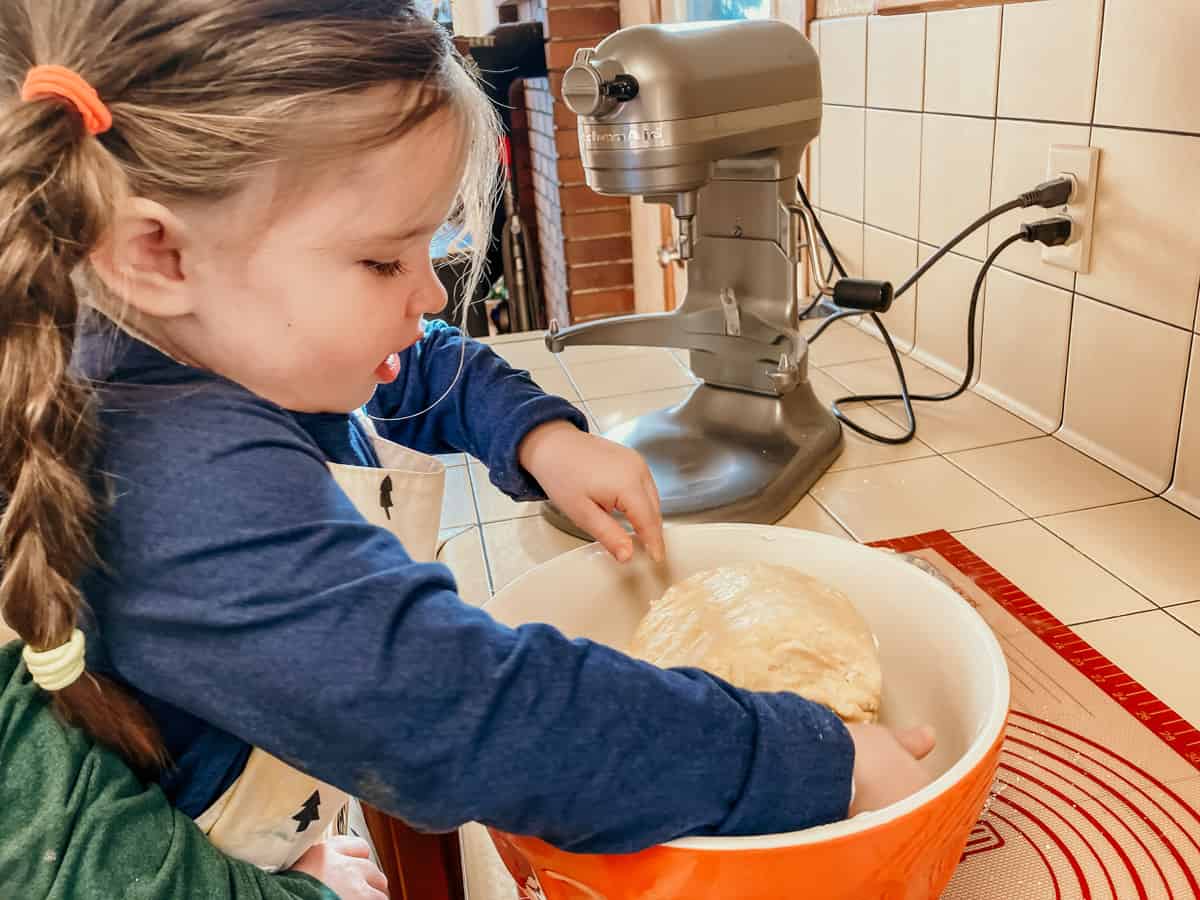
11. Remove the Dough From the Mixer and Knead
Once the mixer looks like it's working overtime, you can turn it off and remove the dough. Knead the dough by hand. Our kids used a dough scraper to separate it into sections.
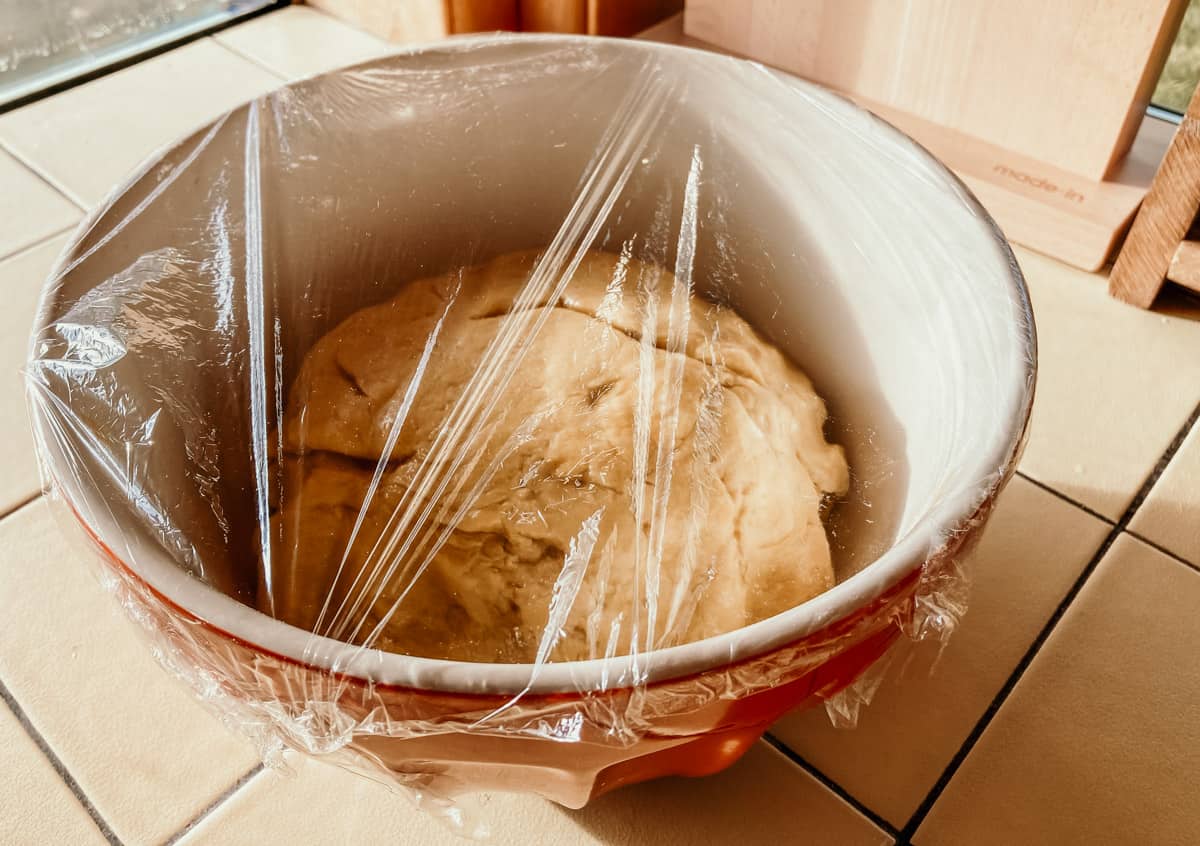
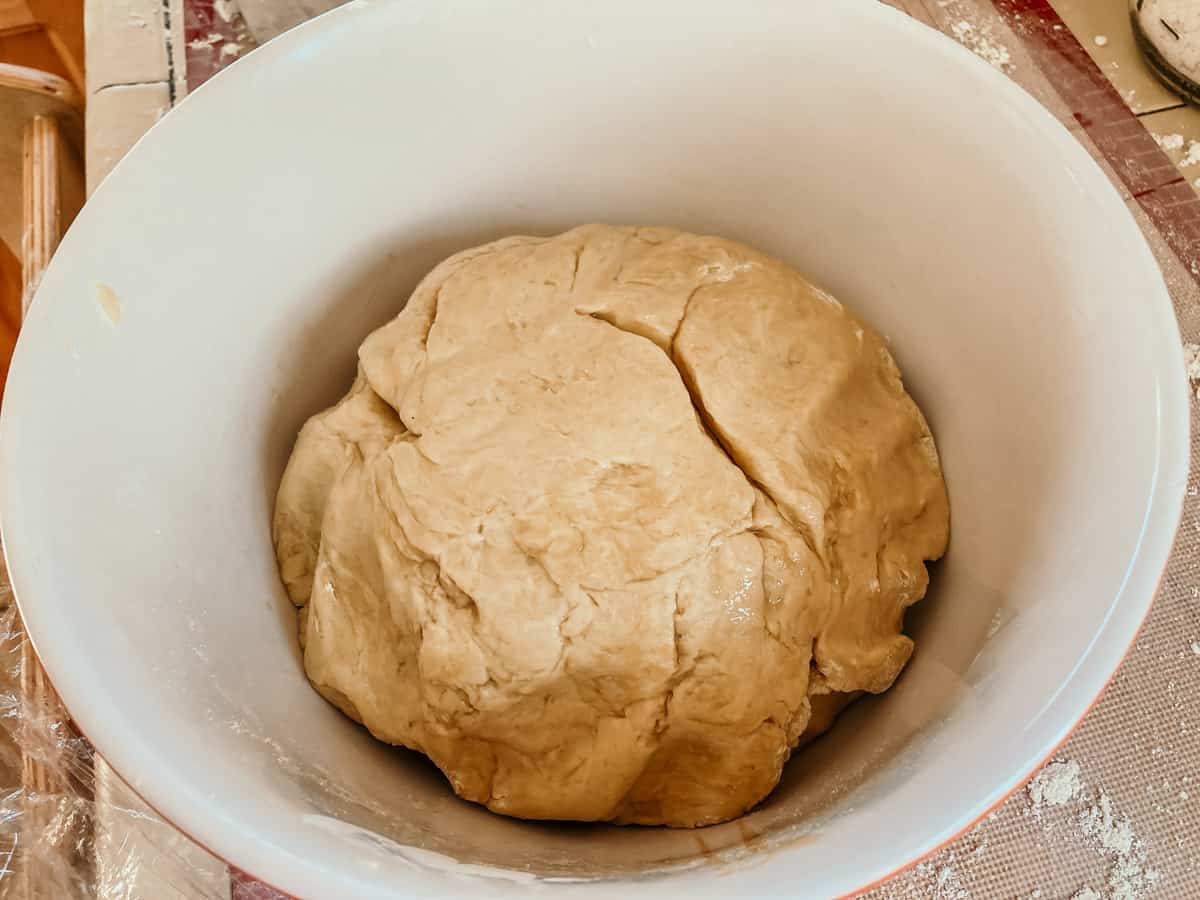
12. Place the Dough in a Bowl and Rest for 1-2 Hours
Once all the flour is incorporated into the dough and the dough is tacky, place the dough in a bowl and cover it with plastic wrap. Wash your hands and let the dough rest for 1-2 hours.
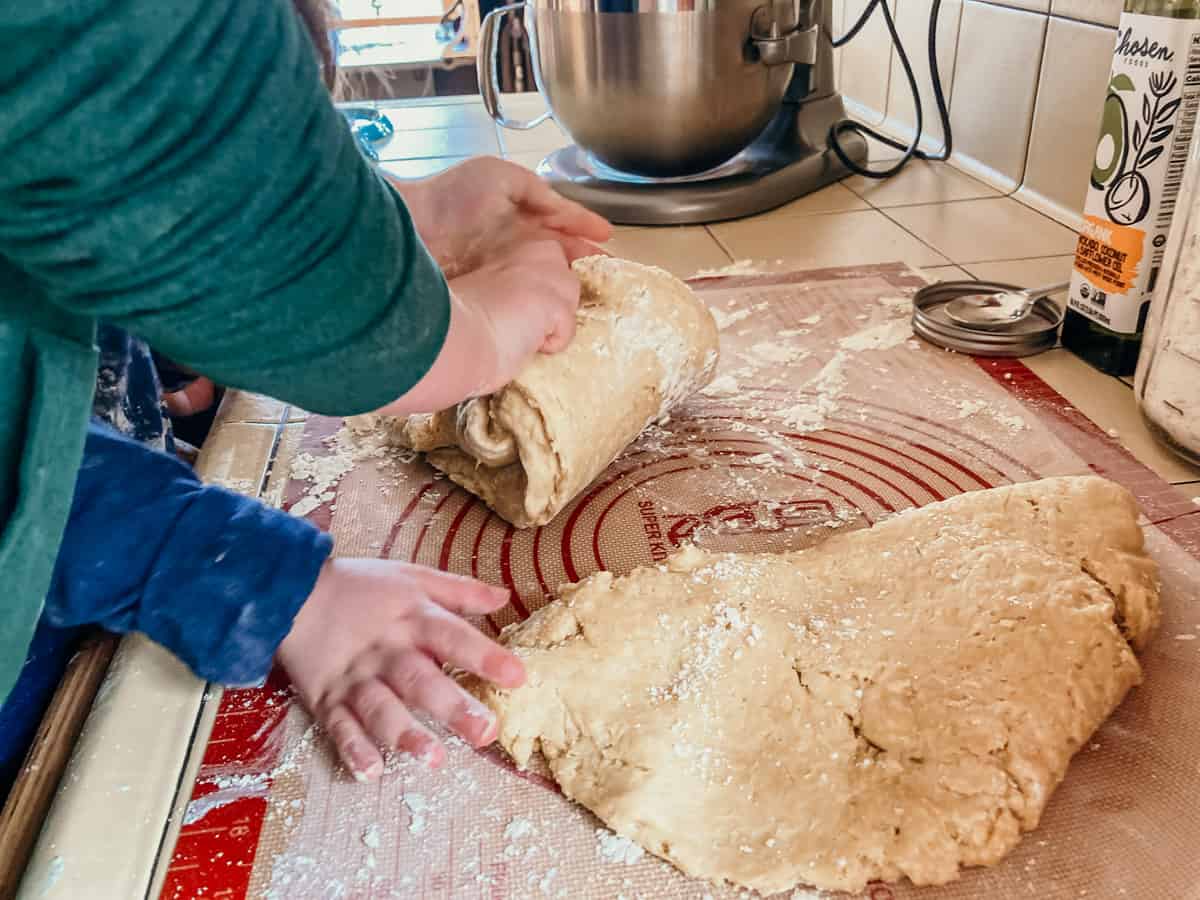
13. Knead the Dough and Rest Again
Add a small amount of oil to a large bowl.
Place the dough on a floured surface and knead for 5-7 minutes or until soft.
Place the dough in the bowl and cover it in the oil until it's coated. Replace the plastic wrap and let it rest in a warm spot for 30 minutes.
Clean your silicone baking mat or work surface.
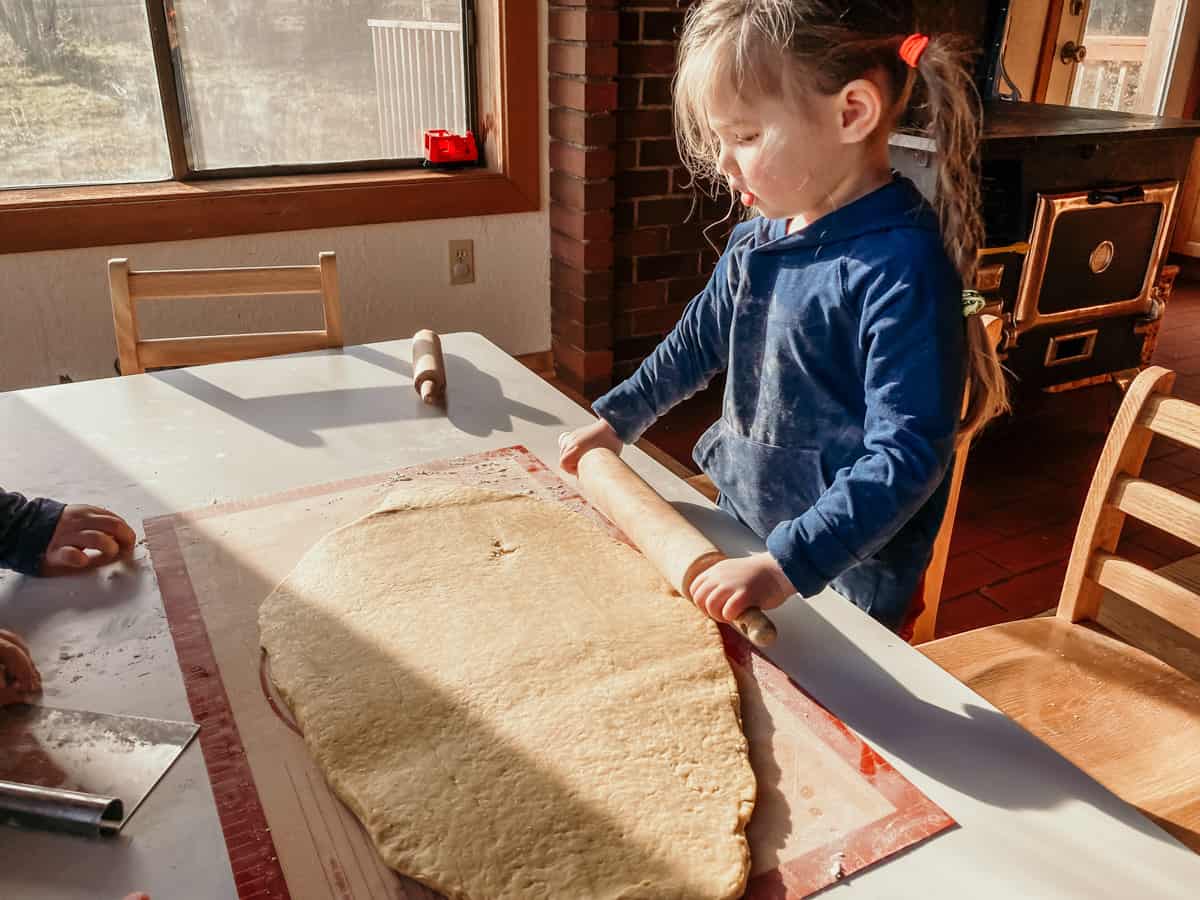
14. Roll Out the Dough
Turn the oven to 350 degrees Fahrenheit. Set up your floured work surface and grab your dough. Use a rolling pin to roll it out into a rectangular shape.
Our kids used the dough scraper to cut the edges and make a pretty rectangle. This is an excellent time to review some shapes, depending on the age of the child.
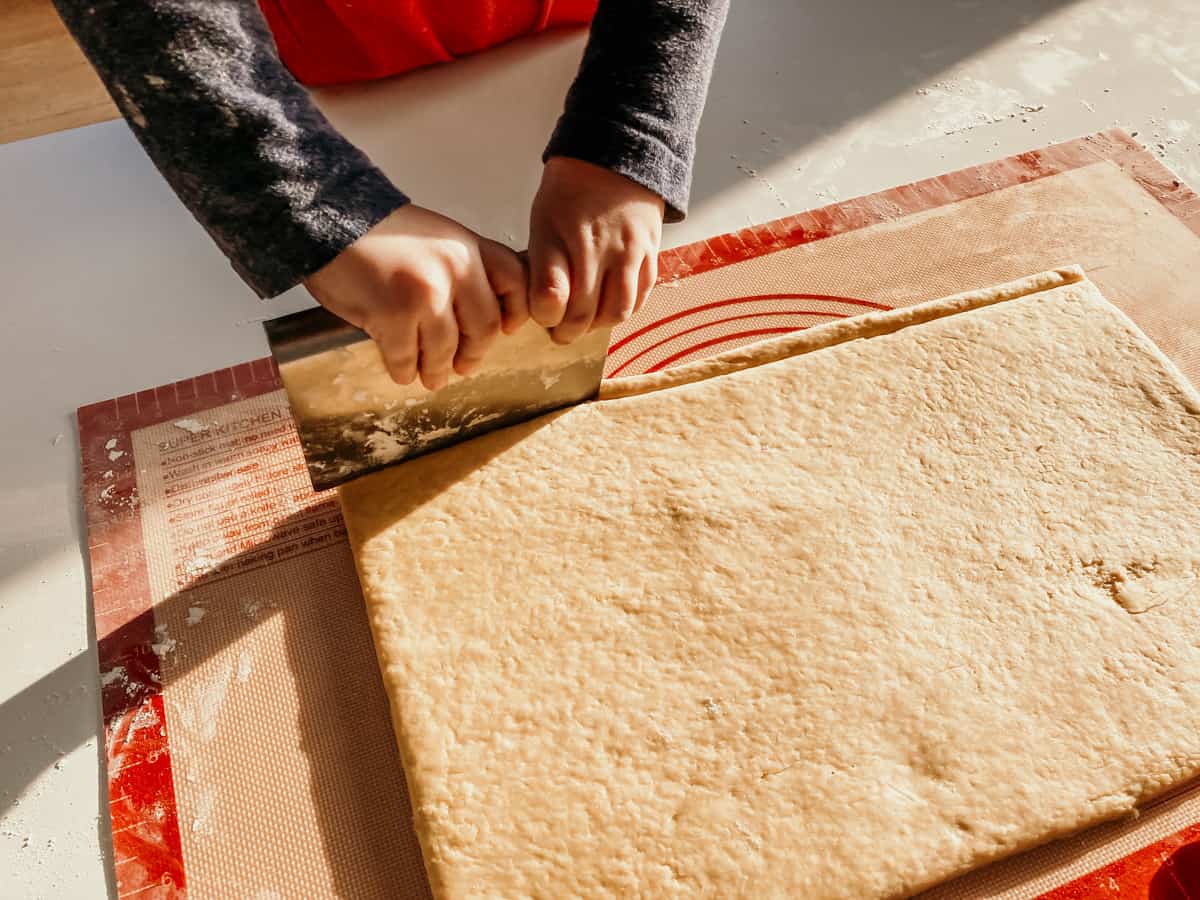
15. Cut a Strip of Dough Using the Dough Scraper
The dough scraper is fun not only for cutting the strips but also for scooping up your work and placing it onto the baking slab.
Don't have a dough scraper? You can also use a metal spatula or butter knife.
Gently roll your strip back and forth to create a cylindrical rope-like appearance.

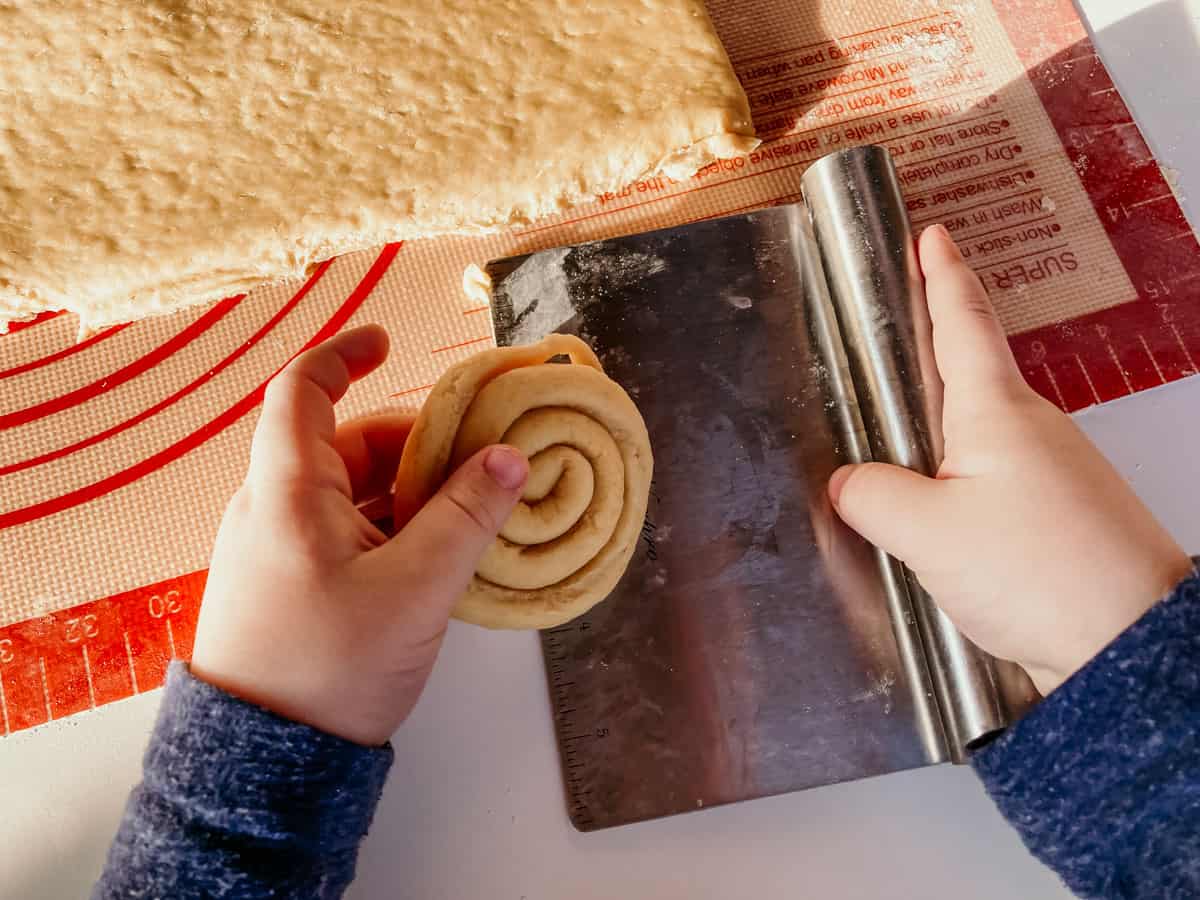
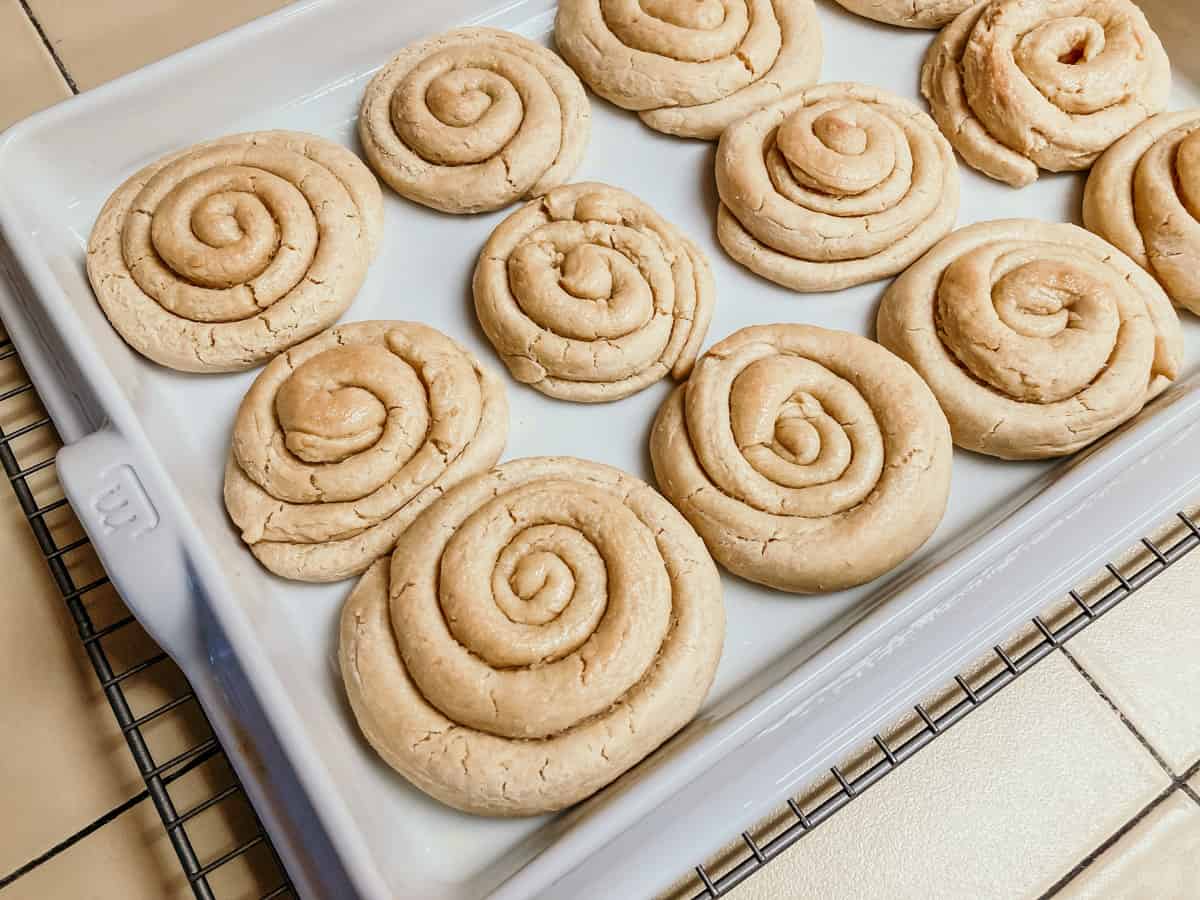
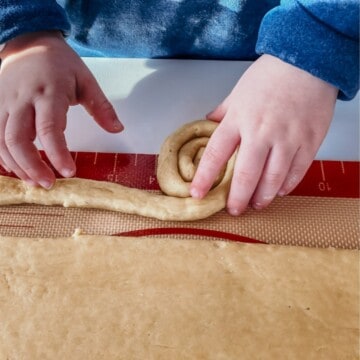
16. Roll the Strip into a Coil
Start with one end and gently roll the dough into a coil.
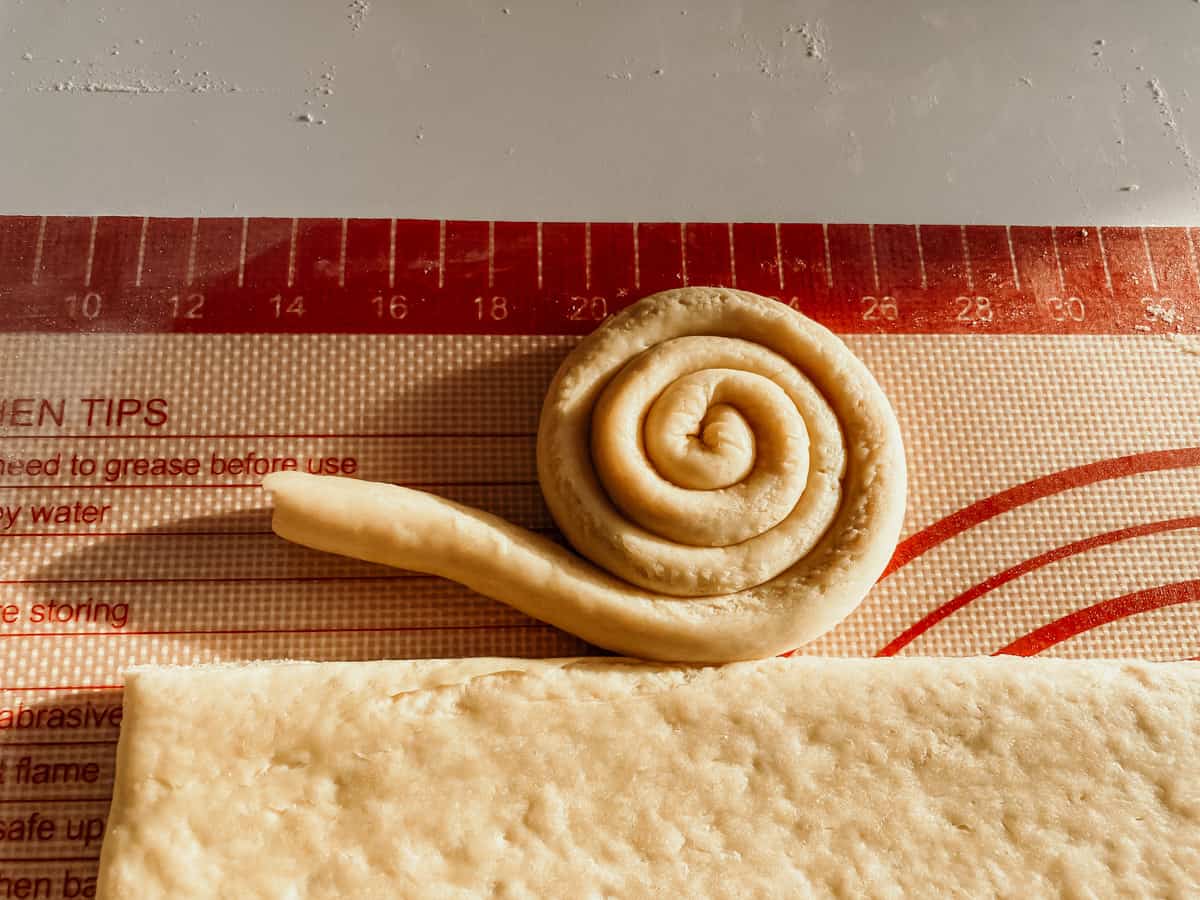
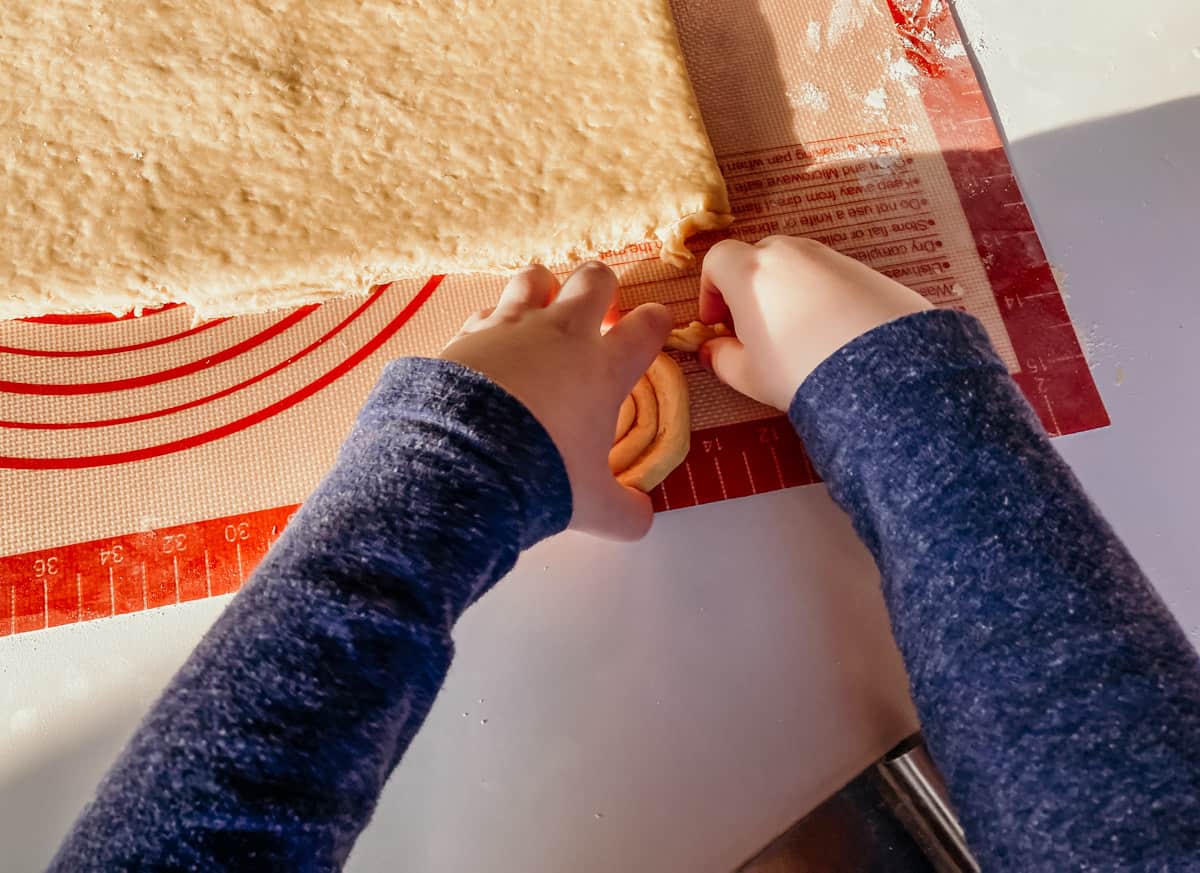
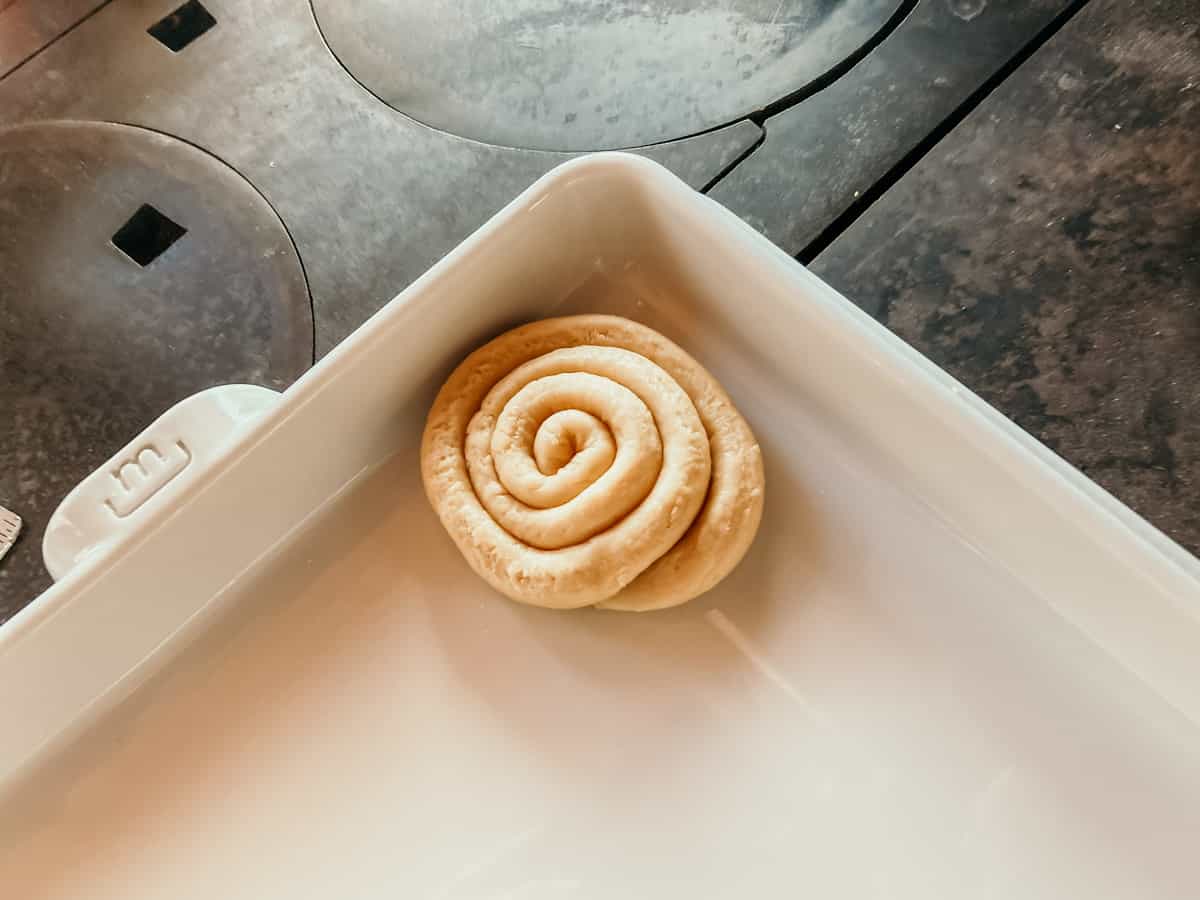
17. Tuck the End of the Strip Underneath the Coil
Afterward, you can scoop it up with the dough scraper and place it on the baking slab.
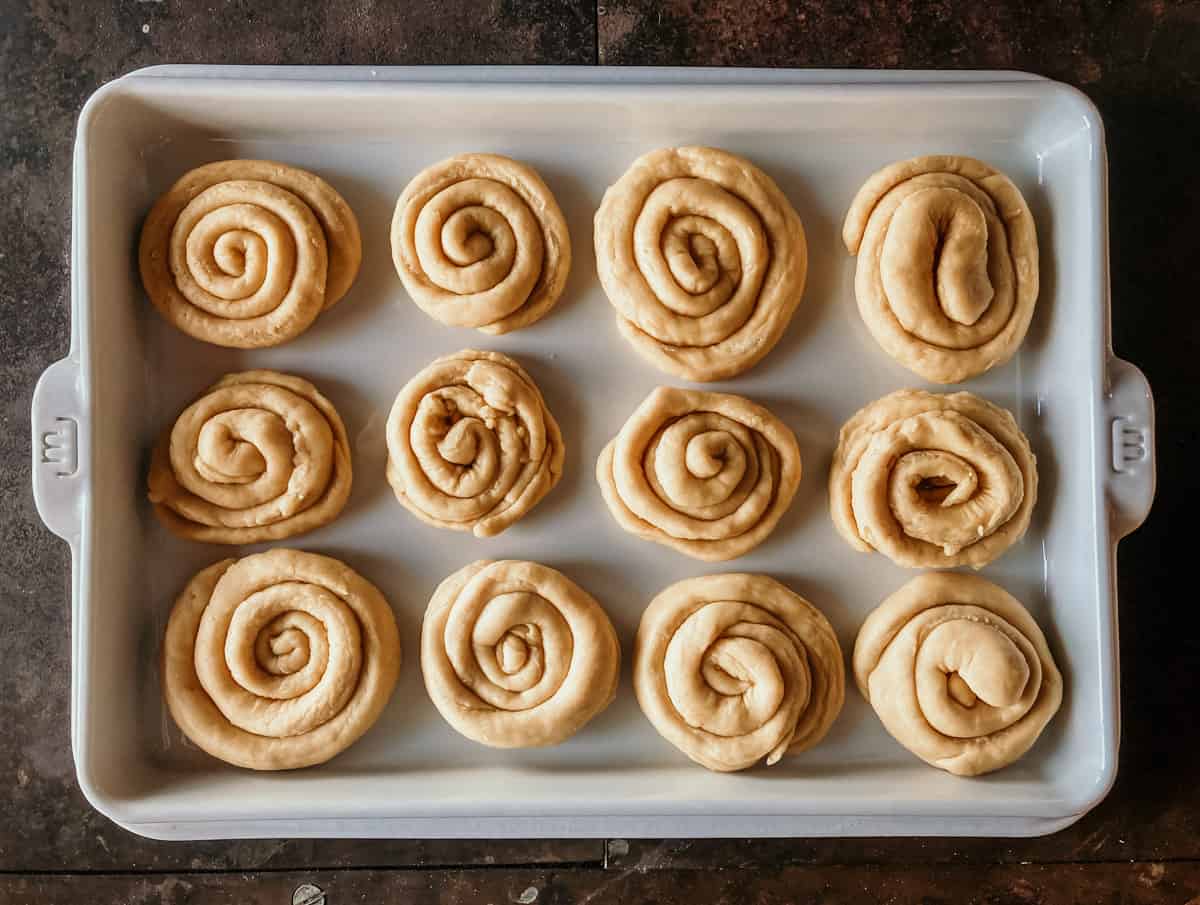
Repeat steps 15-17 until all of the dough has been used up. If you have scraps left over from creating your rectangle you can use that as well.
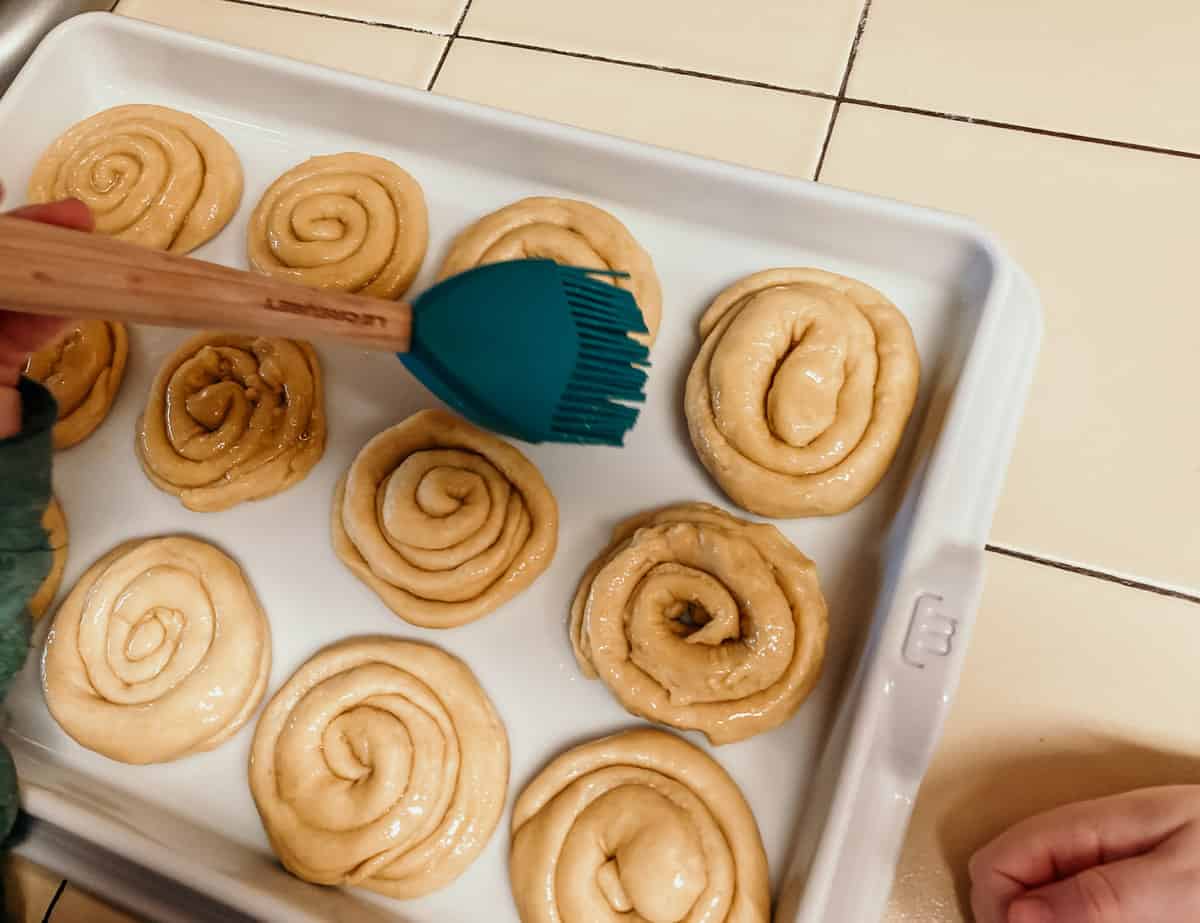
18. Brush Melted Butter Over the Mallorcas, Rest, & Bake
Clean the pan from earlier with soap and water. Heat it over low heat and add the remainder of the butter.
Once the butter is melted, turn off the stove. Use a pastry brush to apply some of the butter to the mallorcas. Be sure to save some butter for after they're done baking.
Cover the baking slab in plastic wrap and let the mallorcas rest for 30 minutes.
Place them in the oven and let them bake for 15 to 30 minutes.
Illyanna says you should let them bake until they are "firm and sliiiightly brown."
Apply the remainder of the butter using the pastry brush.
Don't forget to turn off the stove.
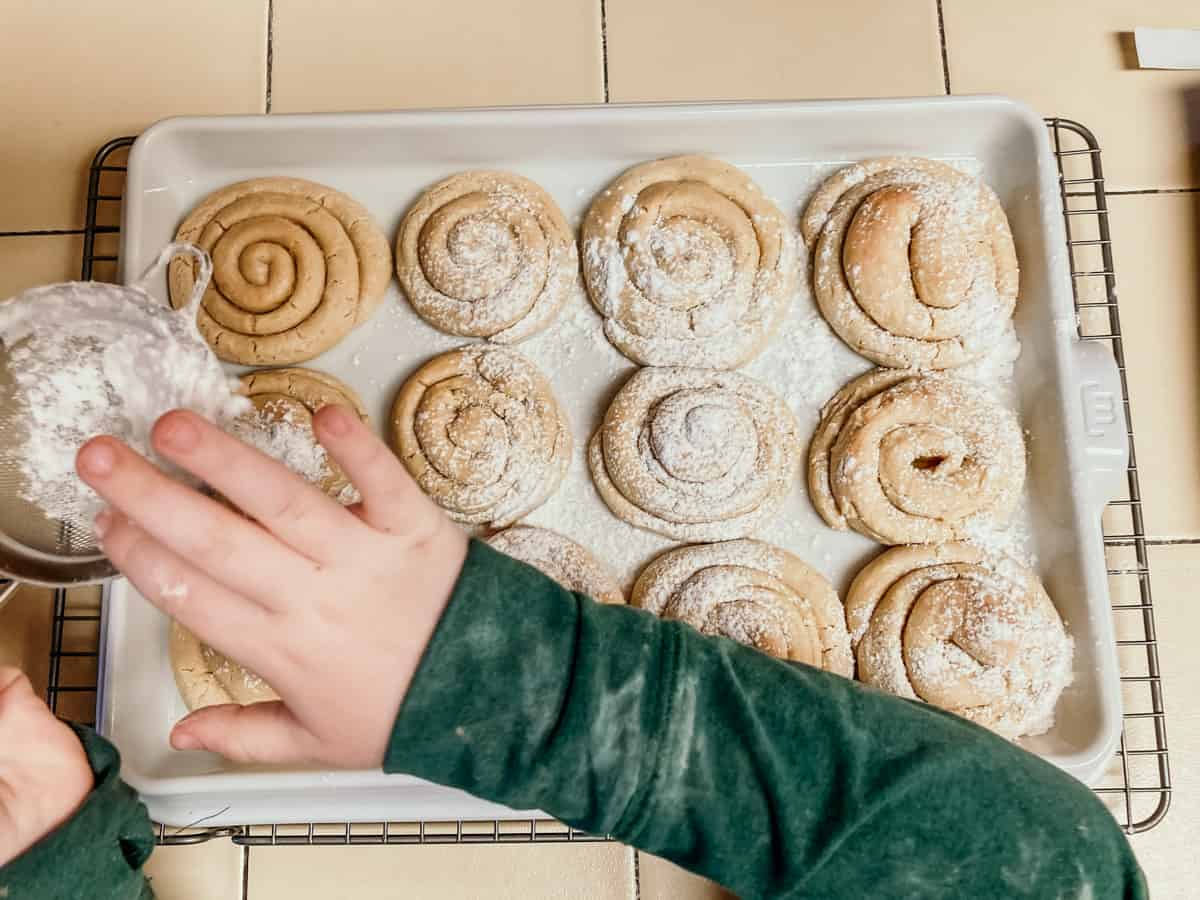
19. Apply Swerve Confectioners Over the Top
Using a fine mesh strainer, apply swerve confectioners to the top.
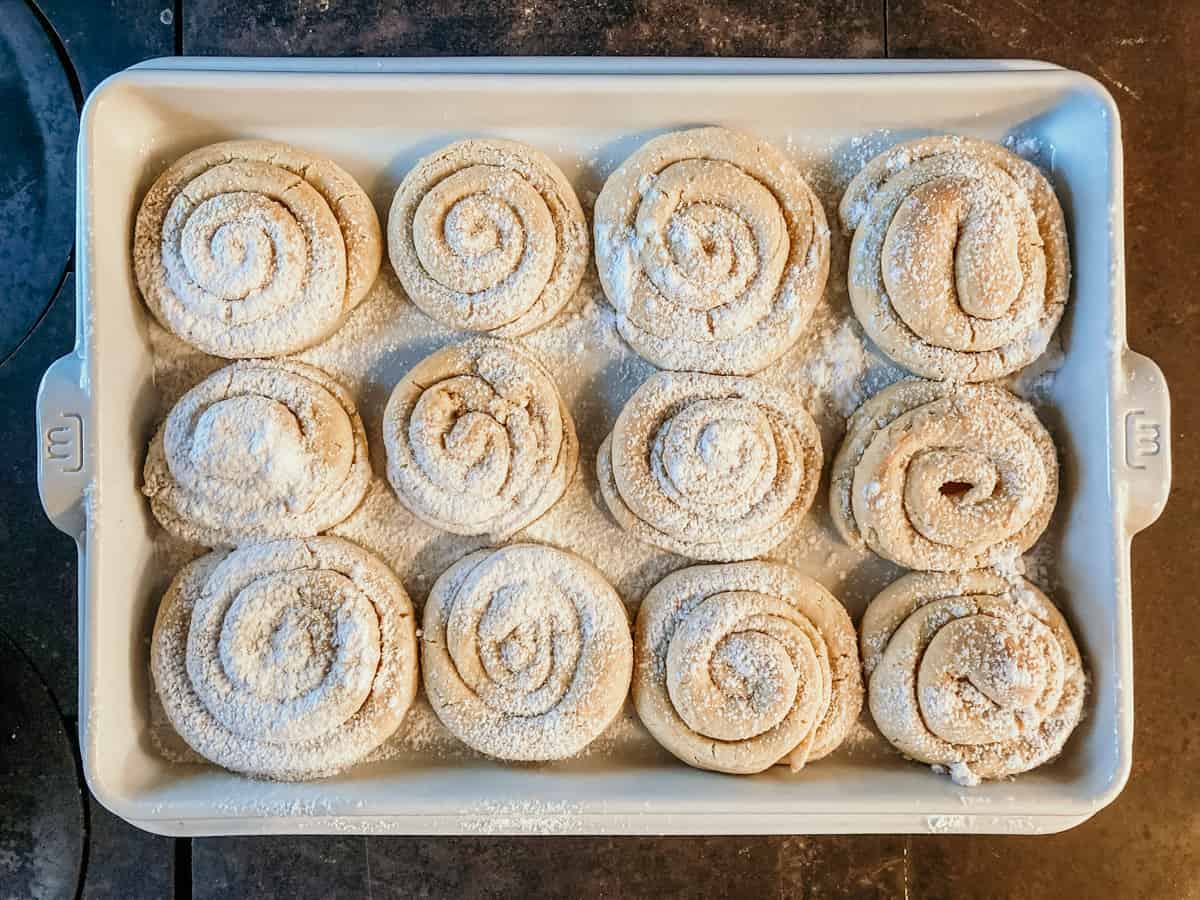
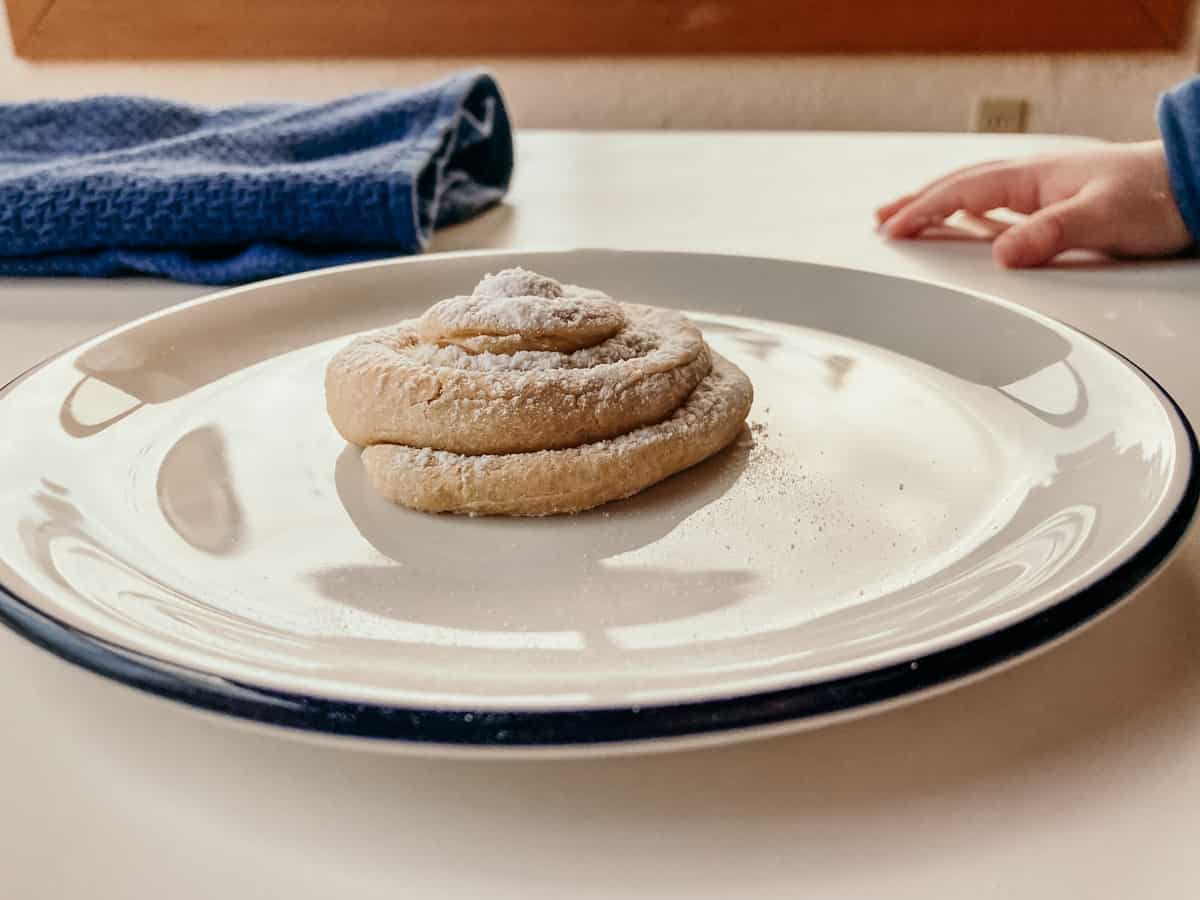
And that's it! A delicious and beautiful breakfast to power your day.
We ended up with 2 dozen petite mallorcas to enjoy.
So, what do you think? Would you like to roll up some mallorcas with your family?
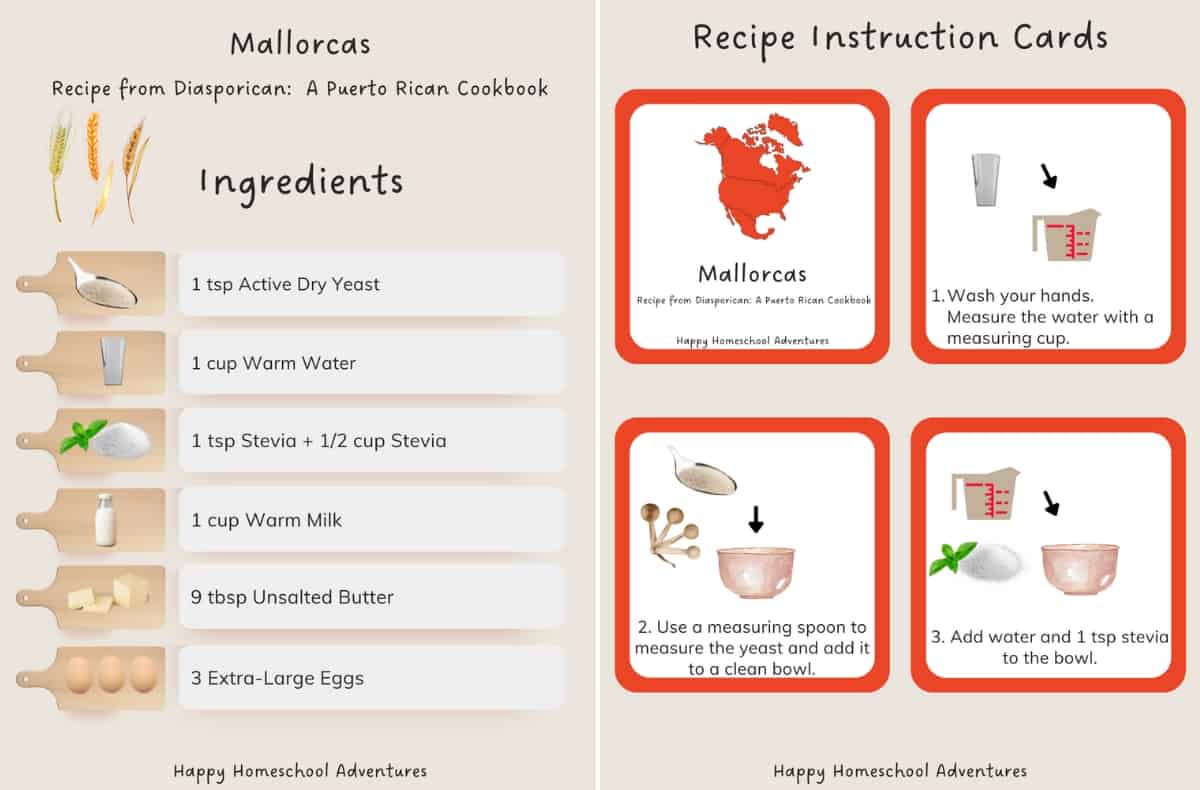
Free Mallorcas Recipe for Pre-Readers and Up
Grab your free printable recipe cards above. Kids can gather ingredients using the ingredient list, gather their equipment with the tools list, and prepare the meal using the step-by-step recipe cards, with assistance as needed.
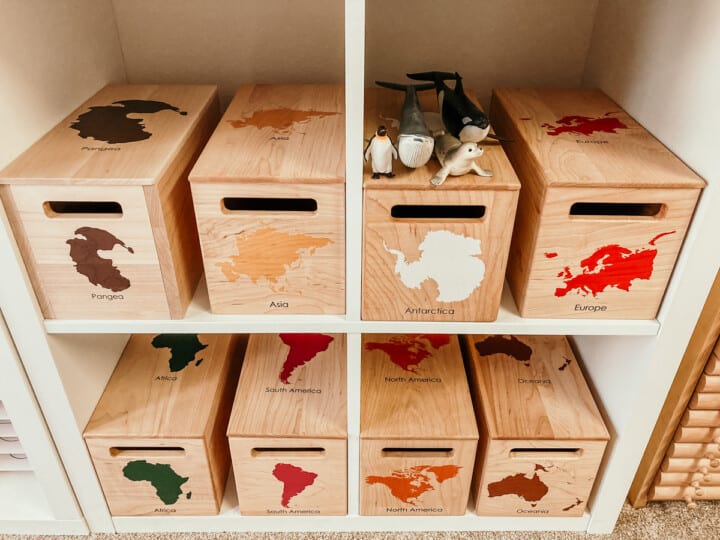
The cards are easy to use, include pictures, and encourage confidence and independence in the kitchen. They also make an excellent addition to your Montessori continent box for North America.
Montessori Continent Boxes
Explore every continent with these solid maple hardwood boxes.
Mallorcas: A Puerto Rican Breakfast Recipe
Equipment
- Large Spoon
Ingredients
- 9 tablespoon unsalted butter
- 1 cup water room temp or warm
- 1 teaspoon active dry yeast
- 1 teaspoon stevia
- ½ cup stevia
- 1 cup milk room temp or warm
- 1 teaspoon pure vanilla extract
- 3 eggs
- 6 cups all-purpose einkorn flour
- 1 teaspoon salt kosher or whatever you have
- 1 cup swerve confectioners
- 1 tablespoon avocado oil
Instructions
- Wash your hands with soap and water. Measure the water with a measuring cup.
- Use a measuring spoon to measure the yeast needed to make the mallorcas.
- Add warm or room temperature water, yeast, and 1 teaspoon of stevia to a clean bowl. Give it a stir and let it sit for five minutes.
- Heat up your pan using low heat and place 4 tablespoons of butter inside. Once the butter is melted, turn off the stove. Set the butter aside.
- Crack the eggs into a clean bowl. Wash your hands with soap and water.
- Use a measuring spoon to measure the vanilla extract.
- Combine the room temperature or warm milk, butter, vanilla, and eggs. Mix them together with a spoon or whisk.
- Measure the flour using a kitchen scale.
- Add the flour to the mixing bowl. The mixer should have the paddle attachment in place.
- Add the stevia, salt, yeast mixture, and ⅓ of the egg mixture to the mixing bowl. Turn the mixer on medium, which is a speed of about 4 for us. Mix the ingredients for about 10 minutes or so. Once the dough starts to make a slapping sound, you can add the remainder of the egg mixture, a little at a time.
- Once the mixer looks like it's working overtime, you can turn it off and remove the dough. Knead the dough by hand. Our kids used a dough scraper to separate it into sections.
- Once all the flour is incorporated into the dough and the dough is tacky, place the dough in a bowl and cover it with plastic wrap. Wash your hands and let the dough rest for 1-2 hours.
- Add a small amount of oil to a large bowl. Place the dough on a floured surface and knead for 5-7 minutes or until soft. Place the dough in the bowl and cover it in the oil until it's coated. Replace the plastic wrap and let it rest in a warm spot for 30 minutes. Clean your silicone baking mat or work surface.
- Turn the oven to 350 degrees Fahrenheit. Set up your floured work surface and grab your dough. Use a rolling pin to roll it out into a rectangular shape. Our kids used the dough scraper to cut the edges and make a pretty rectangle. This is an excellent time to review some shapes, depending on the age of the child.
- Cut a strip of dough using the dough scraper. Gently roll your strip back and forth to create a cylindrical rope-like appearance.
- Start with one end and gently roll the dough into a coil.
- Tuck the end of the strip underneath the coil. Afterward, you can scoop it up with the dough scraper and place it on the baking slab. Repeat steps 15-17 until all of the dough has been used up. If you have scraps left over from creating your rectangle you can use that as well.
- Clean the pan from earlier with soap and water. Heat it over low heat and add the remainder of the butter. Once the butter is melted, turn off the stove. Use a pastry brush to apply some of the butter to the mallorcas. Be sure to save some butter for after they're done baking. Cover the baking slab in plastic wrap and let the mallorcas rest for 30 minutes. Place them in the oven and let them bake for 15 to 30 minutes or until firm and slightly brown. Apply the remainder of the butter using the pastry brush. Don't forget to turn off the stove.
- Using a fine mesh strainer, apply swerve confectioners to the top and enjoy!
Notes
- The same amount of sugar or other sweeteners can be substituted for stevia
- The same amount of confectioners' sugar can be substituted for swerve confectioners
- Never leave cooking food unattended
- Always have good ventilation when using a gas stove
- See more guidelines at USDA.gov.
- Full Recipe Info and Pictures at: https://happyhomeschooladventures.com/mallorcas
Nutrition
Estimated nutrition information is provided as a courtesy and is not guaranteed.
Leave a Reply